Last week I had a cooking Event at one of our stores, my sponsor was College Inn Broth.
Plus I wanted to add some seasoning from a local company that is exclusive in our stores, Colonel De’s Seasonings.
So here are the soups that I did and the recipes, I hope you will enjoy and make them 🙂
Irish Garlic Potato Soup
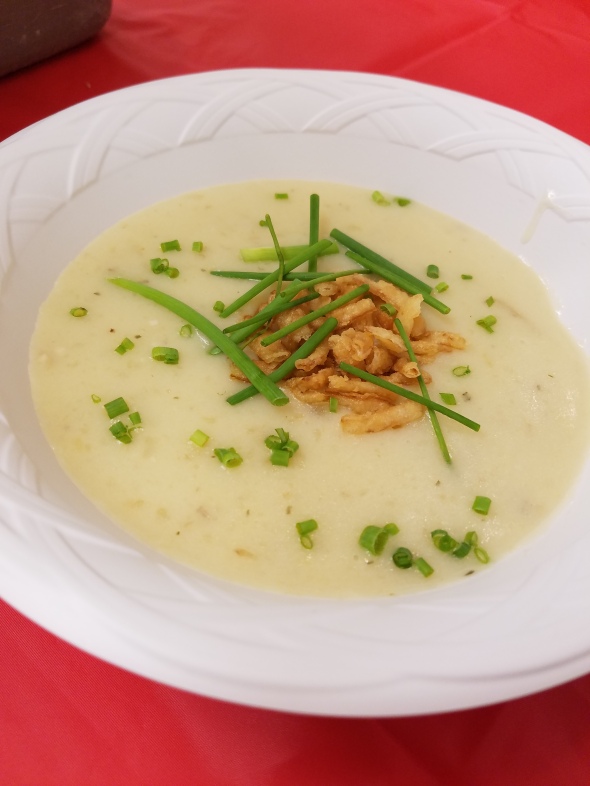
2.25 lb. Klondike Goldust Potatoes, sliced In stockpot add butter and onions, cook over med-high heat for about 5 minutes. Paired with Guiness Draught BeerIrish Garlic Potato Soup
.75 lb. sweet onion, sliced
3 – 14.5 oz. cans College Inn Chicken Broth
2 Tbsp. butter4 tsp. Colonel De’s Garlic Goodness
1 cup half and half
½ tsp. kosher salt or to taste
Add sliced potatoes, onions and chicken broth, cover and bring to a boil. Reduce heat to a simmer, add Garlic Goodness and cook until potatoes are tender.
Remove from heat, with an immersion blender blend until smooth or leave a little chunky. If using a blender, blend in batches, just make sure the center of the blend lid is removed, place a towel over top of the lid.
Once blended add back to pot, add salt and add half and half, warm on low and serve.
Optional – Add onions straws and chives for a garnish.
Mexican Pozole Soup
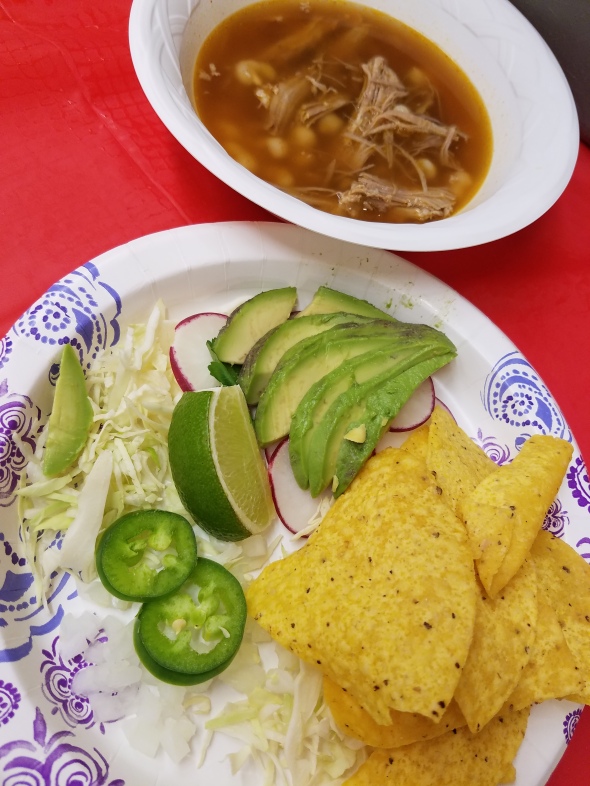
2 – 15.5 oz. cans hominy Add to a large stock pot broth, hominy, pork and seasonings, bring to a boil and serve with garnishes below: Shredded cabbage Paired with Negra Modelo BeerMexican Pozole
3-4 – 14.5 oz. cans College Inn Beef Broth
3-4 cups shredded pork
3 tsp. Colonel De’s Chipotle Seasoning
Radish slices
Chopped onion
Chopped hot peppers
Avocado slices
Lime wedges
Tortilla chips
Chopped Cilantro
Avgolemono (Greek Lemon & Chicken Soup)
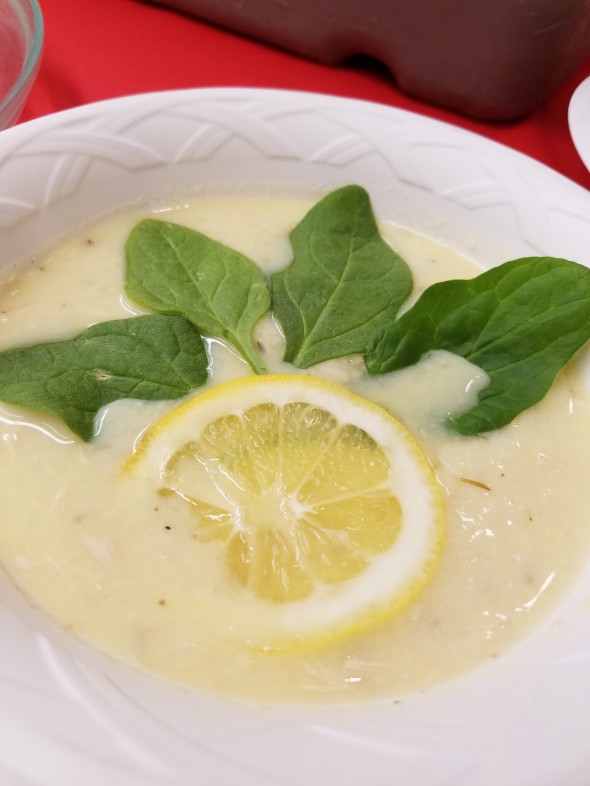
64 oz. College Inn Chicken Broth In a large stock pot over med-high heat bring broth to a boil, covered, then add rice, chicken and seasonings, cover and reduce to low until rice is cooked. Paired with Leffe BeerAvgolemono
Shredded chicken breast from whole chicken
2 tsp. Colonel De’s Greek Seasonings
1 cup instant rice
4 eggs
2 tsp. cornstarch
2 Tbsp. water
¼ – ½ cup lemon juice, per your taste
salt to taste
In a medium bowl add water and cornstarch and whisk, then add eggs and beat until completely blended, whisk in lemon juice. Take 4 cups of the hot soup and slowly add to the egg mixture while whisking constantly so that the mixture will not break. Stir mixture into the rest of the soup. Season to taste and serve immediately, garnish each bowl with a lemon slice and a few baby spinach leaves.
Pho Bo (Vietnamese Soup, this picture was taken before broth was added)
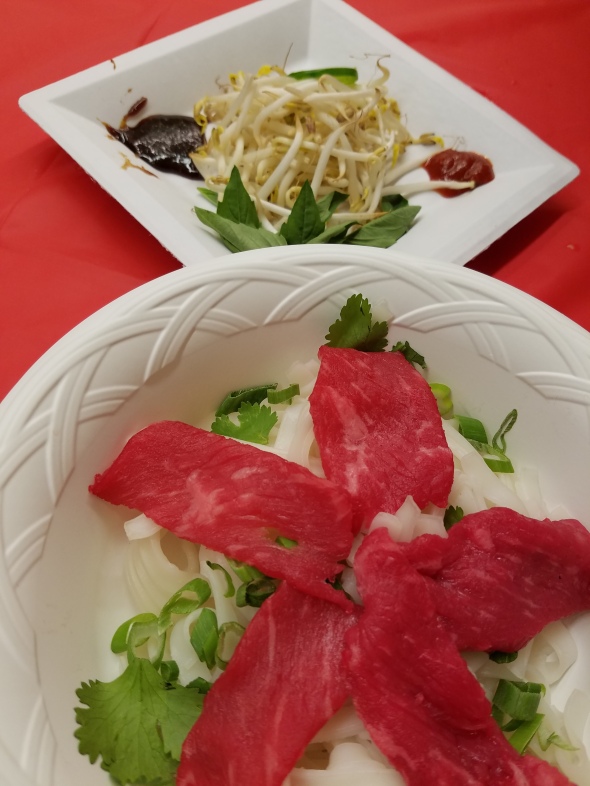
8-10 cups College Inn Beef broth Green onions, tops thinly slice Add broth and pho pouch to a medium pot and bring to a boil, then let simmer for 3 hours. Cook rice noodles as directed and drain. Place portion of noodles in a large individual soup bowls, sprinkle of green onions and cilantro leaves. Top that with a few thin slices of raw sirloin, set bowls aside. Make each garnish plate with below Bean sprouts, Thai basil leaves, hot sliced peppers, some sriracha and hoisin sauce. Before serving bring broth up to almost a boil, ladle broth in to your bowls. And add garnishes to your bowl as you wish. Paired with Kirin Ichiban BeerPho Bo
1 Colonel De’s Pho soup pouch
1 pkg. rice noodles
sirloin steak, trimmed and thinly sliced, kept raw
fresh cilantro leaves
Hope you Enjoy!!! Cheers – Chef Amy!!