Happy Pi Day Everyone!!! 3-14-16

In honor of Pi Day here is a link to my Banana Cream Pie!!! I hope you check it out and what Pie will you be eating today!! LOL!! 🙂
https://whatscookingwithchefamy.com/2012/06/17/banana-cream-pie-for-fathers-day/

Happy Pi Day Everyone!!! 3-14-16
In honor of Pi Day here is a link to my Banana Cream Pie!!! I hope you check it out and what Pie will you be eating today!! LOL!! 🙂
https://whatscookingwithchefamy.com/2012/06/17/banana-cream-pie-for-fathers-day/

So yesterday was National Chocolate Cake Day, and I got the itch to make a
Chocolate Cake and I brought it in for the office today!!!

I know they will happy, since this is the second thing I made this week, on Monday
I made a Cinnamon and Walnut Coffee Cake and they all loved that!! 🙂
So I didn’t have my usual ingredients at the house that I have used in my Chocolate cakes before, like
buttermilk or sour cream those things make my cakes moist and I like using them.
So I just followed the recipe on the back of the Hershey’s Cocoa Powder can.

The only thing I did differently was two things:
1. I used 1 cup of cocoa powder, instead of what it said, (I can’t remember LOL)
2. I used Hot Strong Coffee instead of Hot Water.
I also made it in a bundt pan 🙂 Bake for about 40-50 mins, just until a toothpick is inserted and comes out clean.
The I made Cream Cheese Frosting and that recipe is below 🙂
Adding the chocolate to the cream cheese, butter and sugar (sorry i didn’t take better pictures)

whipped up altogether 🙂

frosting!!

Done 🙂

now Enjoy!!!

2 – 8 oz. packages of cream cheese, softened In a double boiler add chocolate and half and half, stir until chocolate has melted and mixture has before like a thick paste. Remove from heat and set aside for 10 minutes. In a large bowl mix cream cheese until fluffy, then add butter and mix until combined and fluffy. The mix in chocolate and continue to mix until all in combined and fluffy. This recipe covered the bundt cake and I had about 2 cups left over. Store cake in the refrigerator, let set at room temperature for at least 1 hour before serving.Chocolate Cream Cheese Frosting
2 stick of butter, softened
1 3/4 – 2 cups powdered sugar
3 oz. unsweetened chocolate
3 oz. bittersweet chocolate
1/4 cup half and half
Then add powdered sugar, I only used 1 3/4 cup but if you like it sweeter add more, mix until combined.
YUMMY!!! Enjoy!!


So are you one of those people that CANNOT wait till fall hits so you can get your
Pumpkin Spice Latte on!! 😛

As you know most of the coffee shops only have this Pumpkin Spice Syrup during the fall and maybe into the winter???
I don’t know because I am not one of those people 😛
But it doesn’t mean I don’t want to get on the “Band Wagon” and make my own…LOL!!
So many recipes have been flying around the internet, so I decided I would give it a try…
And let me tell you it turned out DELICIOUS!!!!!!!
I kind of shock myself…LOL 😛
So of course I dug into my spices to find the hidden Pumpkin Pie Spice in the back from the fall before LOL and finally can open one of the two large can of pumpkin pure, again from the fall before 😦
Okay so what else…I found some sweetened condensed milk and now I just needed cream, but I didn’t want to use cream, so I settled for half n half.
Okay I think I am ready to go and this is how it all went.
Ingredients

in a saucepan, pumpkin, milk and spice

stir that up, then stir in the half n half

cook on med-high
okay I will confess, I had in on med-high, but I was trying to do other things as well, and I may not have been stirring it the whole time…hence it started to burn on the bottom, when I went back to it, and started whisking like a mad women, black bits started to surface. I may have cursed that this time, but I turned it down to low and kept on whisking until it thickened a little, then I let it cool for 5 minutes
Once I tried it was AWESOME!! It tasted like Toasted Pumpkin Marshmallow 🙂
I thought Holy Crap I just added another flavor dimension…WOOO HOOOO!!!!! LOL 🙂

It does get a little darker as it thickens

now you have strain this through a fine mesh strainer,
and take the back of a spatula and force the mixture through the
strainer by moving the spatula back and forth


this is what you will have left in the strainer

after I let the mixture cool in the fridge,
I poured it into 2 little mason jars


This will keep in your fridge up to 2 weeks
if it last that long 🙂 LOL

My Pumpkin Spice Cappuccino

I added to my mug, about 2 Tbsp. pumpkin mixture
2 Tbsp. creamer and stir it up

Then I frothed that


Then I add my espresso


and to finish it off I sprinkle a little
Pumpkin Pie Spice on top…it was just Yumm!!!

Now you can just mix it into your regular coffee,
as I did at the office this morning 🙂


As I talk to some of the ladies this morning, I started coming up
all kinds ideas to do with this mixture besides to put in your
coffee…oh a can wait to get back in the kitchen…stay tune!!!
1 cup pure pumpkin puree Whisk everything together in a saucepan, cook over med-high, whisk until mixture thickens Pour mixture through a fine mesh strainer, take a spatula and force mixture through the strainer by going back and forth. Pour mixture into a jar or container and keep refrigerated for up to two weeks if it last that long…LOL Mind didn’t 😛 Add as much or as little to your coffee or tea and sit back and enjoy!!Homemade Pumpkin Spice Creamer
1 can sweetened condensed milk
1 1/2 tsp. pumpkin pie spice
1/2 cup half n’ half, or cream or whole milk
and darkens a little. Like I said above, let it burn a little and it will give it a toasted flavored, I felt
like that added such good flavor.

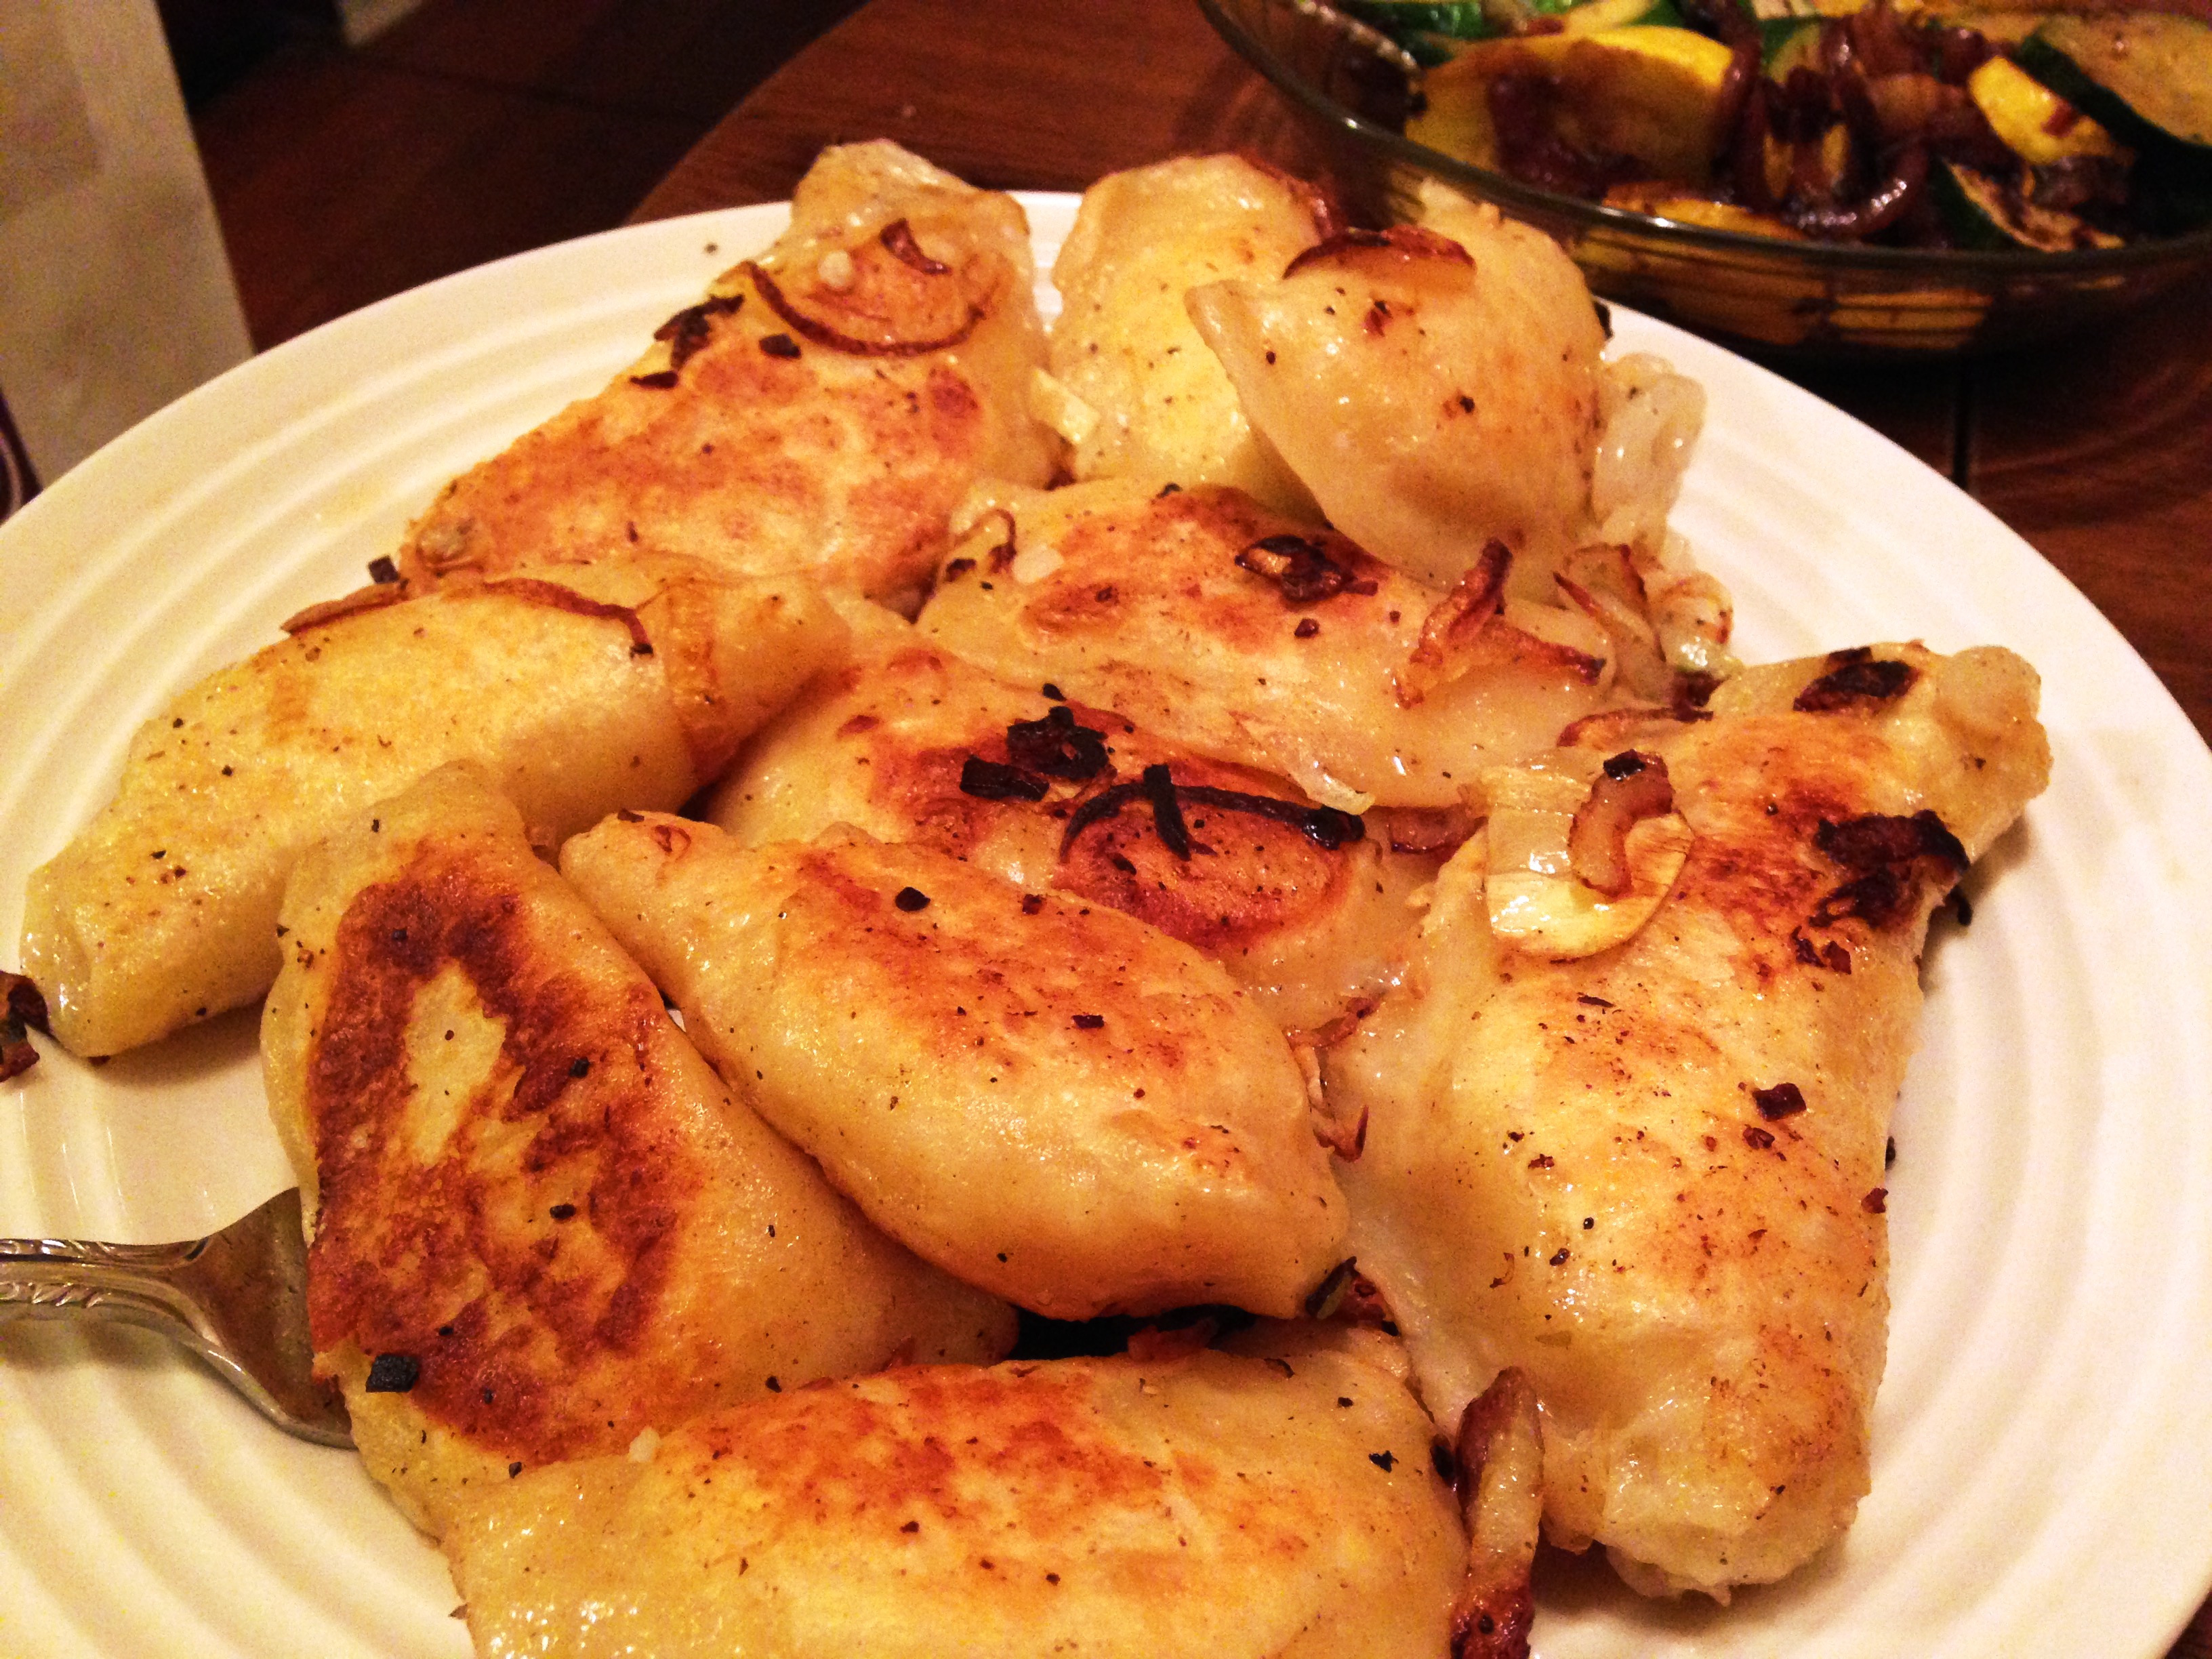
PIEROGIES!!!!!!!
Who loves some Pierogies!!! ME!!!
So why not for Fiesta Friday, check out many fabulous blogs for Fiesta Friday over at Angie’s page.
And her co-host for this Friday are Ginger@Ginger&Bread and Loretta@Safari of the Mind, so I would like to thank all of them for today’s Fiesta Friday #64
A friend of mine and I made some homemade pierogies awhile back I think they turned out great.
I made the dough and the filling, then headed over to my friend Paul’s house and we put them together and cooked them up…Delicious!!!!
If you are not familiar with what they are, click here
I have always seen them in the freezer section Mrs. T’s, which I am not saying are not good, if you need a quick pierogi these will do the trick.
For me on the other hand I have them fresh from a place in Pittsburgh a couple of times, my friend Paul is from there so when I went with him to visit we went to “Pierogies Plus” check out all the different flavors that you can get when you go or you can have them shipped 🙂
Also when I went to Chicago I stopped into a Polish Pierogi Shop…amazing 🙂
I just went with Potato and Cheese for this first batch 🙂
Dough – Ingredients

I used a food processor, you can do it by hand too
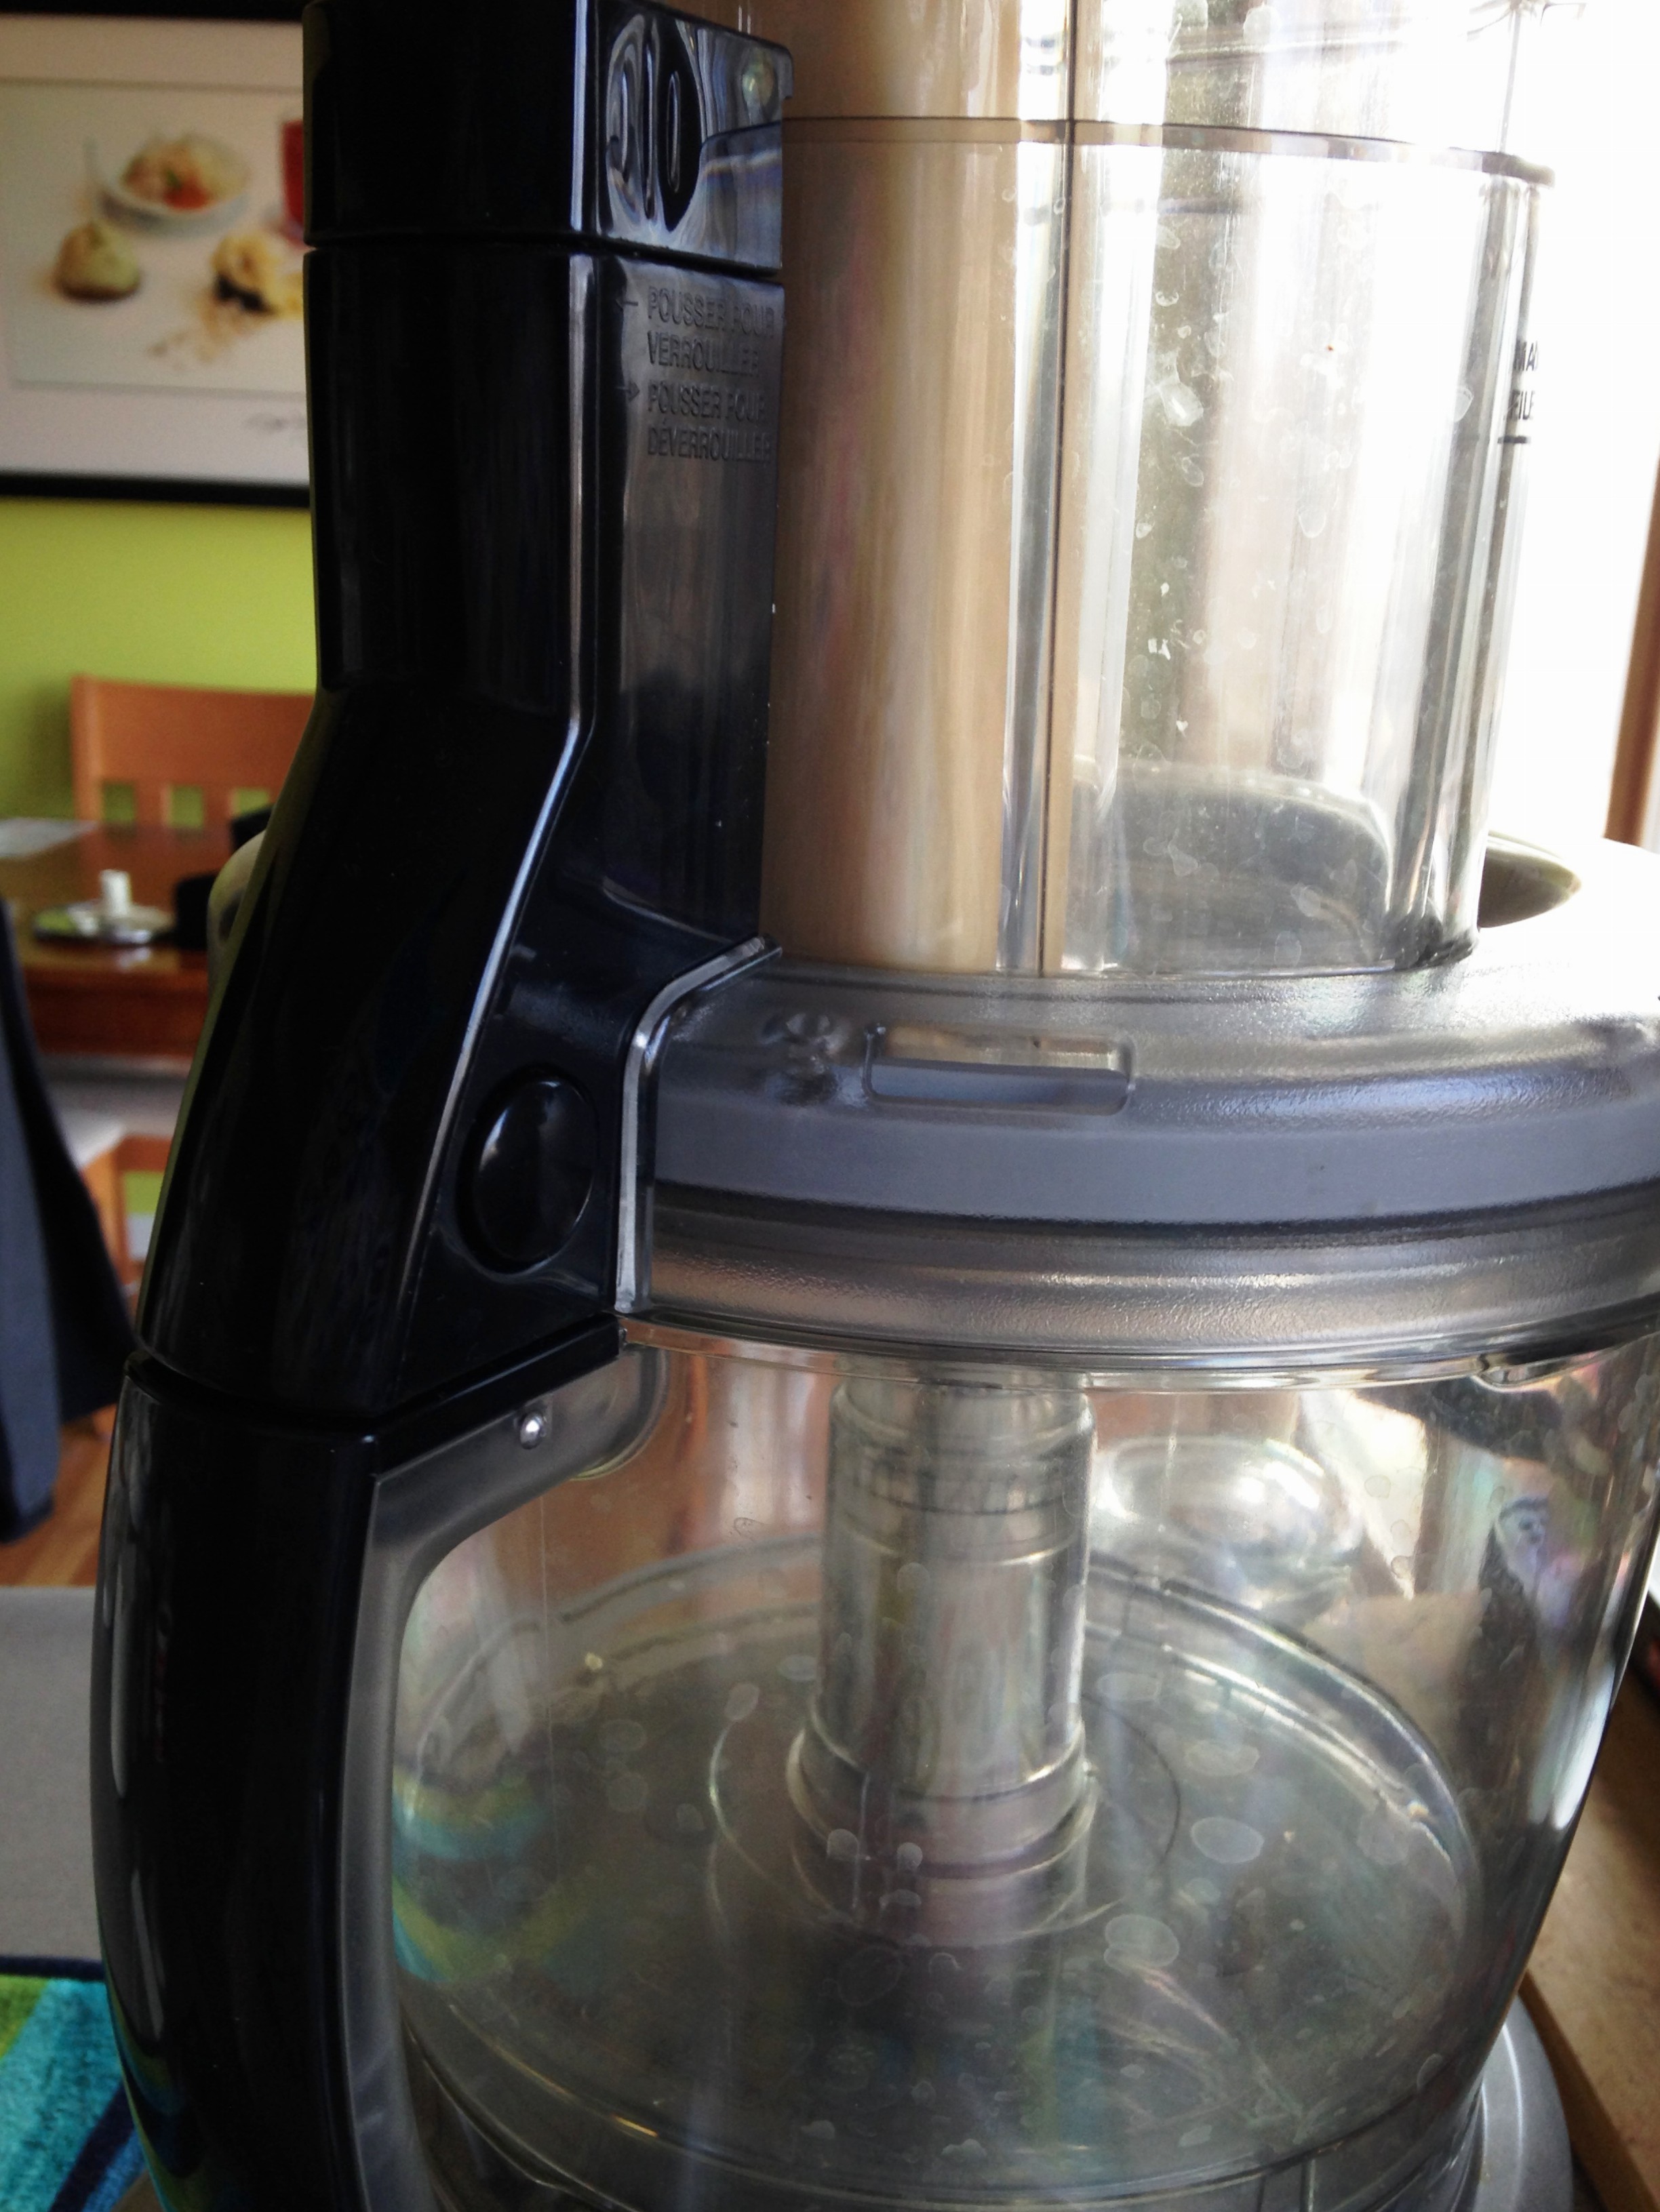
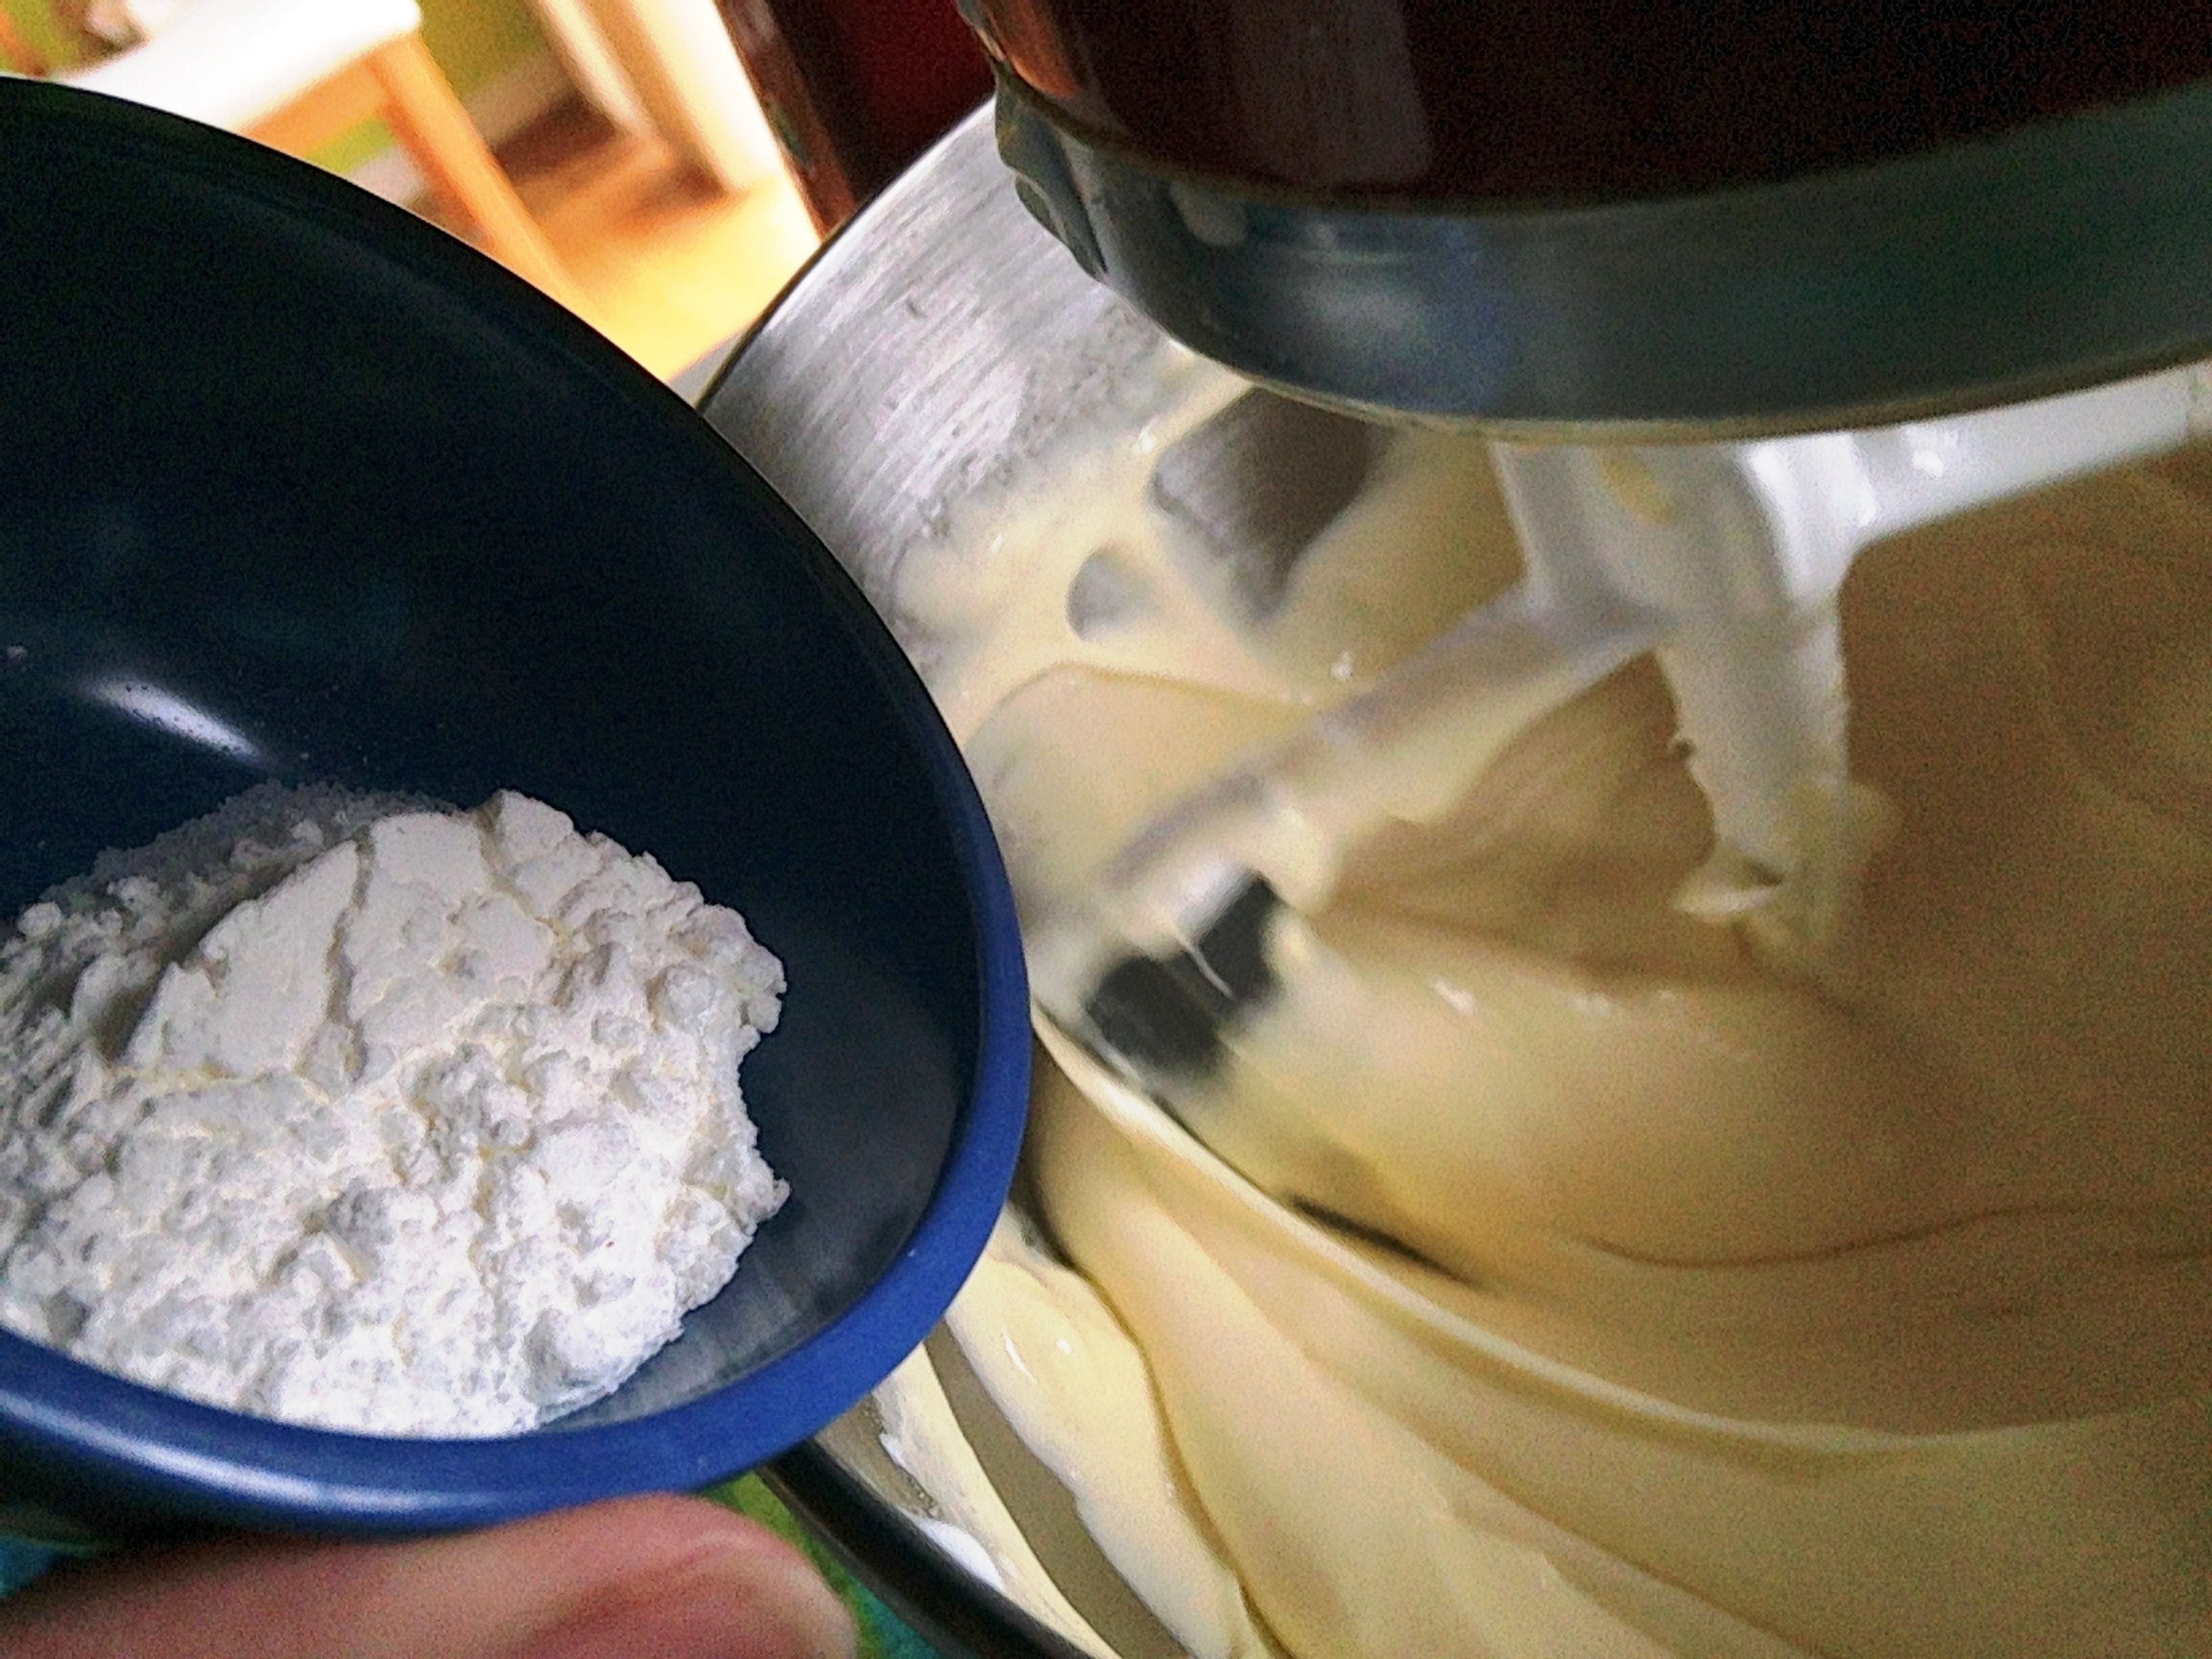
Flour and salt

pulsed it a little then added my egg

with egg mixed in

then add sour cream and butter and pulse

Pulse a few times

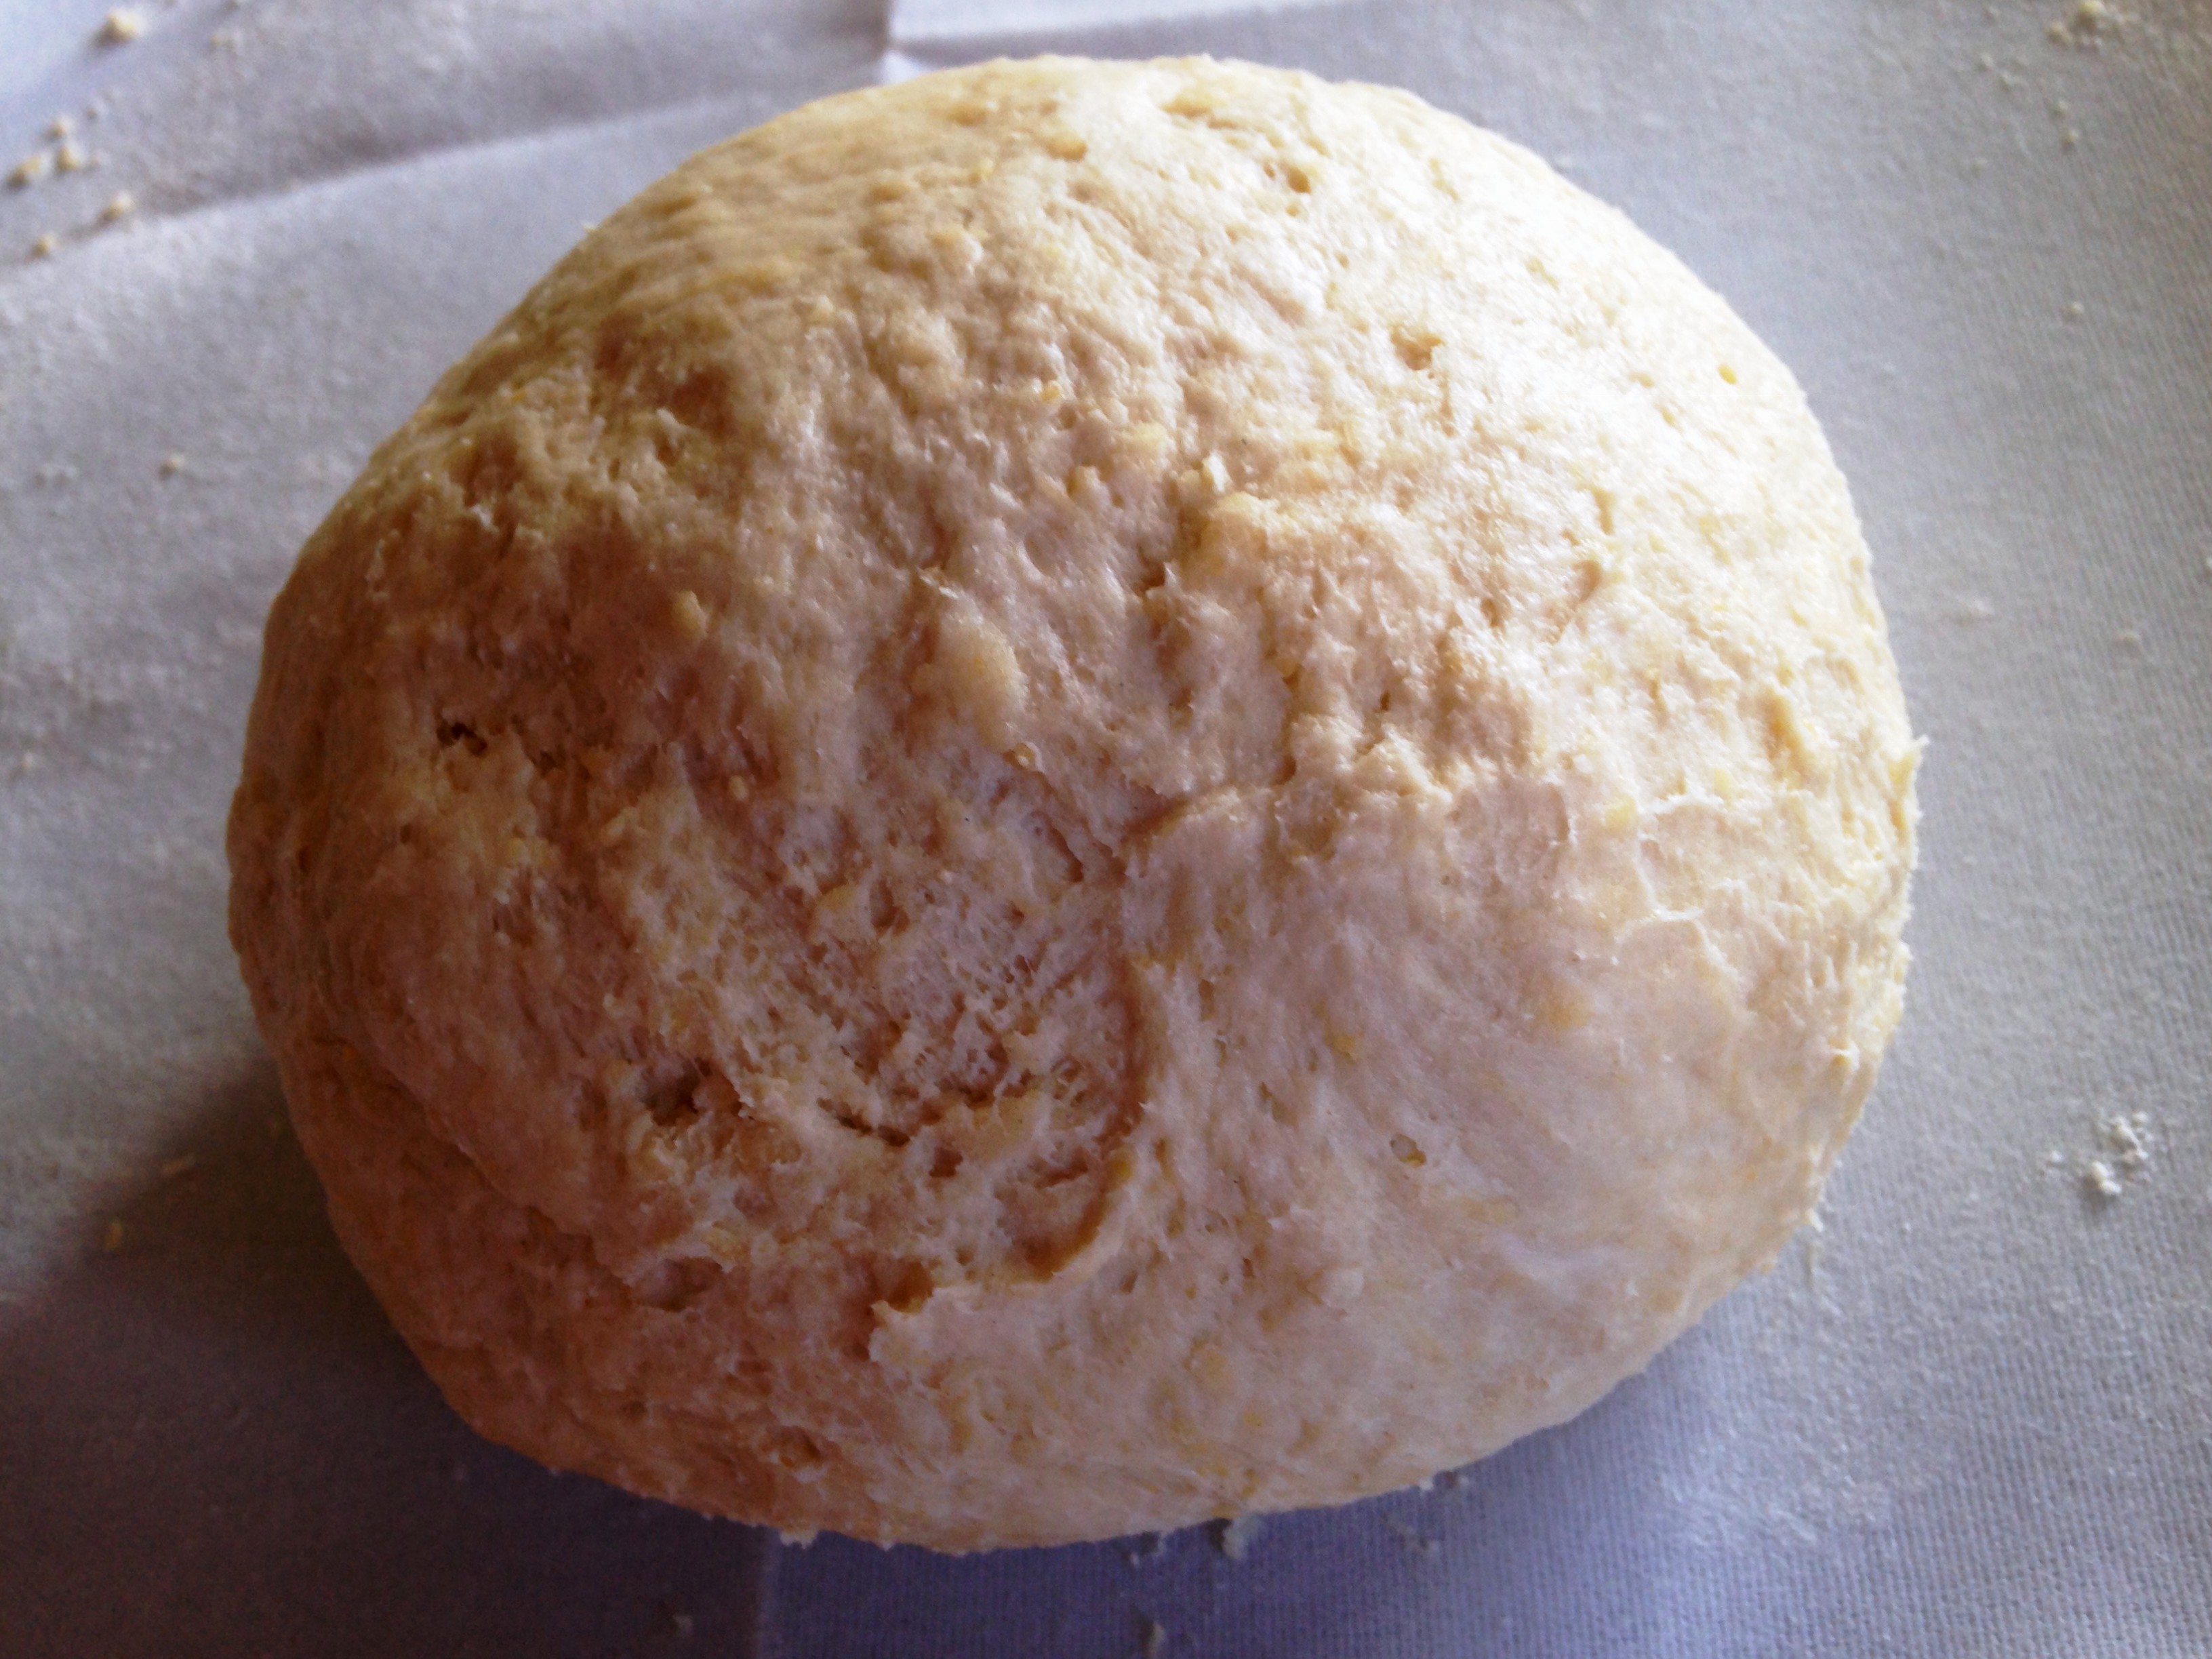
then turn it out onto your work space

Knead to just bring together

form into a ball and wrap in plastic wrap
I heard if you make the dough the night
before it becomes a more tended dough
Filling – Ingredients

Peel and cube your potatoes & boil until
done

Drain potatoes and place back in the pan
set back on the stove, just on hot burner
to help some of the extra liquid cook off

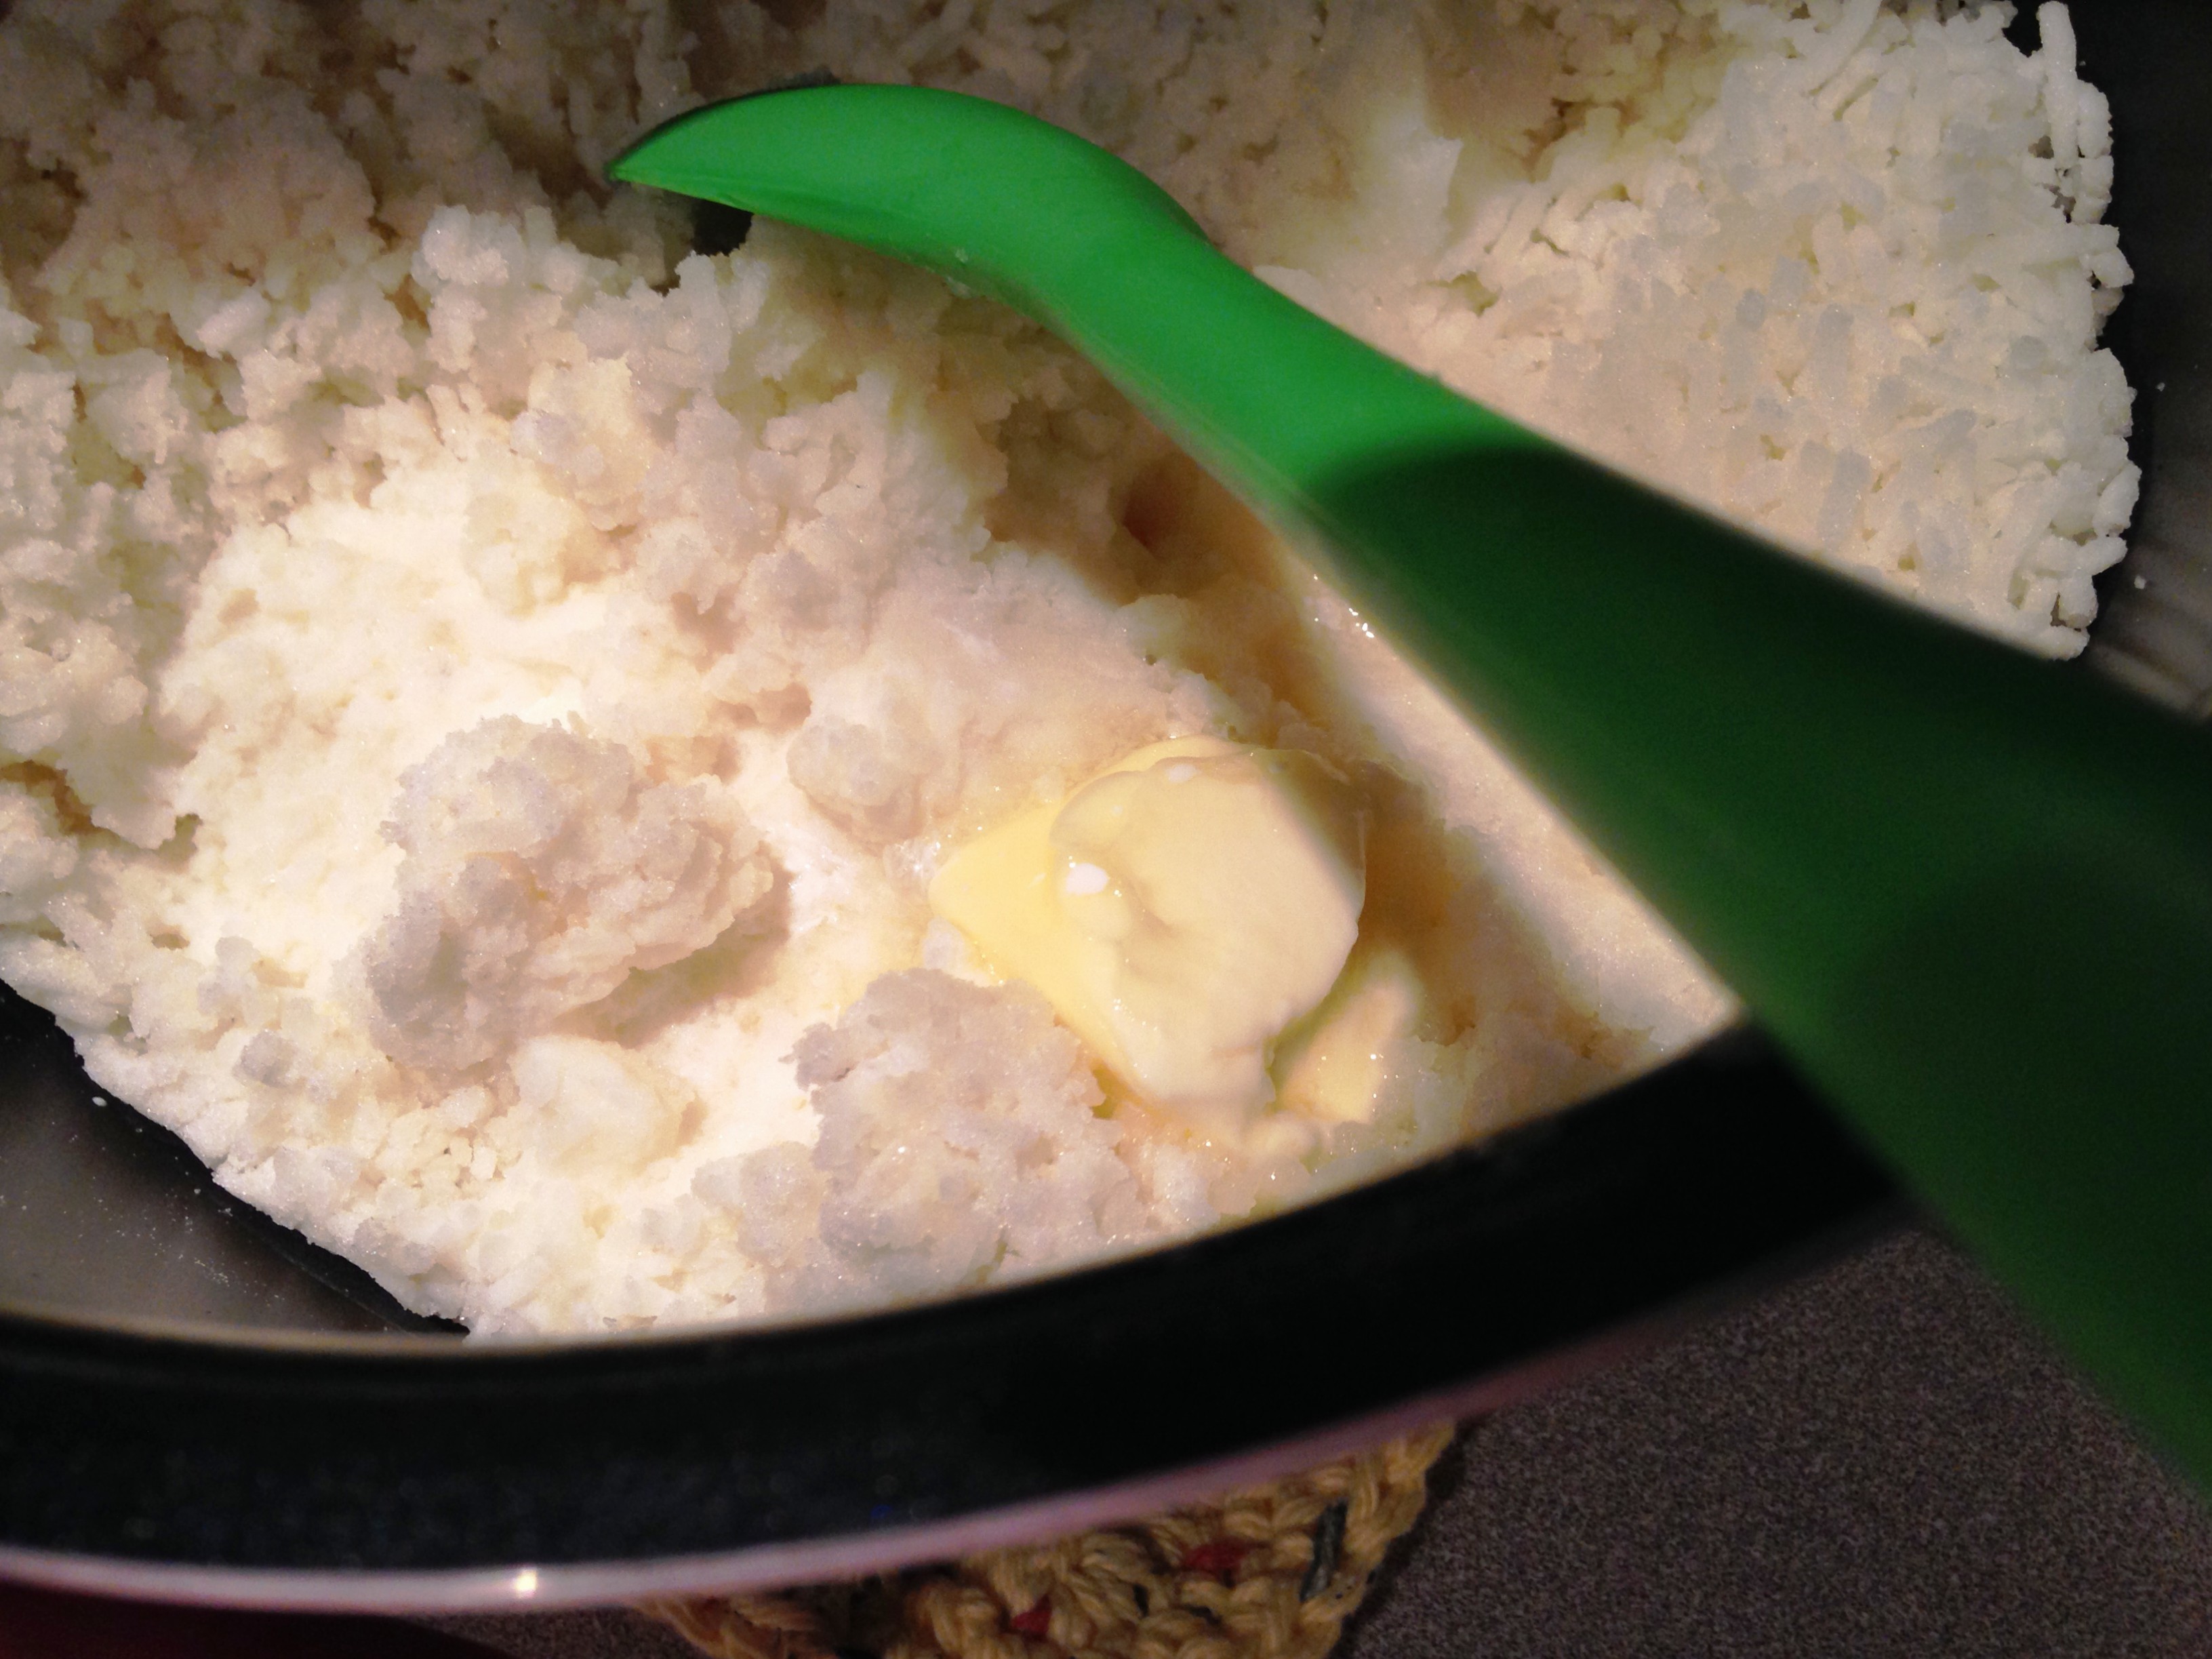
I used a ricer, you can certainly mash the
potatoes with a masher or however you
make your mashed potatoes
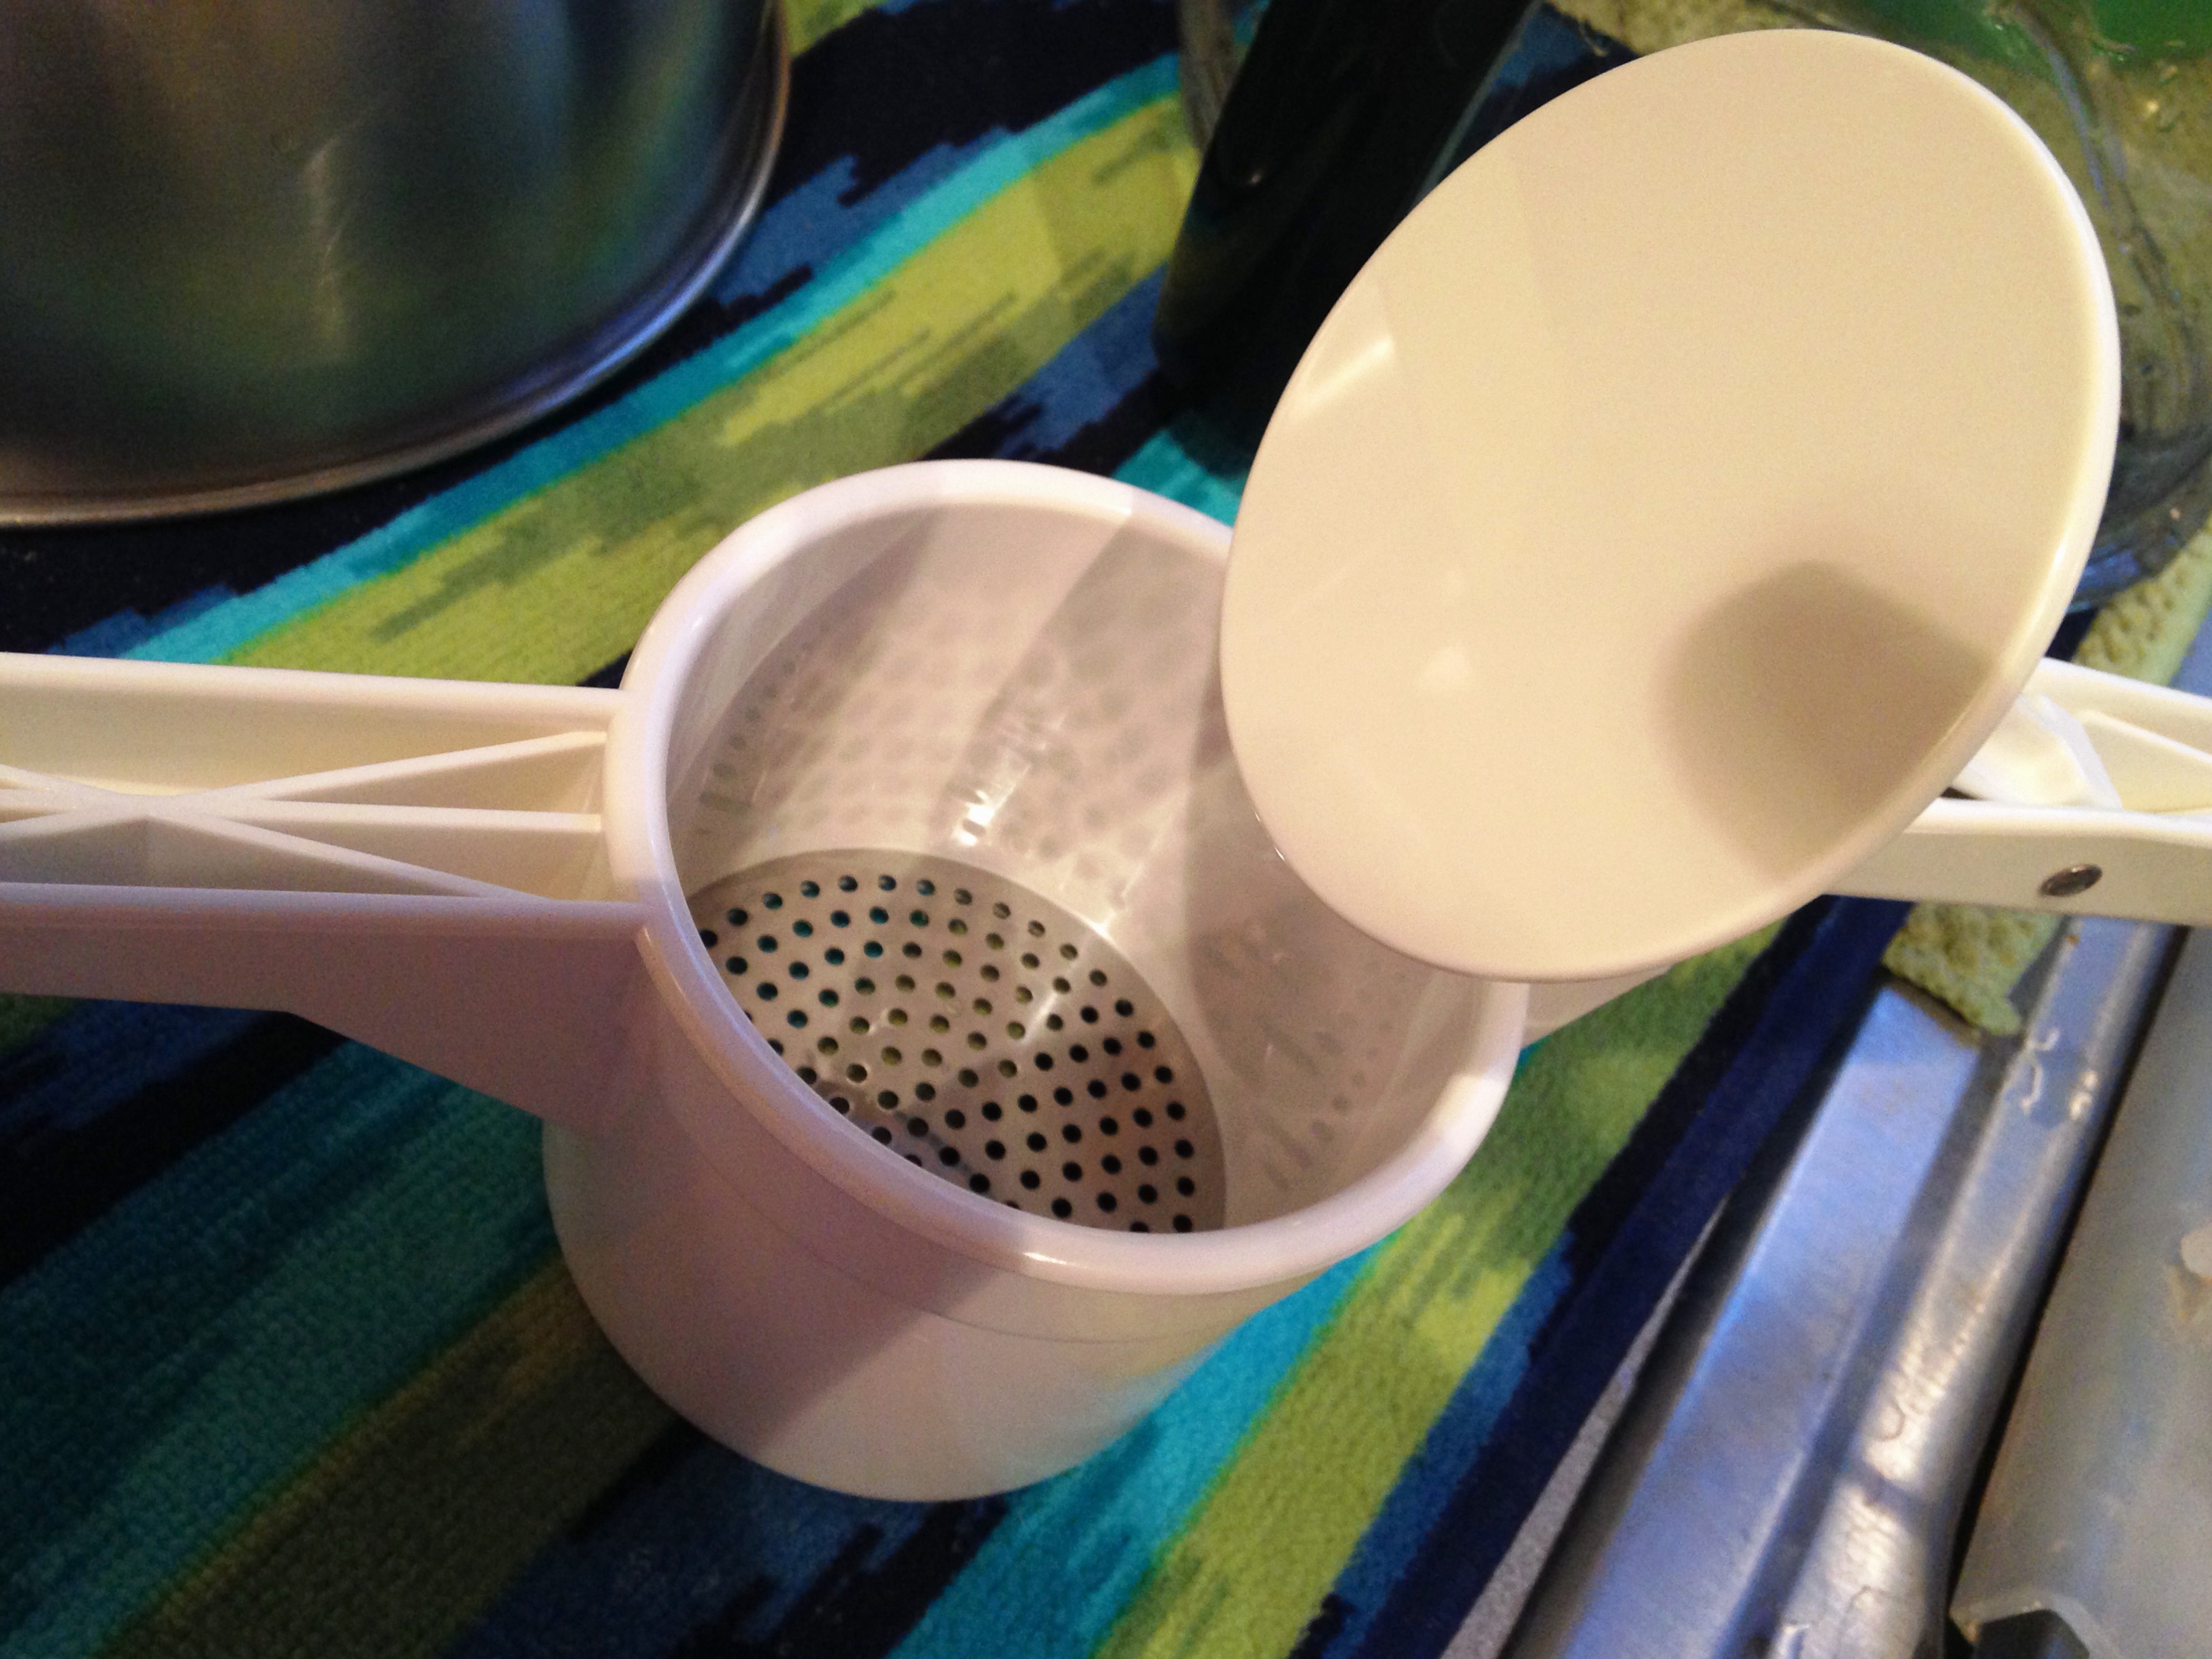
using the ricer forces the potatoes through
the tiny holes which make the potatoes very
creamy
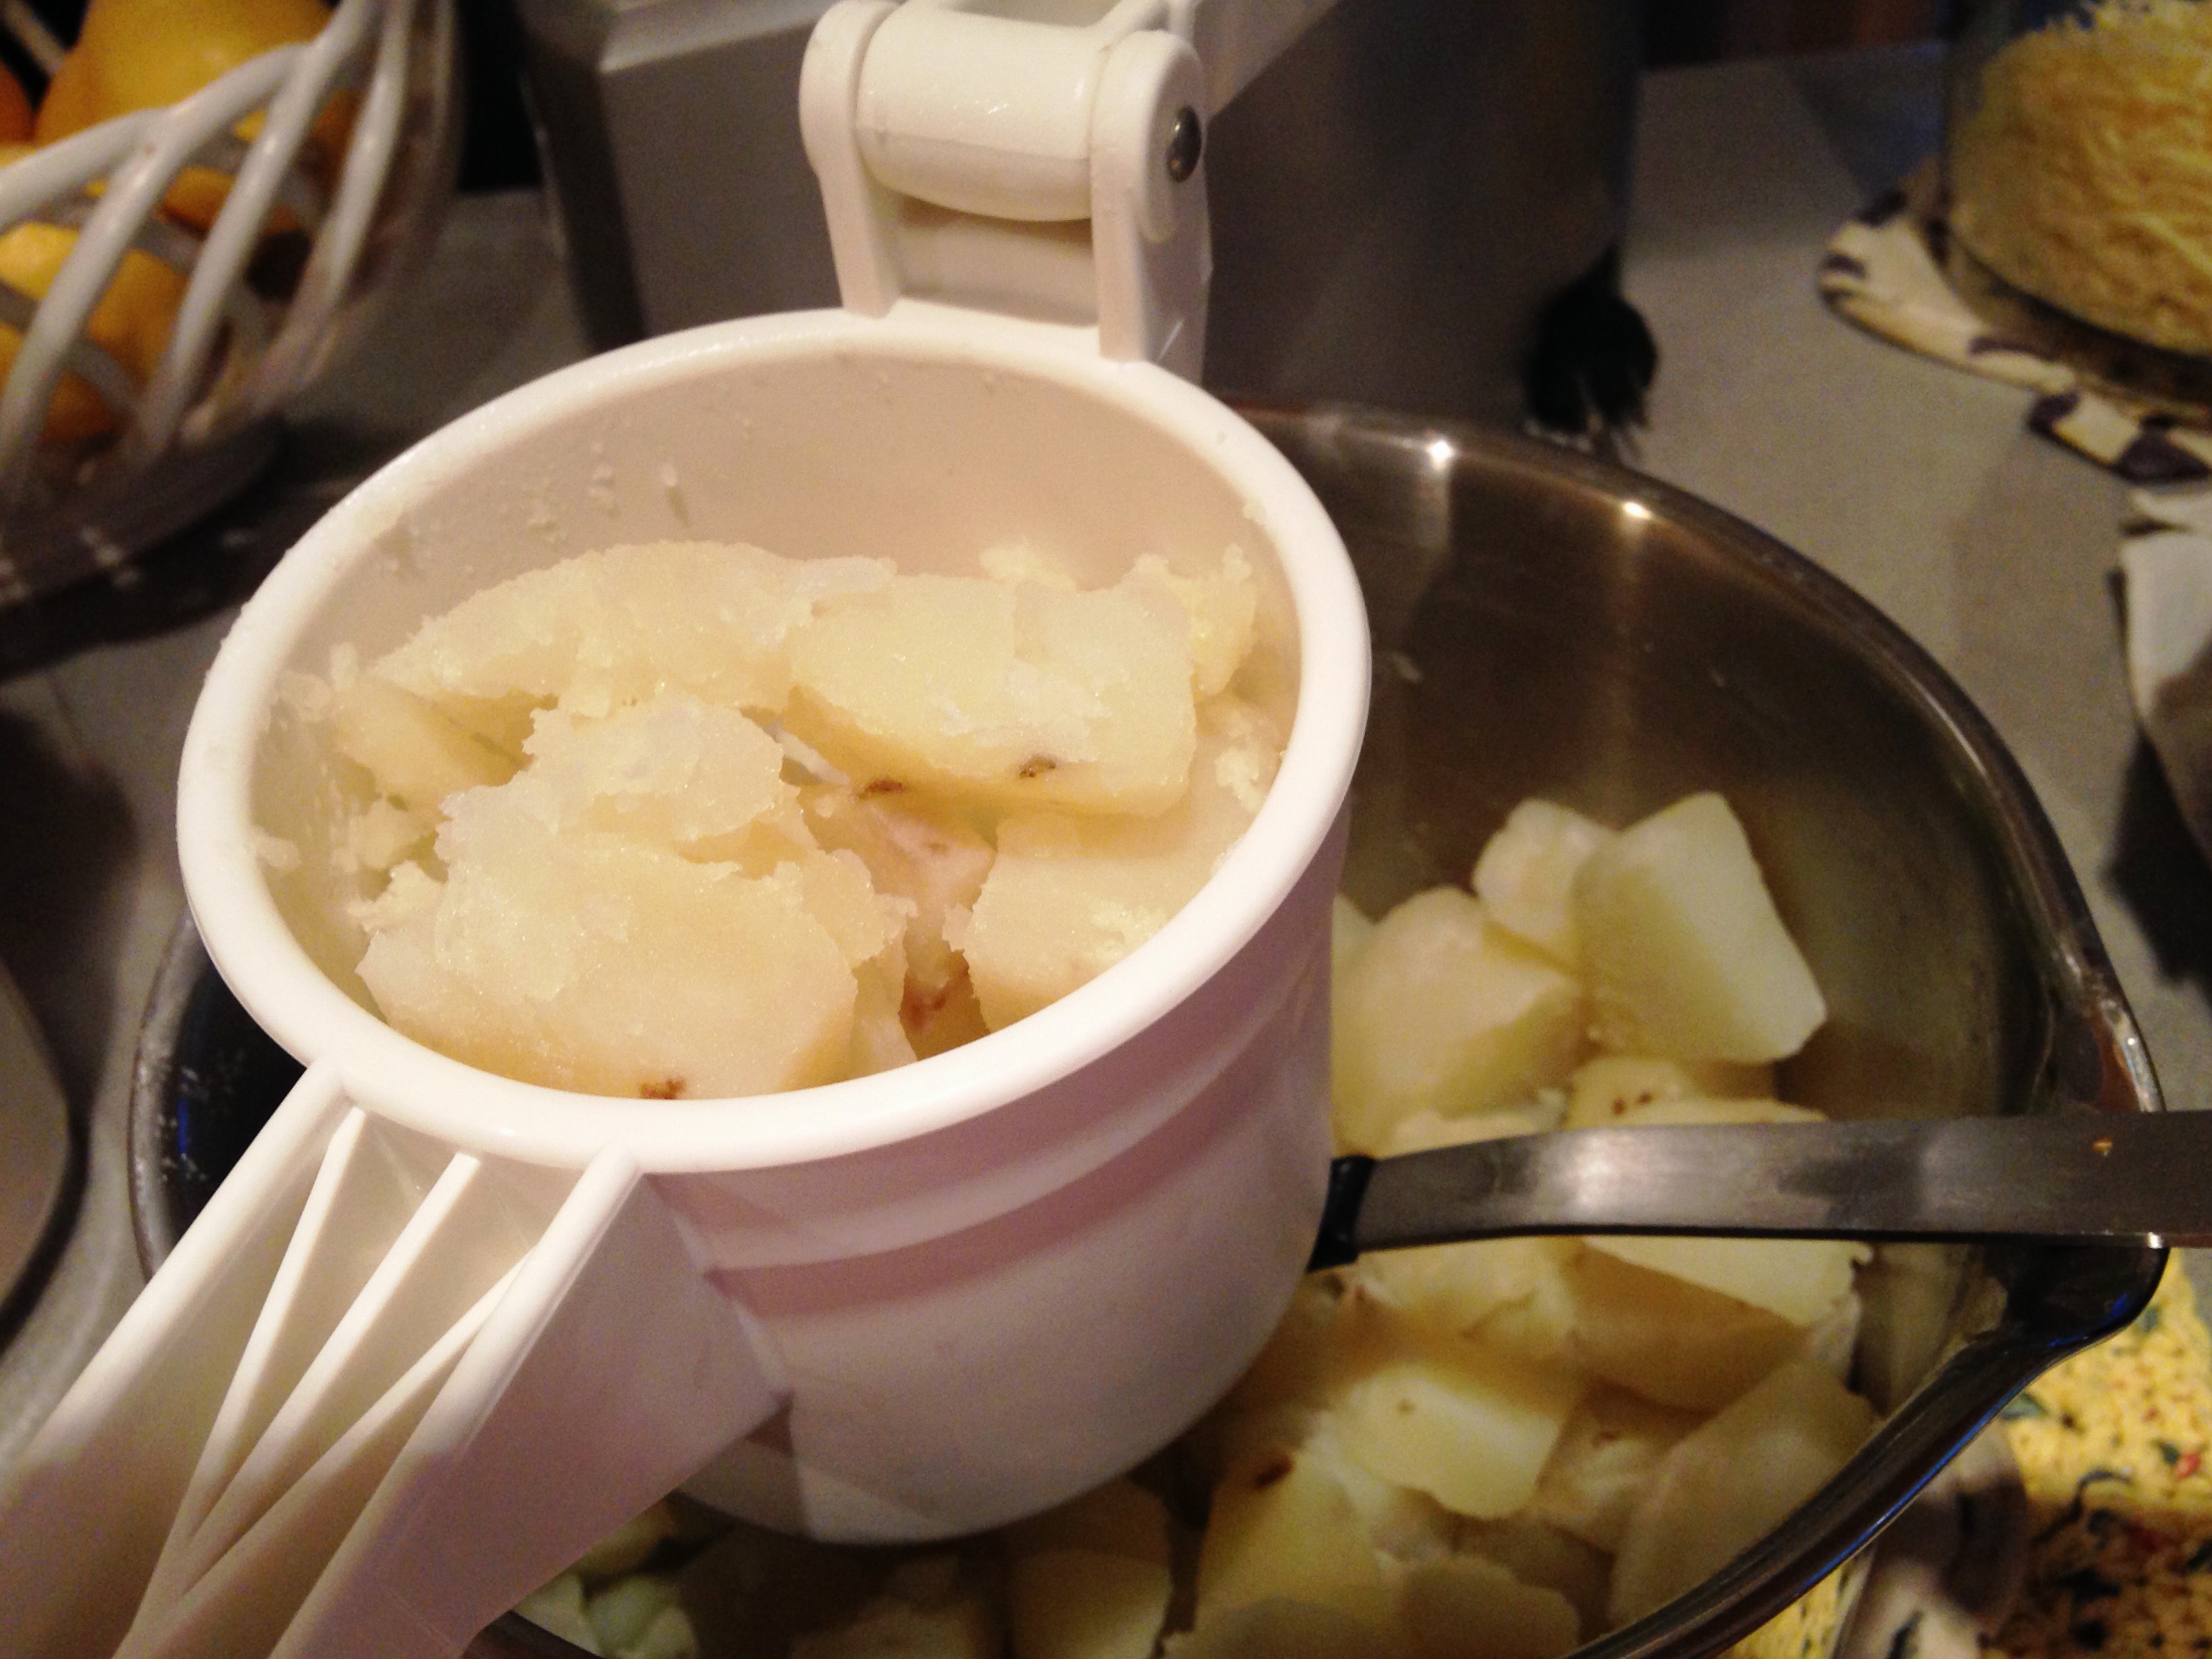
potatoes, riced 🙂

mix in butter and half and half
8oz. shredded cheese

fold in cheese

finished mixture

place in container and chill

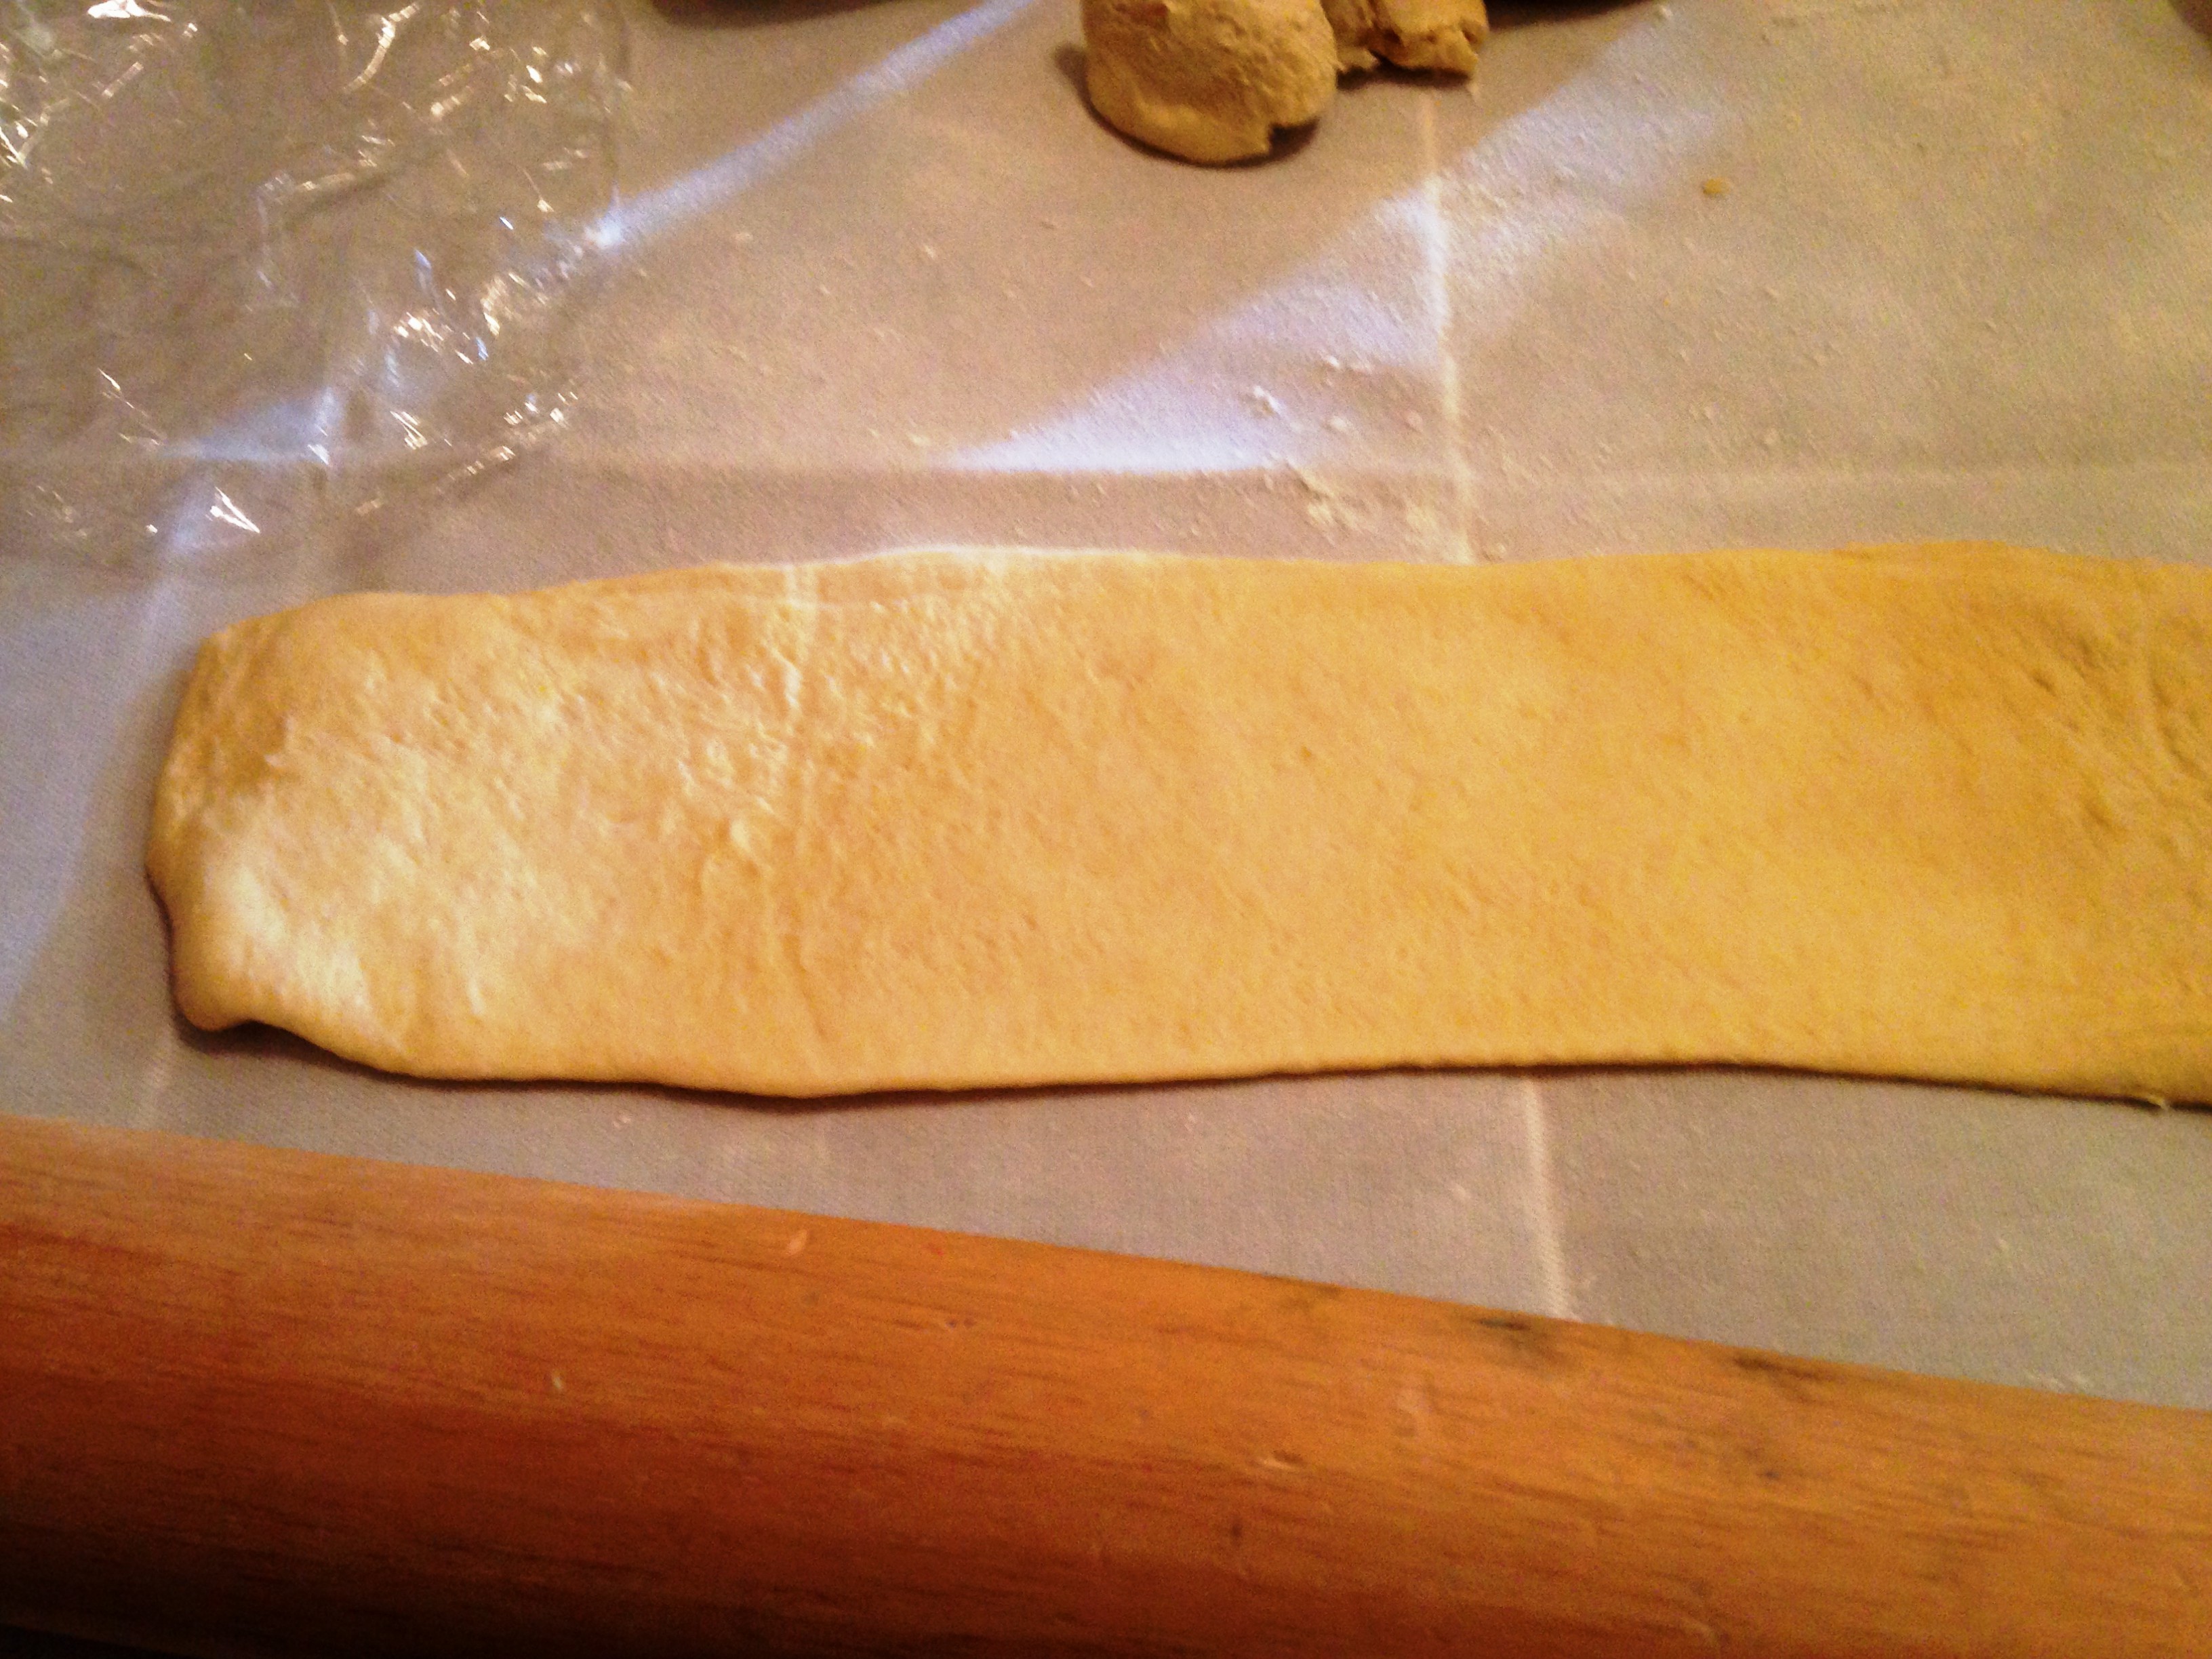
my dough

I cut in half

then again, take dough and press out
into a rectangle then use a rolling pin to make
dough about 1/8 inch thick


I use a round cutter to cut my circles
about a 3 inch round maybe 3 1/2 inch 🙂

I used my scoop, it worked out perfectly
mixture was about 2 tablespoons

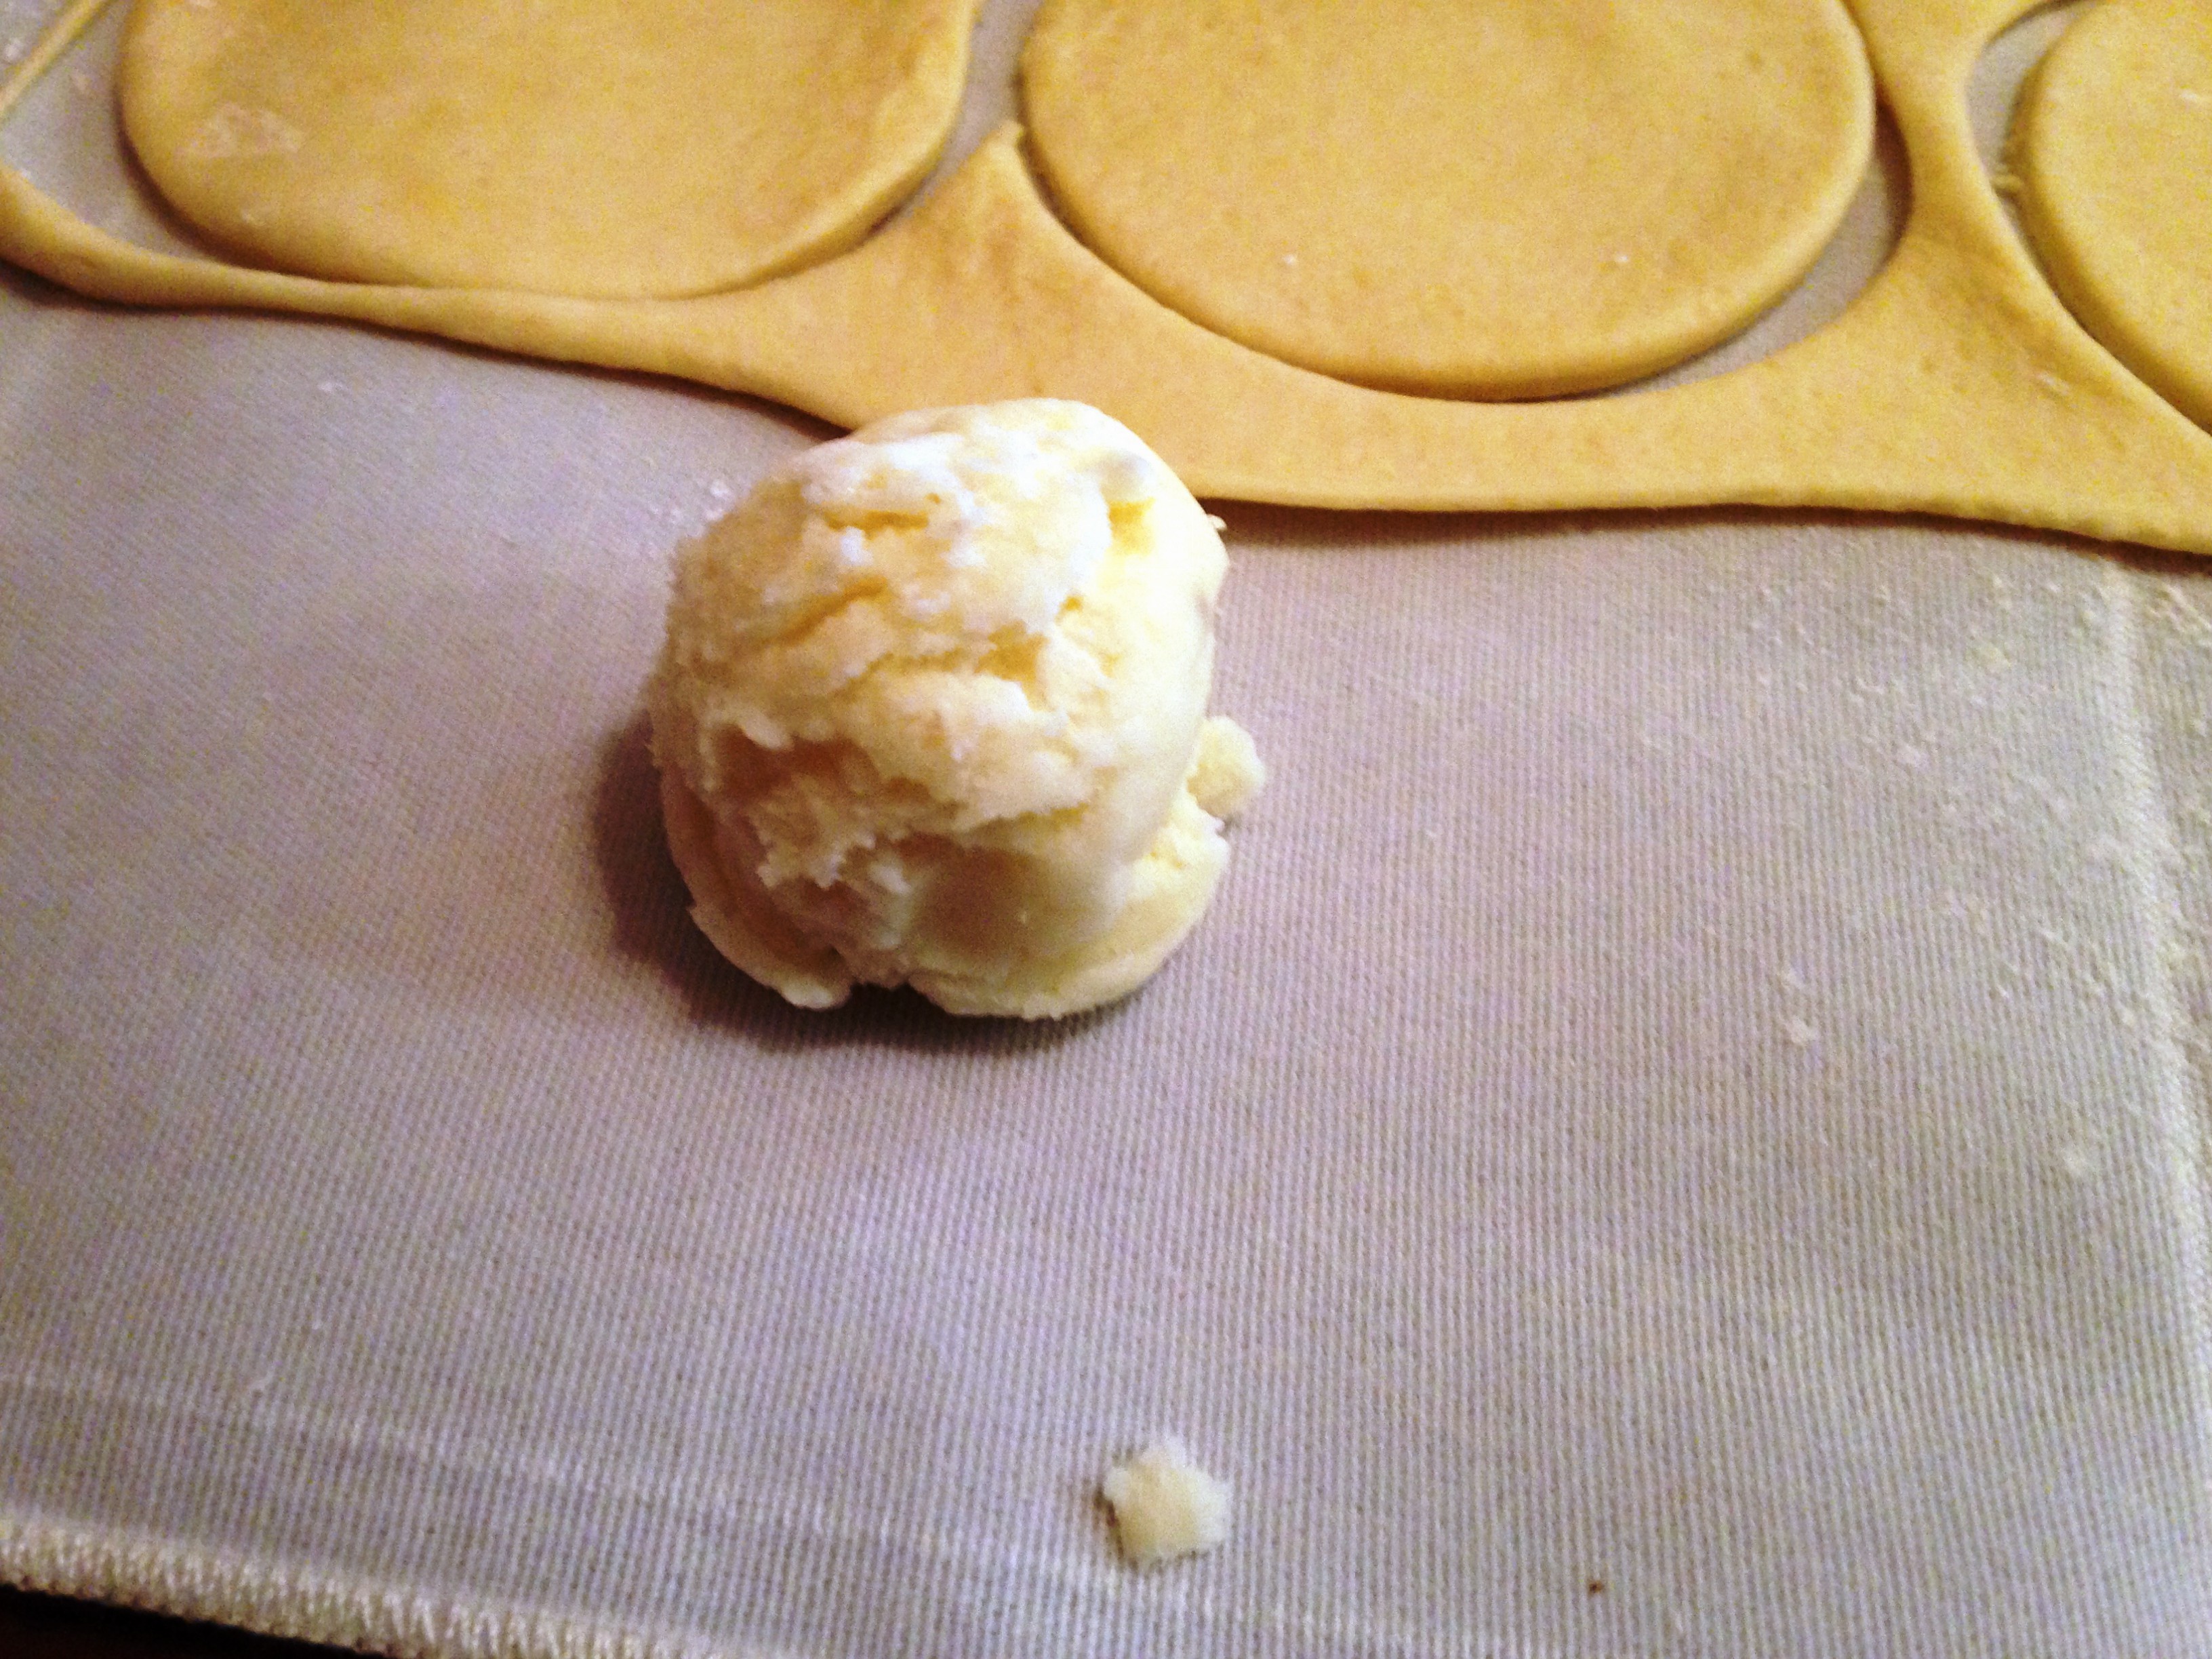
place potato mixture in the center of the round

bring edges up together and start to pinch
dough together from center to the outside
then from the center to the other side

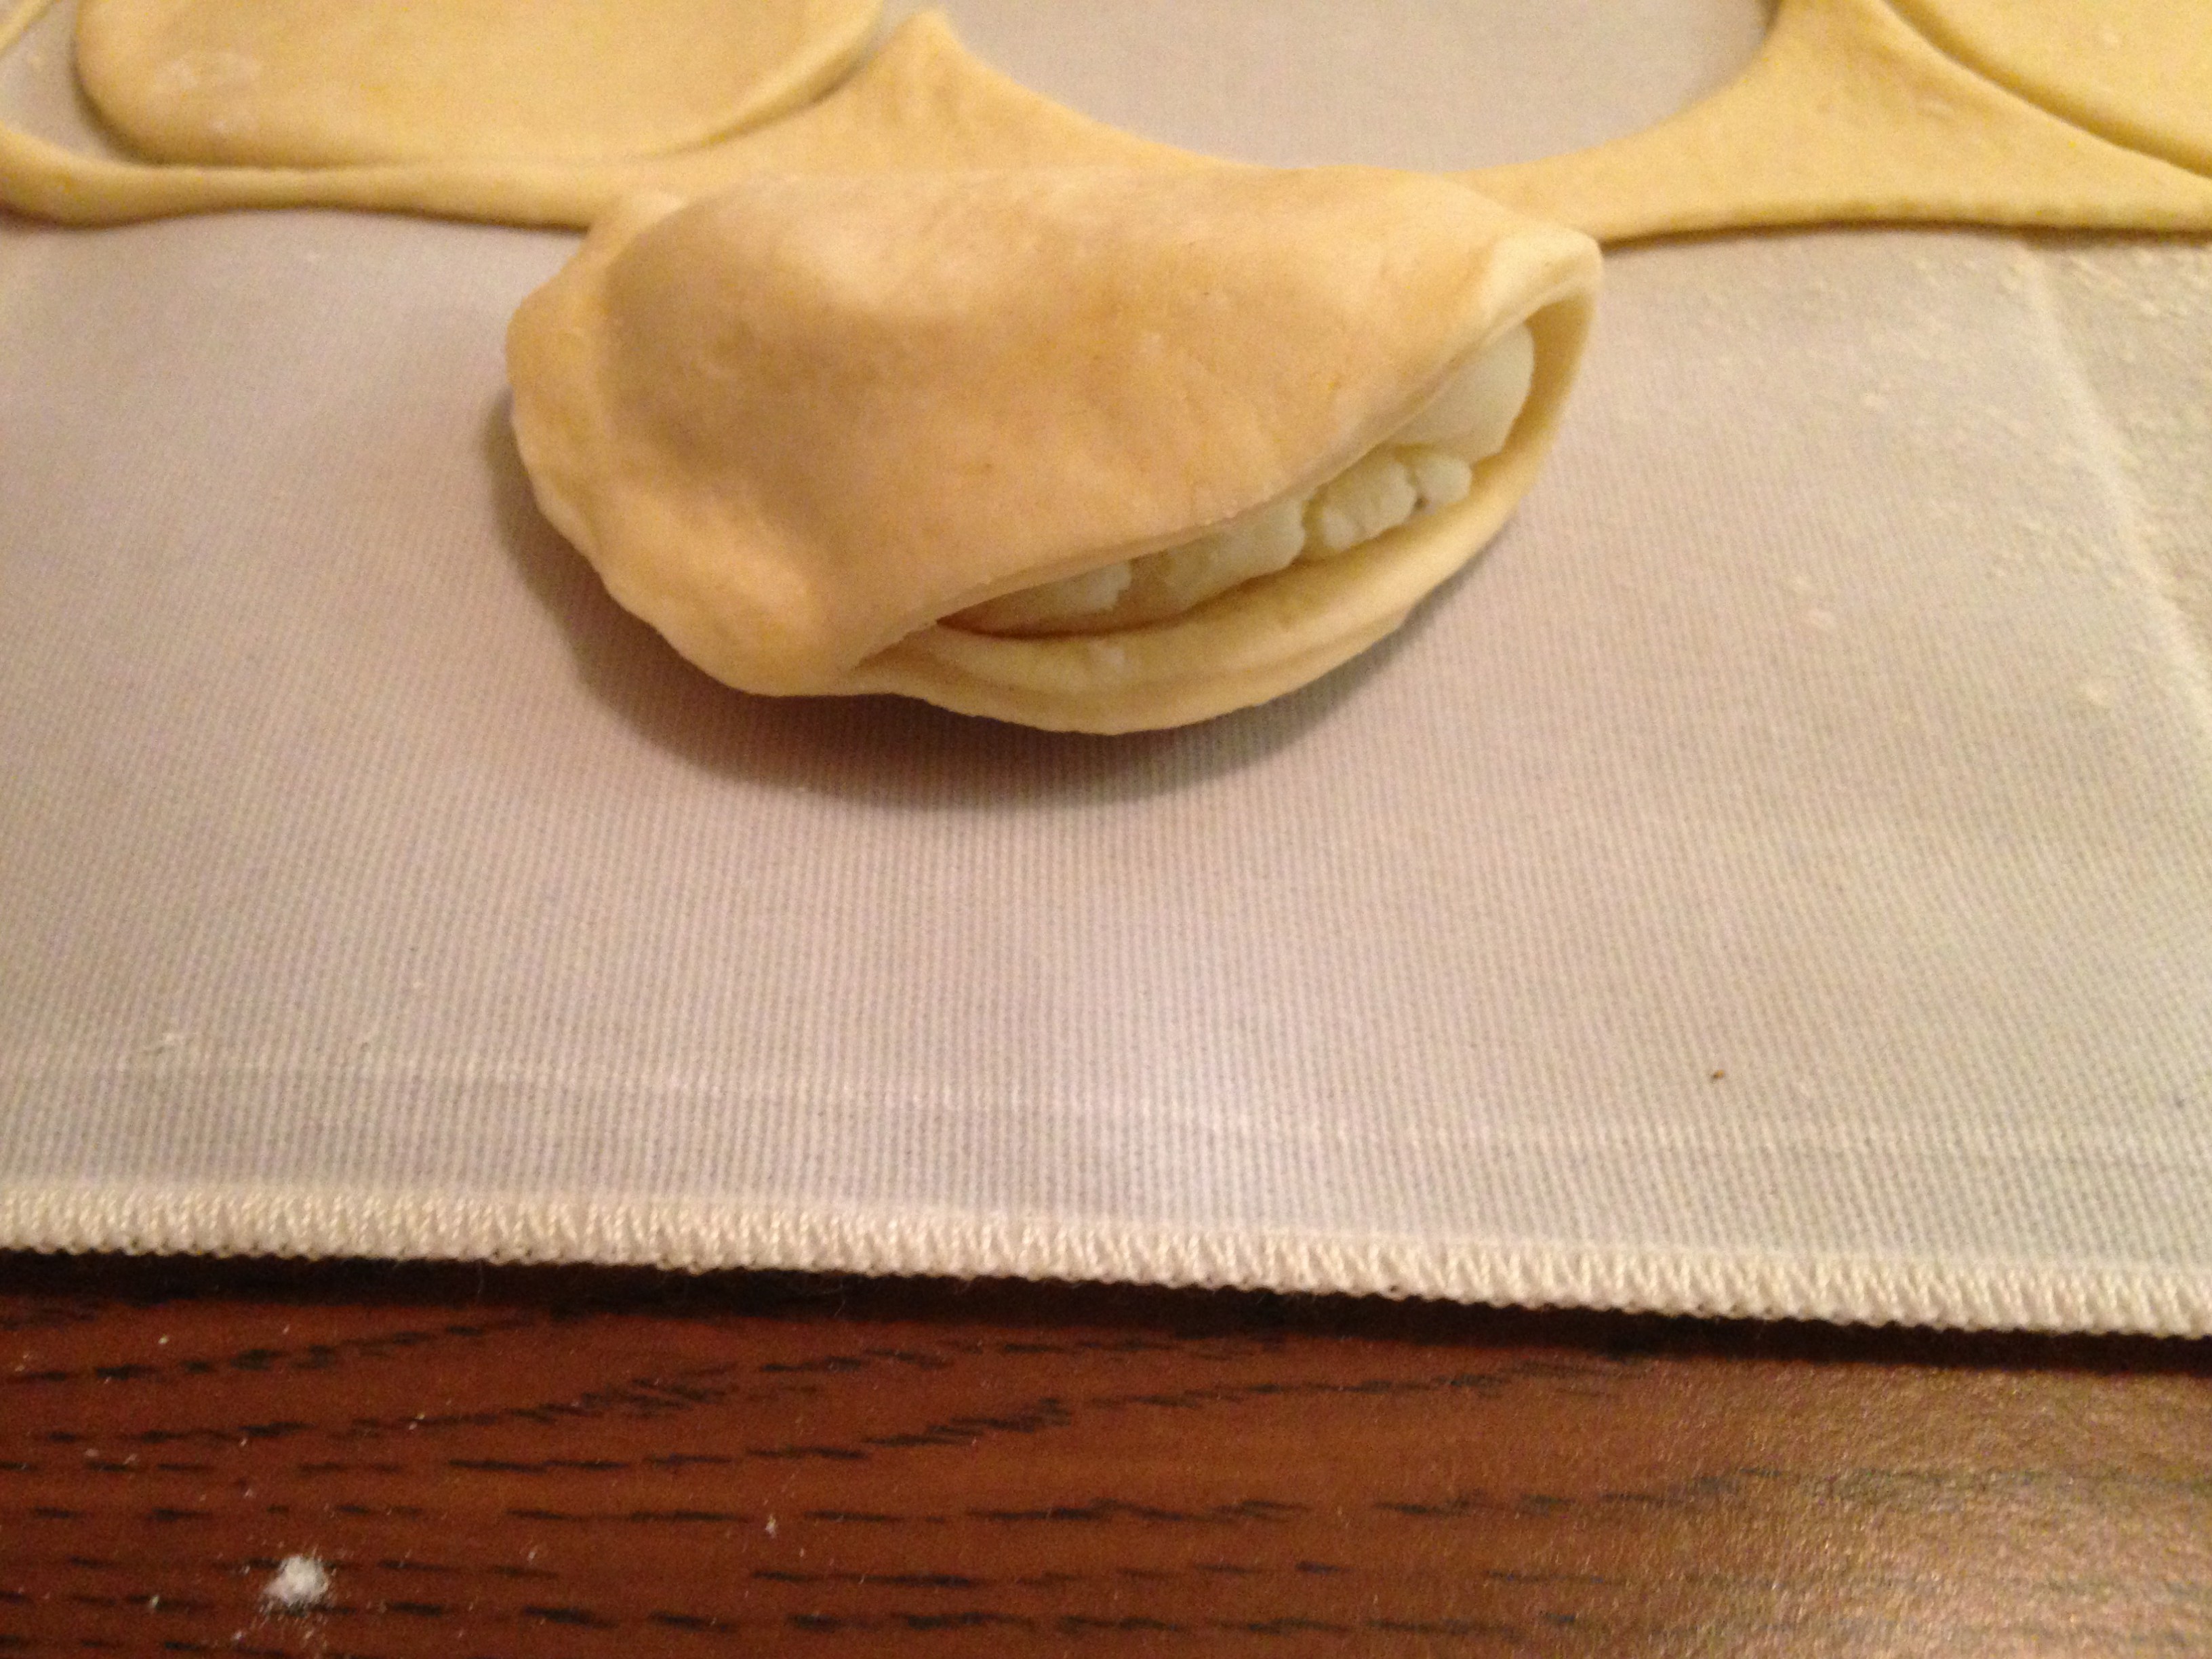
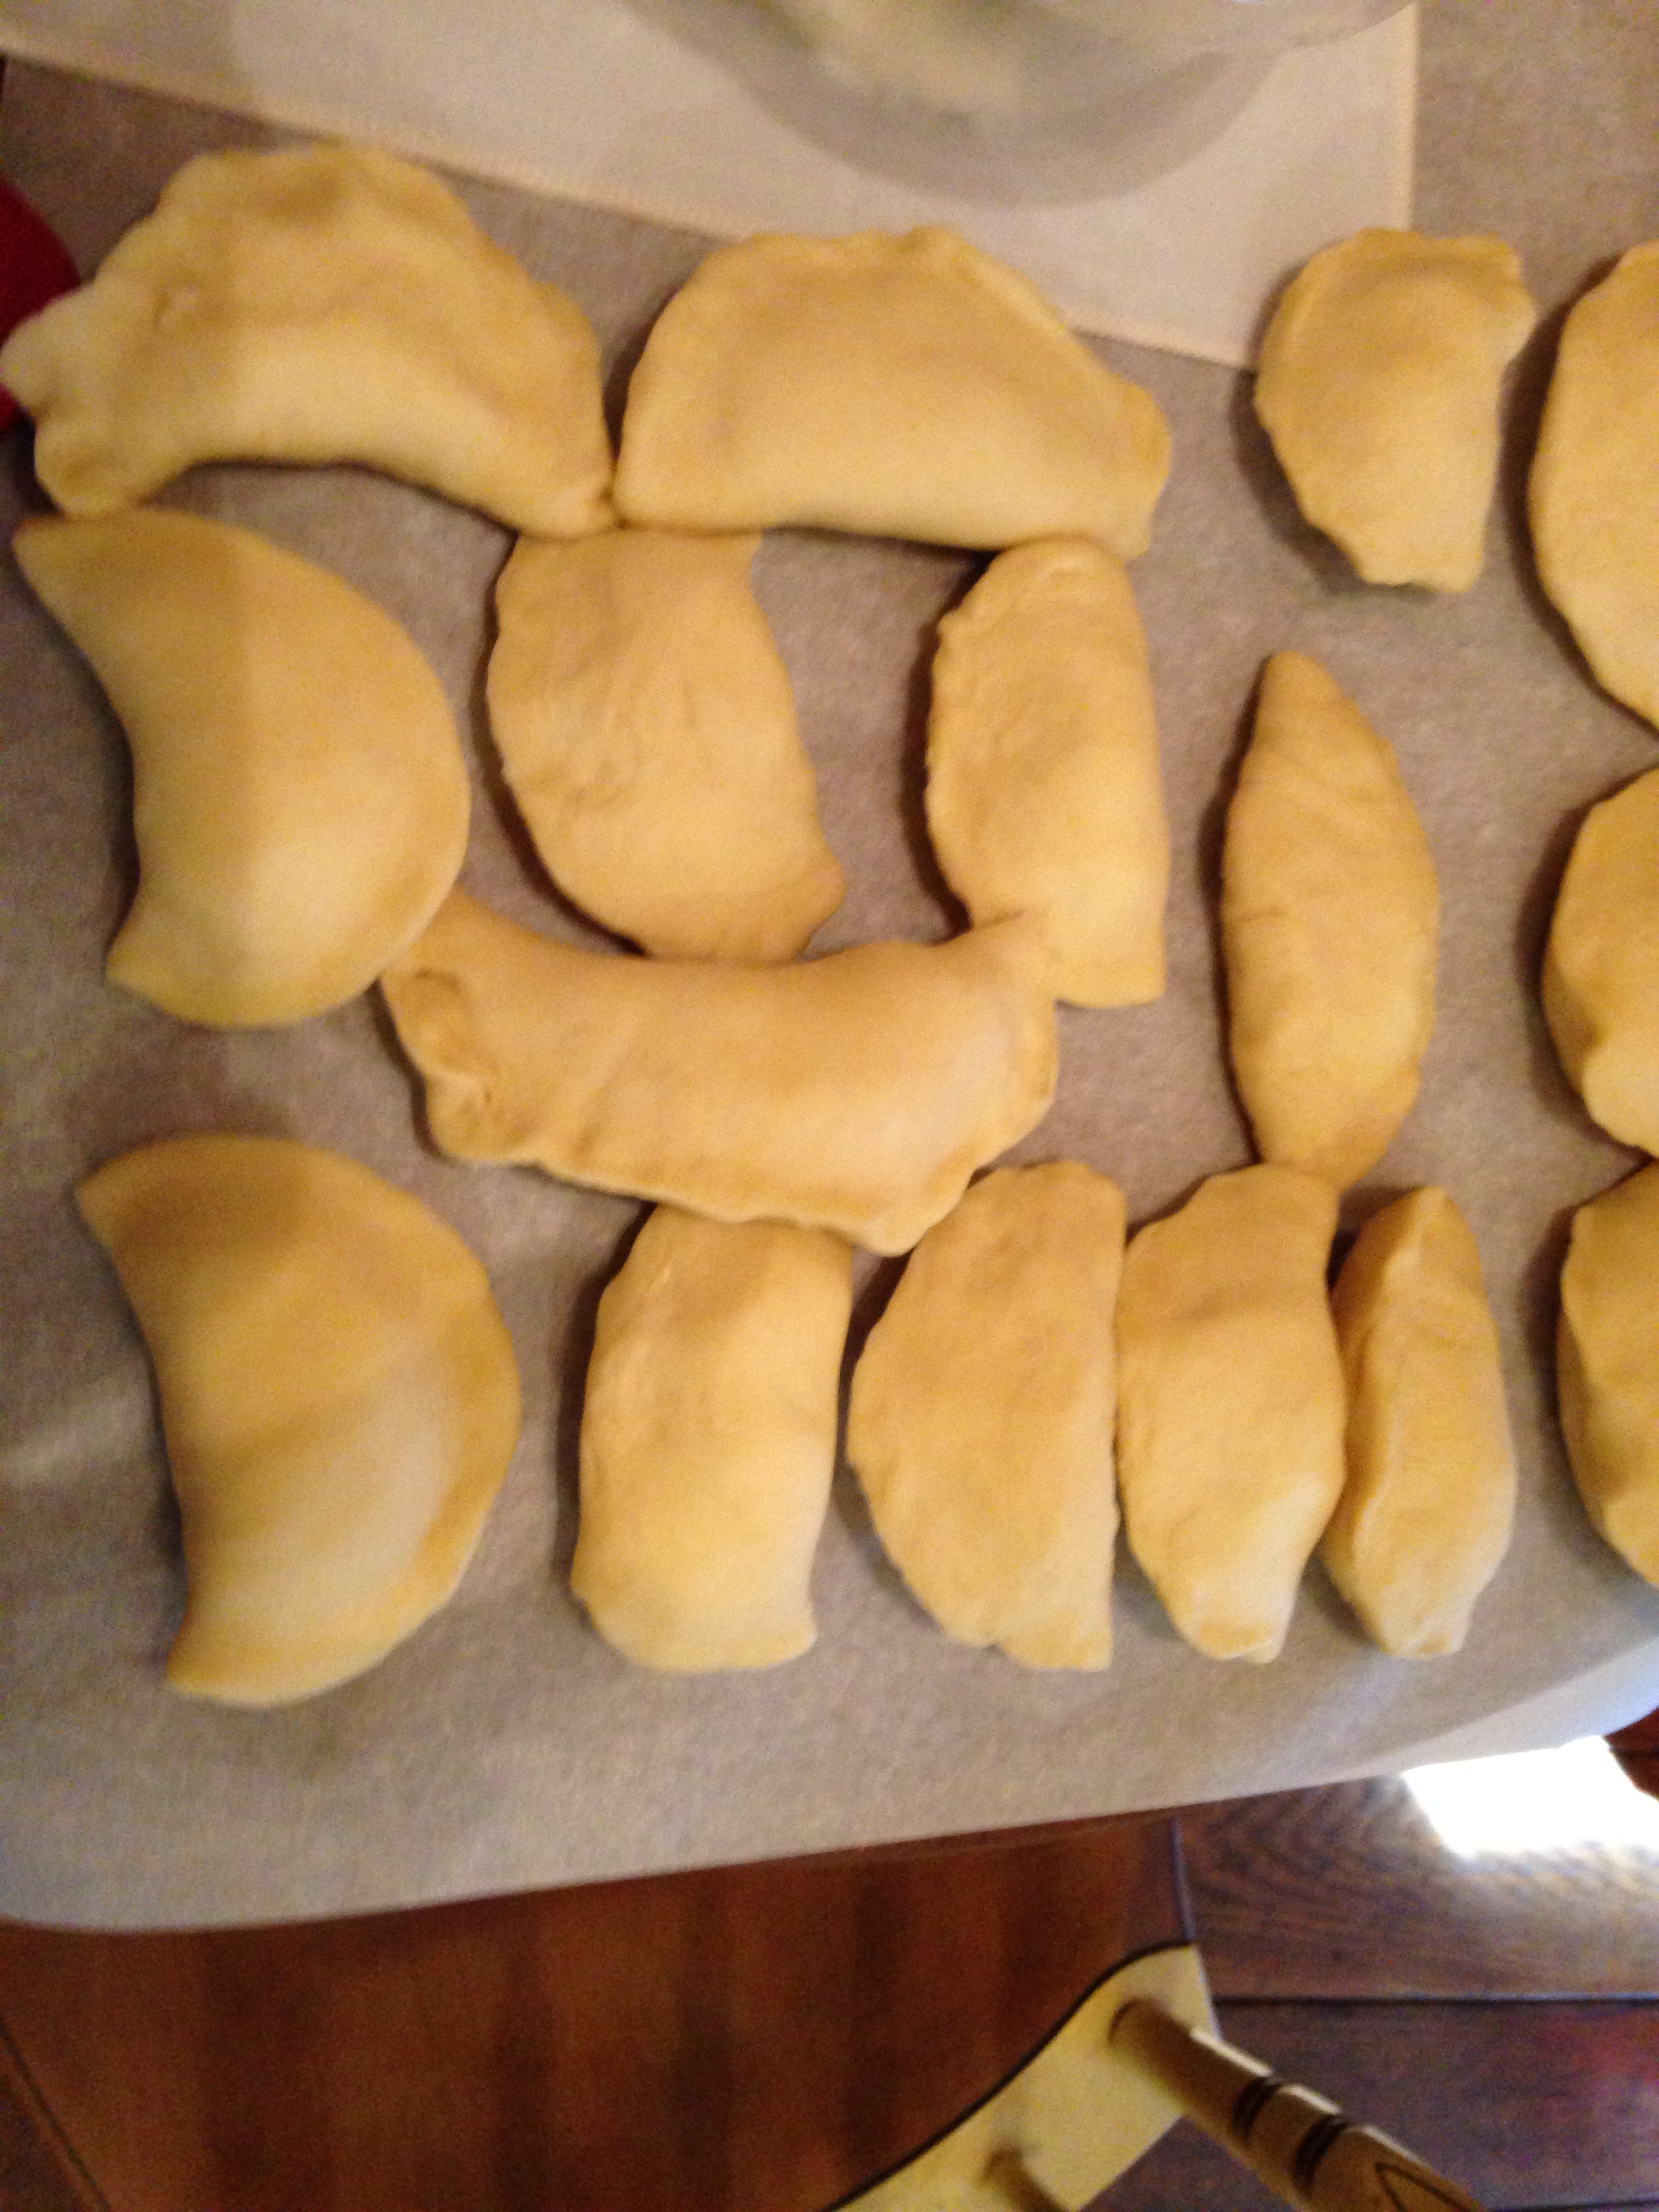
Done, this was perfect, it was easier just to
form a round with your fingers, fill it and pinch

as you can see not all of them look perfect
but they all tasted Fabulous!!!
From following recipe this was how much
potato mixture left, it may have been a
cup or cup in half. Great mashed potatoes
for sure.

Dough:
2 cups all-purpose flour
1 tsp. salt
1 cup sour cream
2 eggs, large
1 stick butter, softened
You can use food processor or mix by hand
Mix together the flour and salt, add eggs and combine, the dough will be clumpy.
Work in the sour cream and softened butter until dough comes together roughly, then scrap out onto work surface.
Knead and fold the dough without adding any additional flour until the dough becomes less sticky but it will be quite moist.
Wrap the dough well in plastic wrap and refrigerate for at least 60 minutes, but I like it overnight.
Filling:
2 lbs. russet potatoes, peeled, cubed
2 Tbsp. butter, softened
2 Tbsp. half and half
8 oz. cheese, shredded (about 2 cups) Cheddar, Colby, farmers or any good melting cheese
Cook potatoes in boiling water until tender, drained potatoes and place back in pot, set pot back on hot burner so any leftover liquid can cook away.
At this point you can put potatoes through a ricer, food mill or you can just mash them with a potato masher. Once that is done add half and half and softened butter and mix to combine, season with salt to taste and refrigerate to cool for 3 hours or over night.
Remove dough from fridge and plastic wrap, cut in half, then each piece in half, at this point you can roll each piece into a rectangle to an 1/8 inch thick. You can use a 3-3 1/2 inch round cutter to make your rounds. Or you can free form your rounds, you will get 24 rounds out of this dough.
Scoop about 2 tablespoons of filling onto rounds, gently fold in half and with your fingers pinch the edges from the center to each end, to seal the dough together.
At this point you can freeze these up to 1 month or refrigerate overnight up to 2 days.
Bring a large stock pot filled with water to a boil, in the meantime slice a large onion and begin to saute in a large skillet with butter or olive oil over medium heat, watching so they do not burn and just brown.
Once water starts to boil add 2 Tbsp. salt and stir, add pierogies to the salted water, make sure not to over crowd the pot and give a stir occasionally. When pierogies float to the top they are done, transfer cooked pierogies to skillet with onions, cook pierogies until browned and crisp on both sides.
Serve hot with additional sour cream or applesauce if you like, but most of all enjoy those delicious bundles of love!!! 🙂
Think about something sweet inside them, they do make them with fruit, you could sweeten some cream cheese as the filling and saute in just butter and sprinkle with cinnamon and sugar or drizzle with chocolate…the possibilities are endless really!!
![]()

“Red Velvet, Red Velvet, send “Cheesecake” right over” LOL
Anyone remember playing “Red Rover, Red Rover” as a kid 😉 if not just google it LOL 😛
Anyway I was trying to start my blog out in a silly kind of way, but there is no silliness when “Red Velvet” is involved 😉
Of course Red Velvet everything starts to come out around Valentine’s Day, and this is around that time I made this delicious cheesecake.
Of course I did share with several friends and I must say I had “zero” complaints 🙂 LOL
So I thought this would be perfect for this week’s “Fiesta Friday #63”, of course our host is Angie@The Novice Gardener her new blog for Fiesta Friday’s is here and her co-host this week are Julianna@Food On Board and Hilda@Along The Grapevine.
So I’d like to thank them for letting me share this recipe 🙂
So without further ado here you go!!

Ingredients

Crust –
place biscuits in food processor

Pulse until it becomes fine crumbs

this is the 1 1/2 cup of the tea biscuits

Add melted butter and crumbs together

butter & crumb mixture

spray your spring-form pan

Pour crumb mixture into pan

with your fingers firmly press crumb mixture into pan
and up the sides about 1 inch

Filling – cream cheese softened

blend the cream cheese until smooth

add eggs one at a time, blending well after each one


add the sugar

add sour cream

add salt & cornstarch
add vanilla

scrap your bowl

put about 2 1/2 cup of the filling in another bowl

add red food coloring and cocoa

whisk together

Pour red mixture on top of cream mixture
and give it a swirl and bake

once its done turn oven off, crack the oven door open
and let cake sit inside for 1 hour

remove from oven and let cool for 3 hours

Chill overnight or for at least 3 hours before
cutting and serving


Its came out just delicious!!!

Enjoy!!
Crust: Mix all together in a bowl, in a 9 inch spring-form pan press mixture down on the bottom and up the sides about 1 inch, set aside. Filling: 2 8oz. bricks cream cheese, softened In a large bowl with a stand mixer or hand mixer, mix the cream cheese until smooth and creamy, add one egg at a time, making sure each is mixed in before adding the next. Then add the sugar, sour cream, vanilla, salt and then cornstarch, scraping the bowl as needed. Take 2 1/2 cups of the mixture and add it to a small bowl then mix in food coloring and cocoa until fully combined. Pour white mixture into the pan and spread around, then add red mixture and just swirl the 2 mixtures together. Bake at 350 degrees for 45-60 minutes, edges will be puffed up and slightly brown, turn off oven, leave the door cracked with cheesecake inside for 1 hour. Then cool at room temp. for about 3 hours, place in refrigerator to chill for at least 2-3 before serving. Red Velvet Cheesecake
2 1/2 cups cookie crumbs (graham or flavored)
(I used 1 1/2 cups Cappuccino tea biscuits and 1 cup graham cracker crumbs)
6 Tbsp. butter, melted
1/4 cup sugar
1/2 cup sour cream, room temp
3 eggs, room temp
3/4 cup sugar
1/4 tsp. salt
1 Tbsp. corn starch
1 tsp. vanilla
1 tsp. red food coloring
1/4 cup cocoa powder

![]()

Hello everyone it’s another Fiesta Friday!!! I want to thank our host Angie@The Novice Gardener and her co-host today Sue@birgerbird and Suzanne@apuginthekitchen. Suzanne has become a great blog friend and I want to thank her 🙂 So enjoy Fiesta Friday everyone!!!
So earlier this week I went to my favorite place “Flying Olive” 🙂
The Flying Olive has 50 varieties of olive oils and vinegar’s, I love going there because you can taste anything before buying it 😛 check out their website for all the info and check out their 2 locations one each in Ohio and Kentucky.
I currently have Strawberry, Red Apple, Wild Blueberry, Cranberry Pear in the vinegar’s and in the olive oils I have Butter, Persian Lime, Cilantro and Roasted Onion and Tuscan Herb 🙂
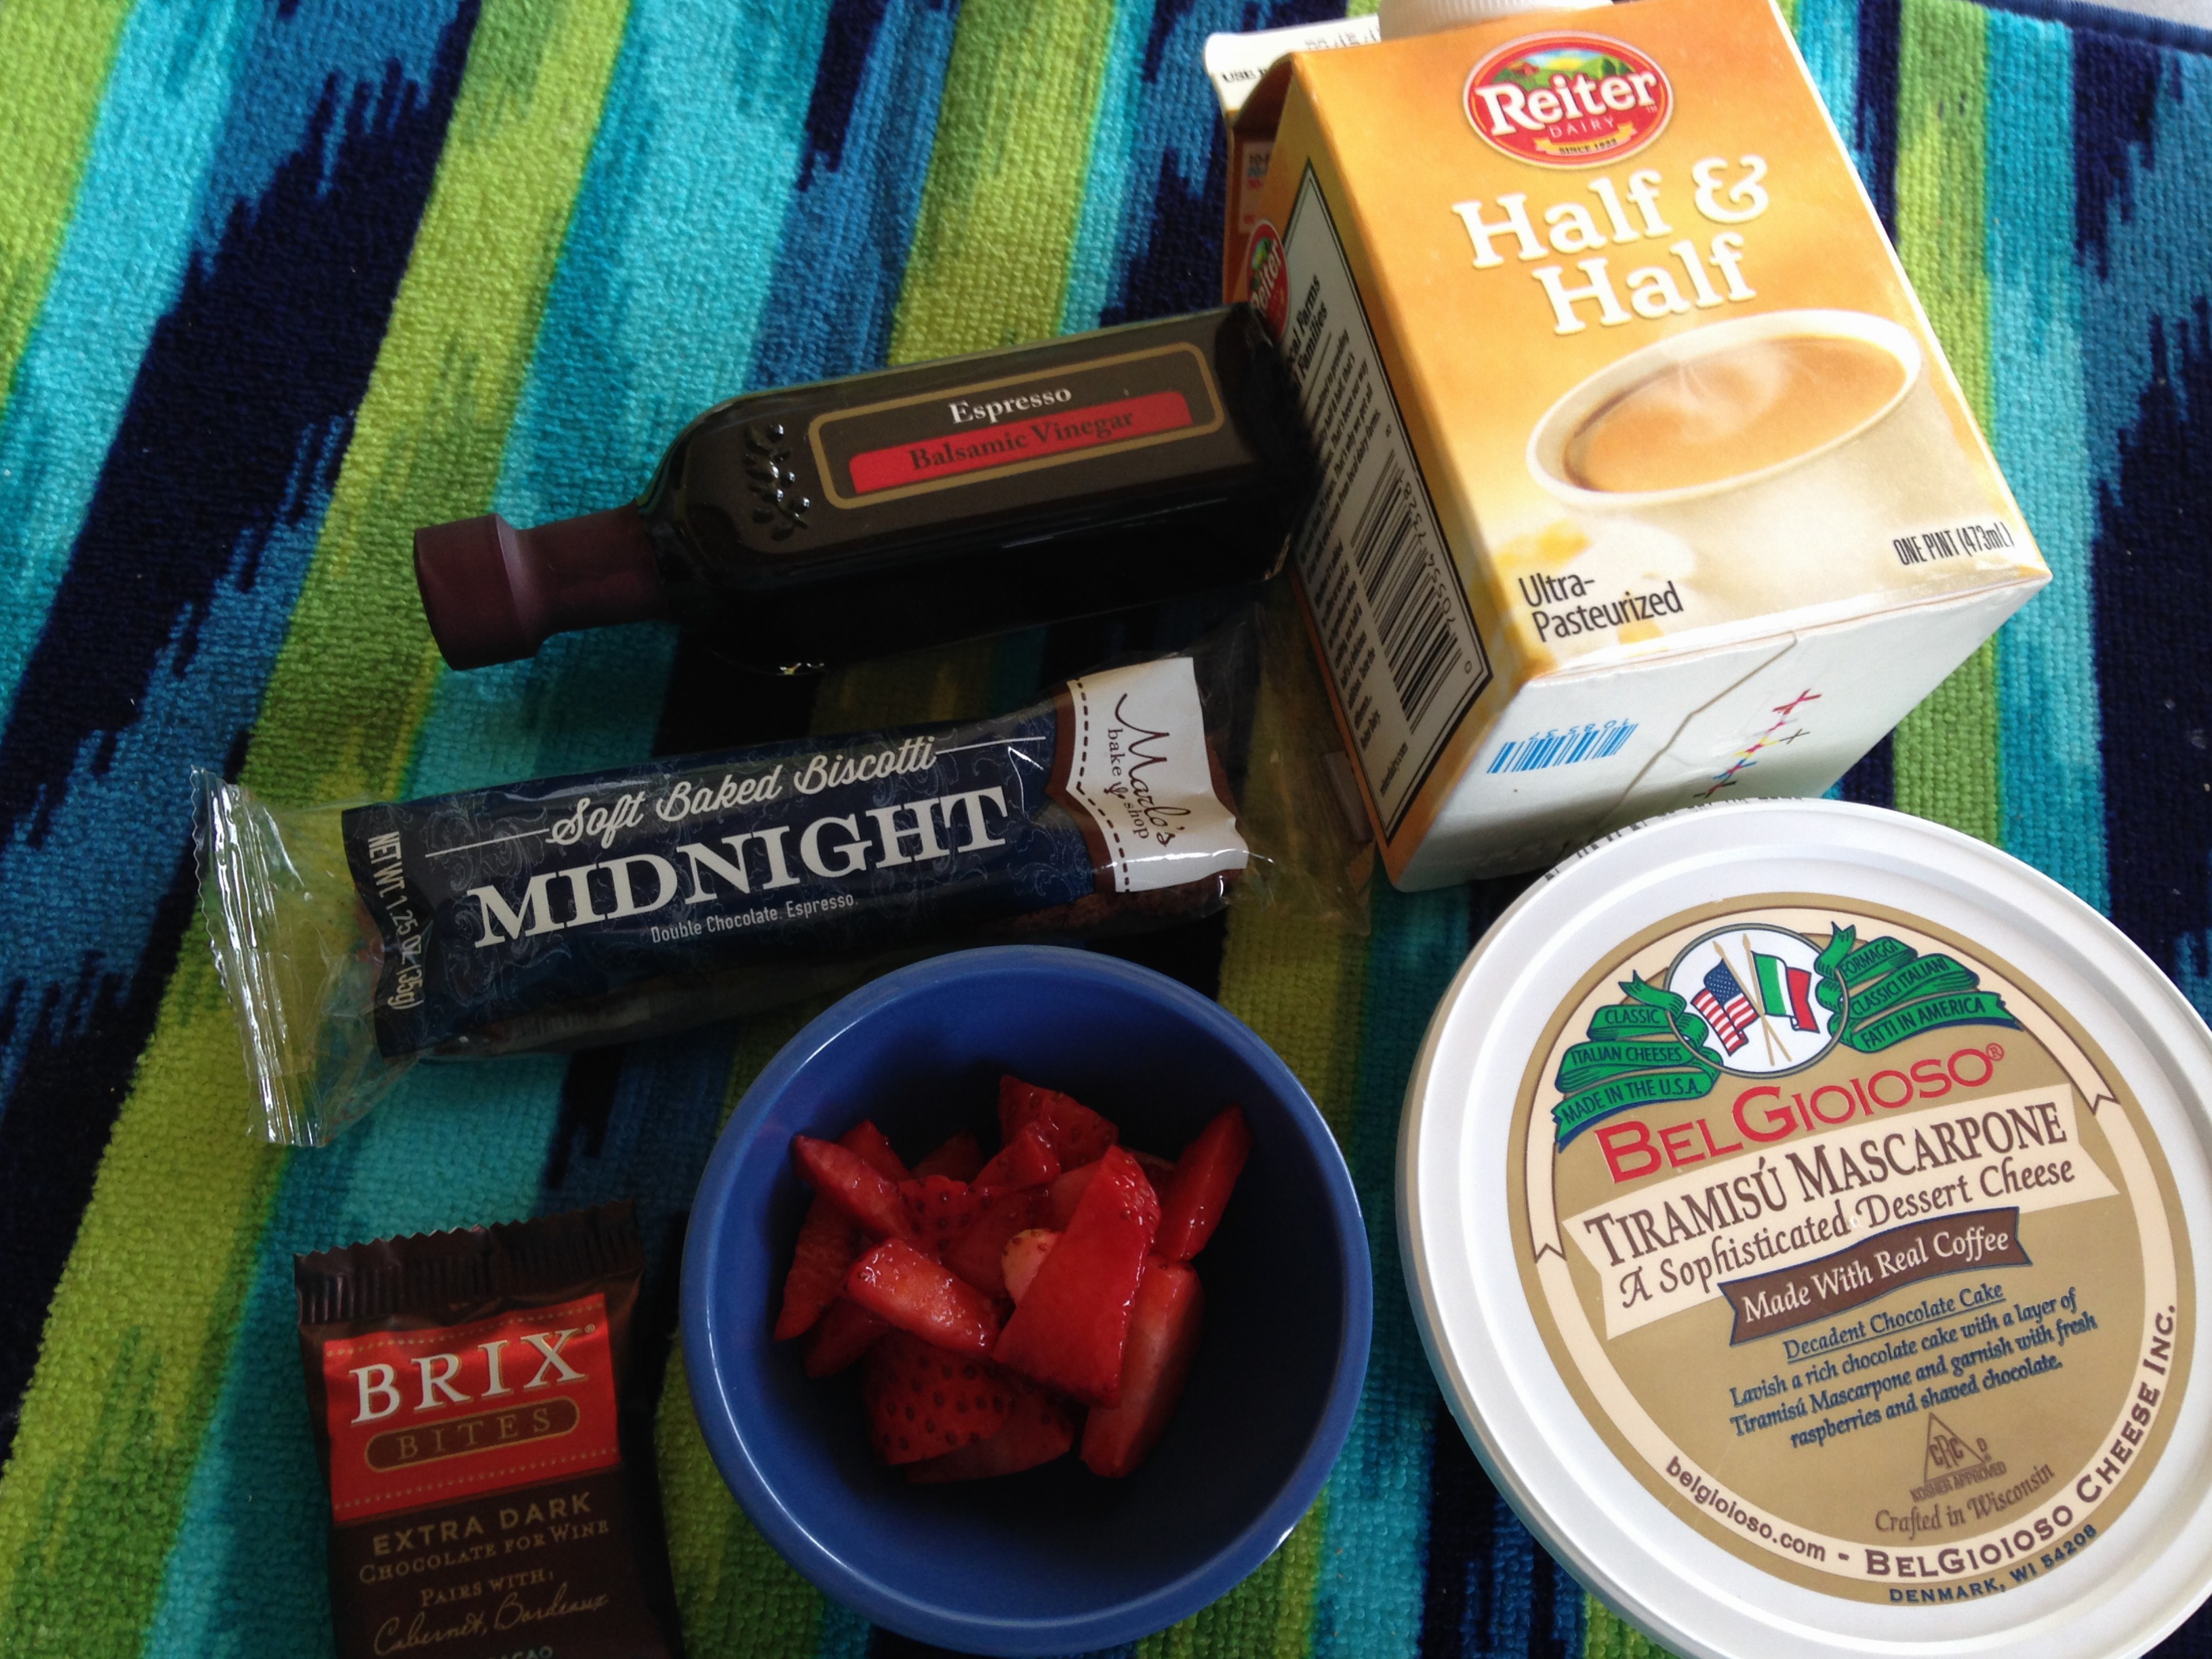
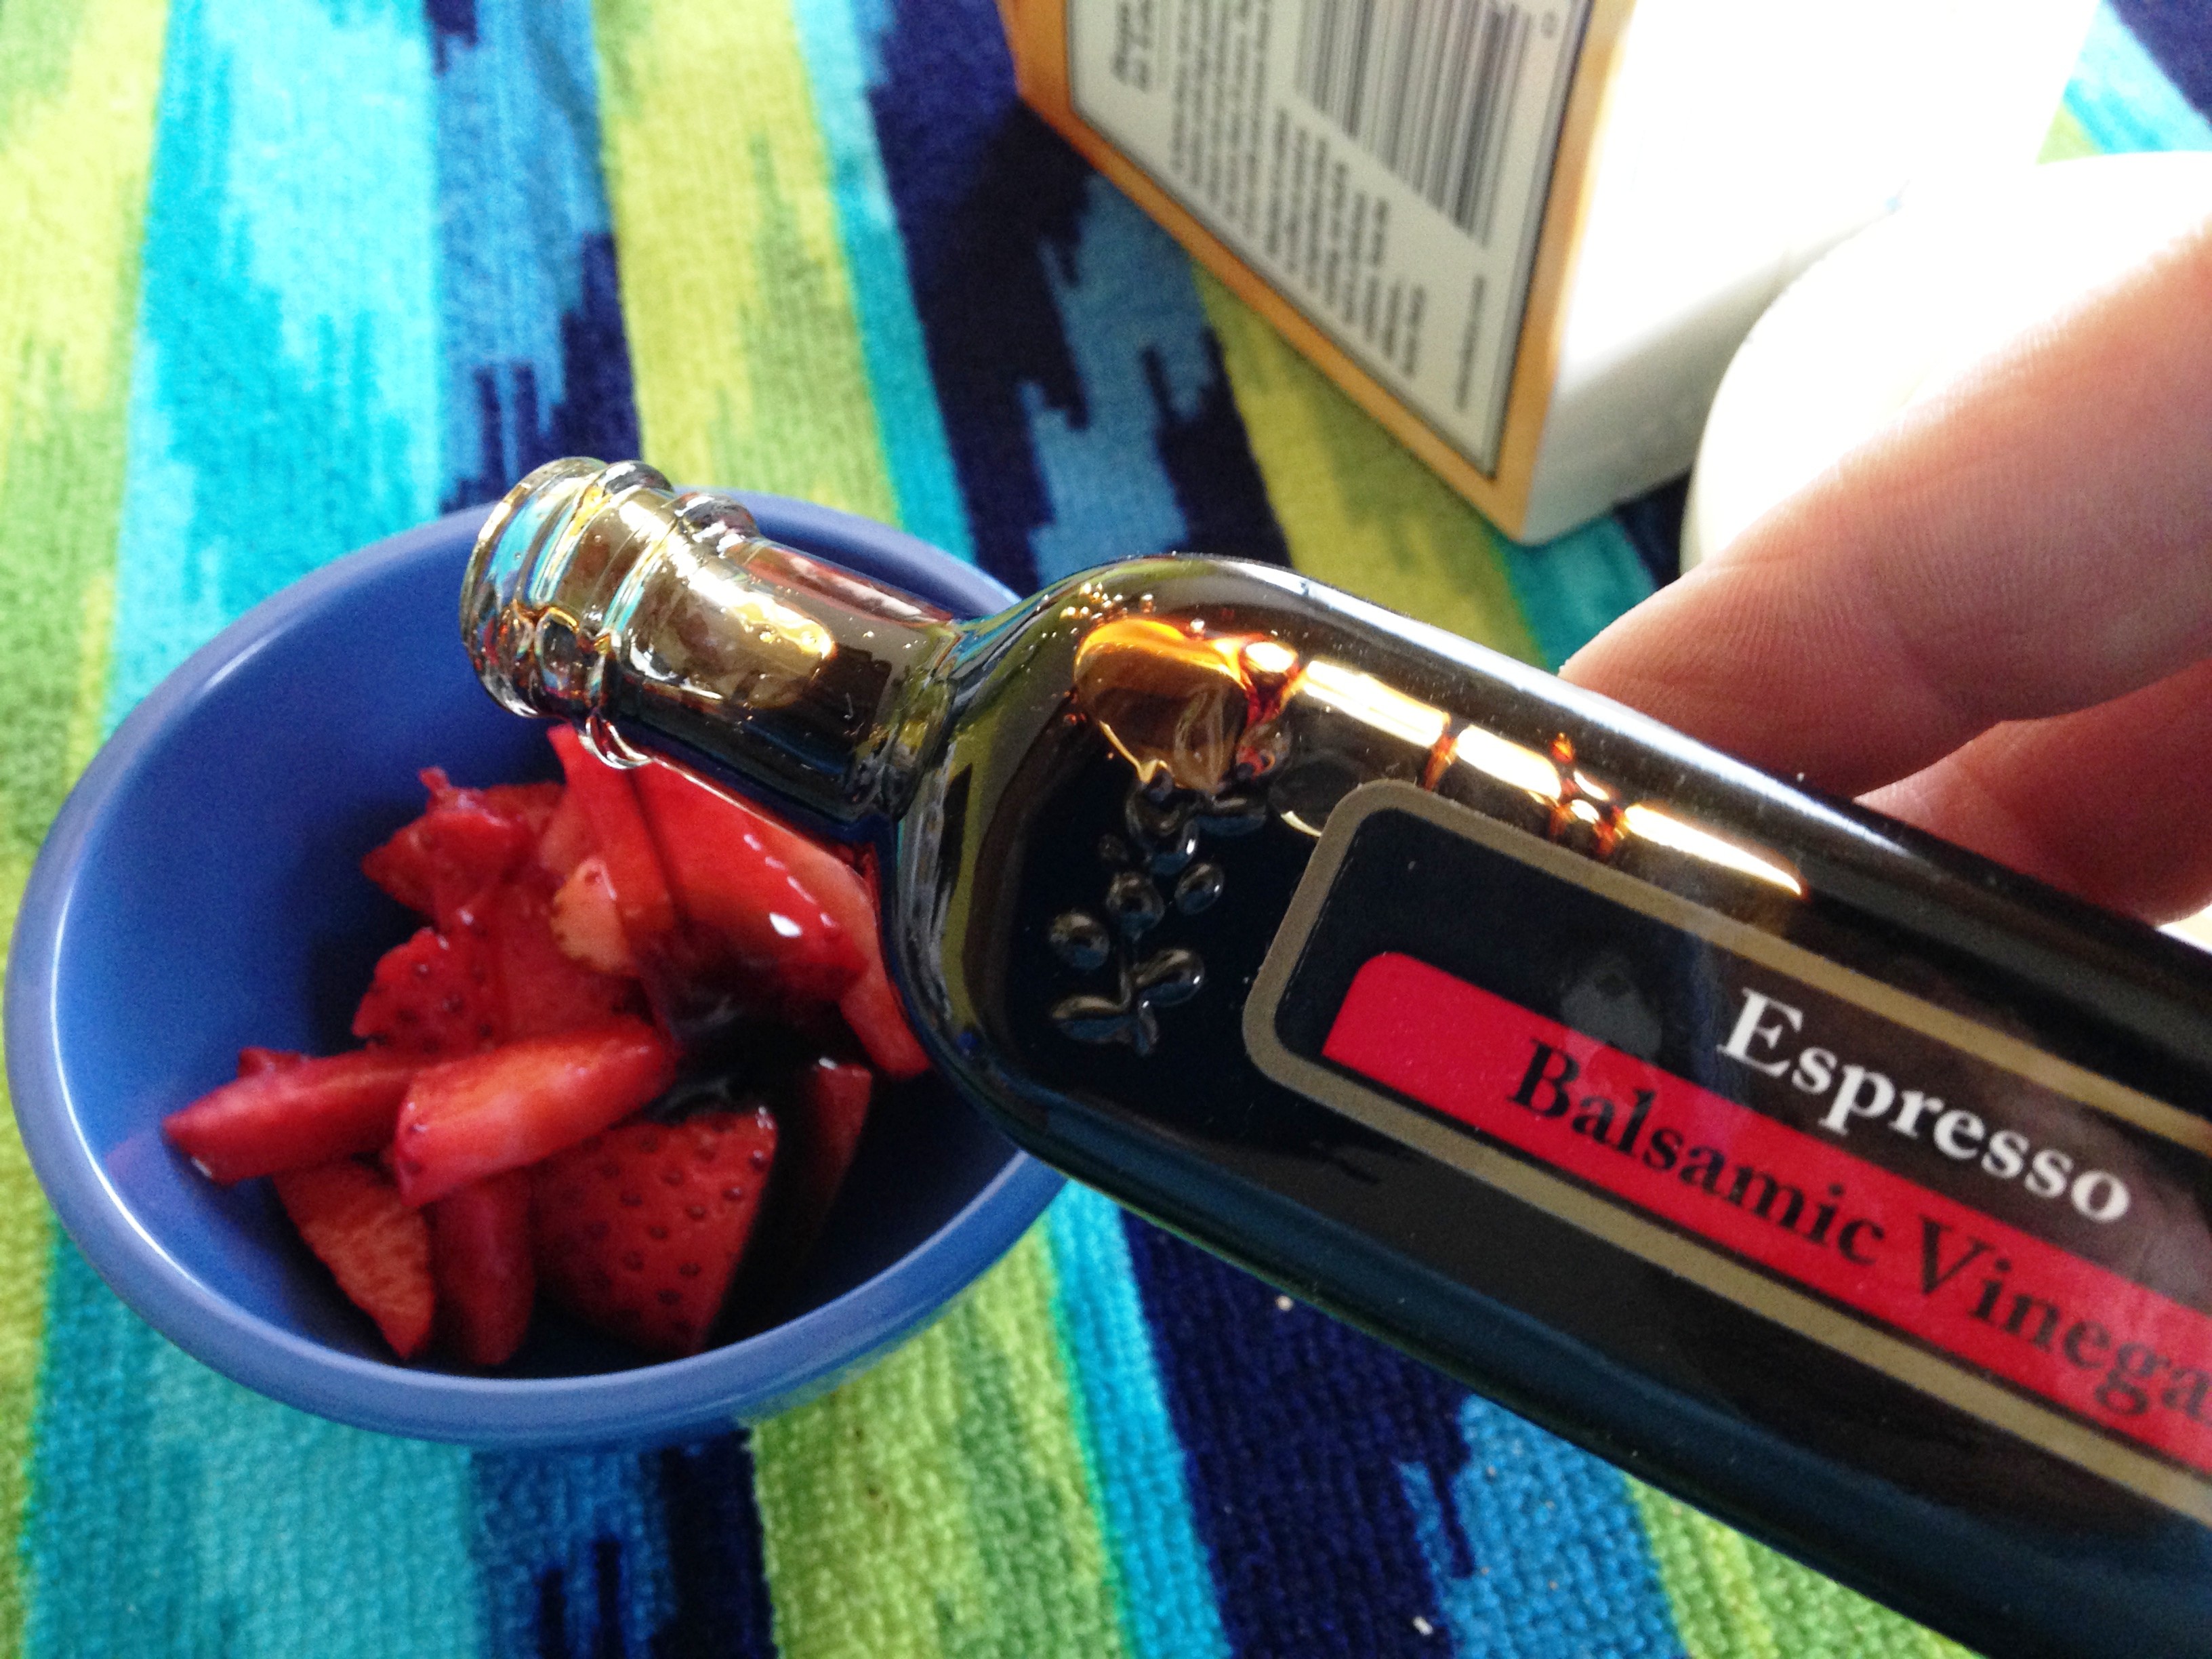
During my recent trip I got Dark Espresso Balsamic Vinegar as I just love coffee so I knew I had to get it.
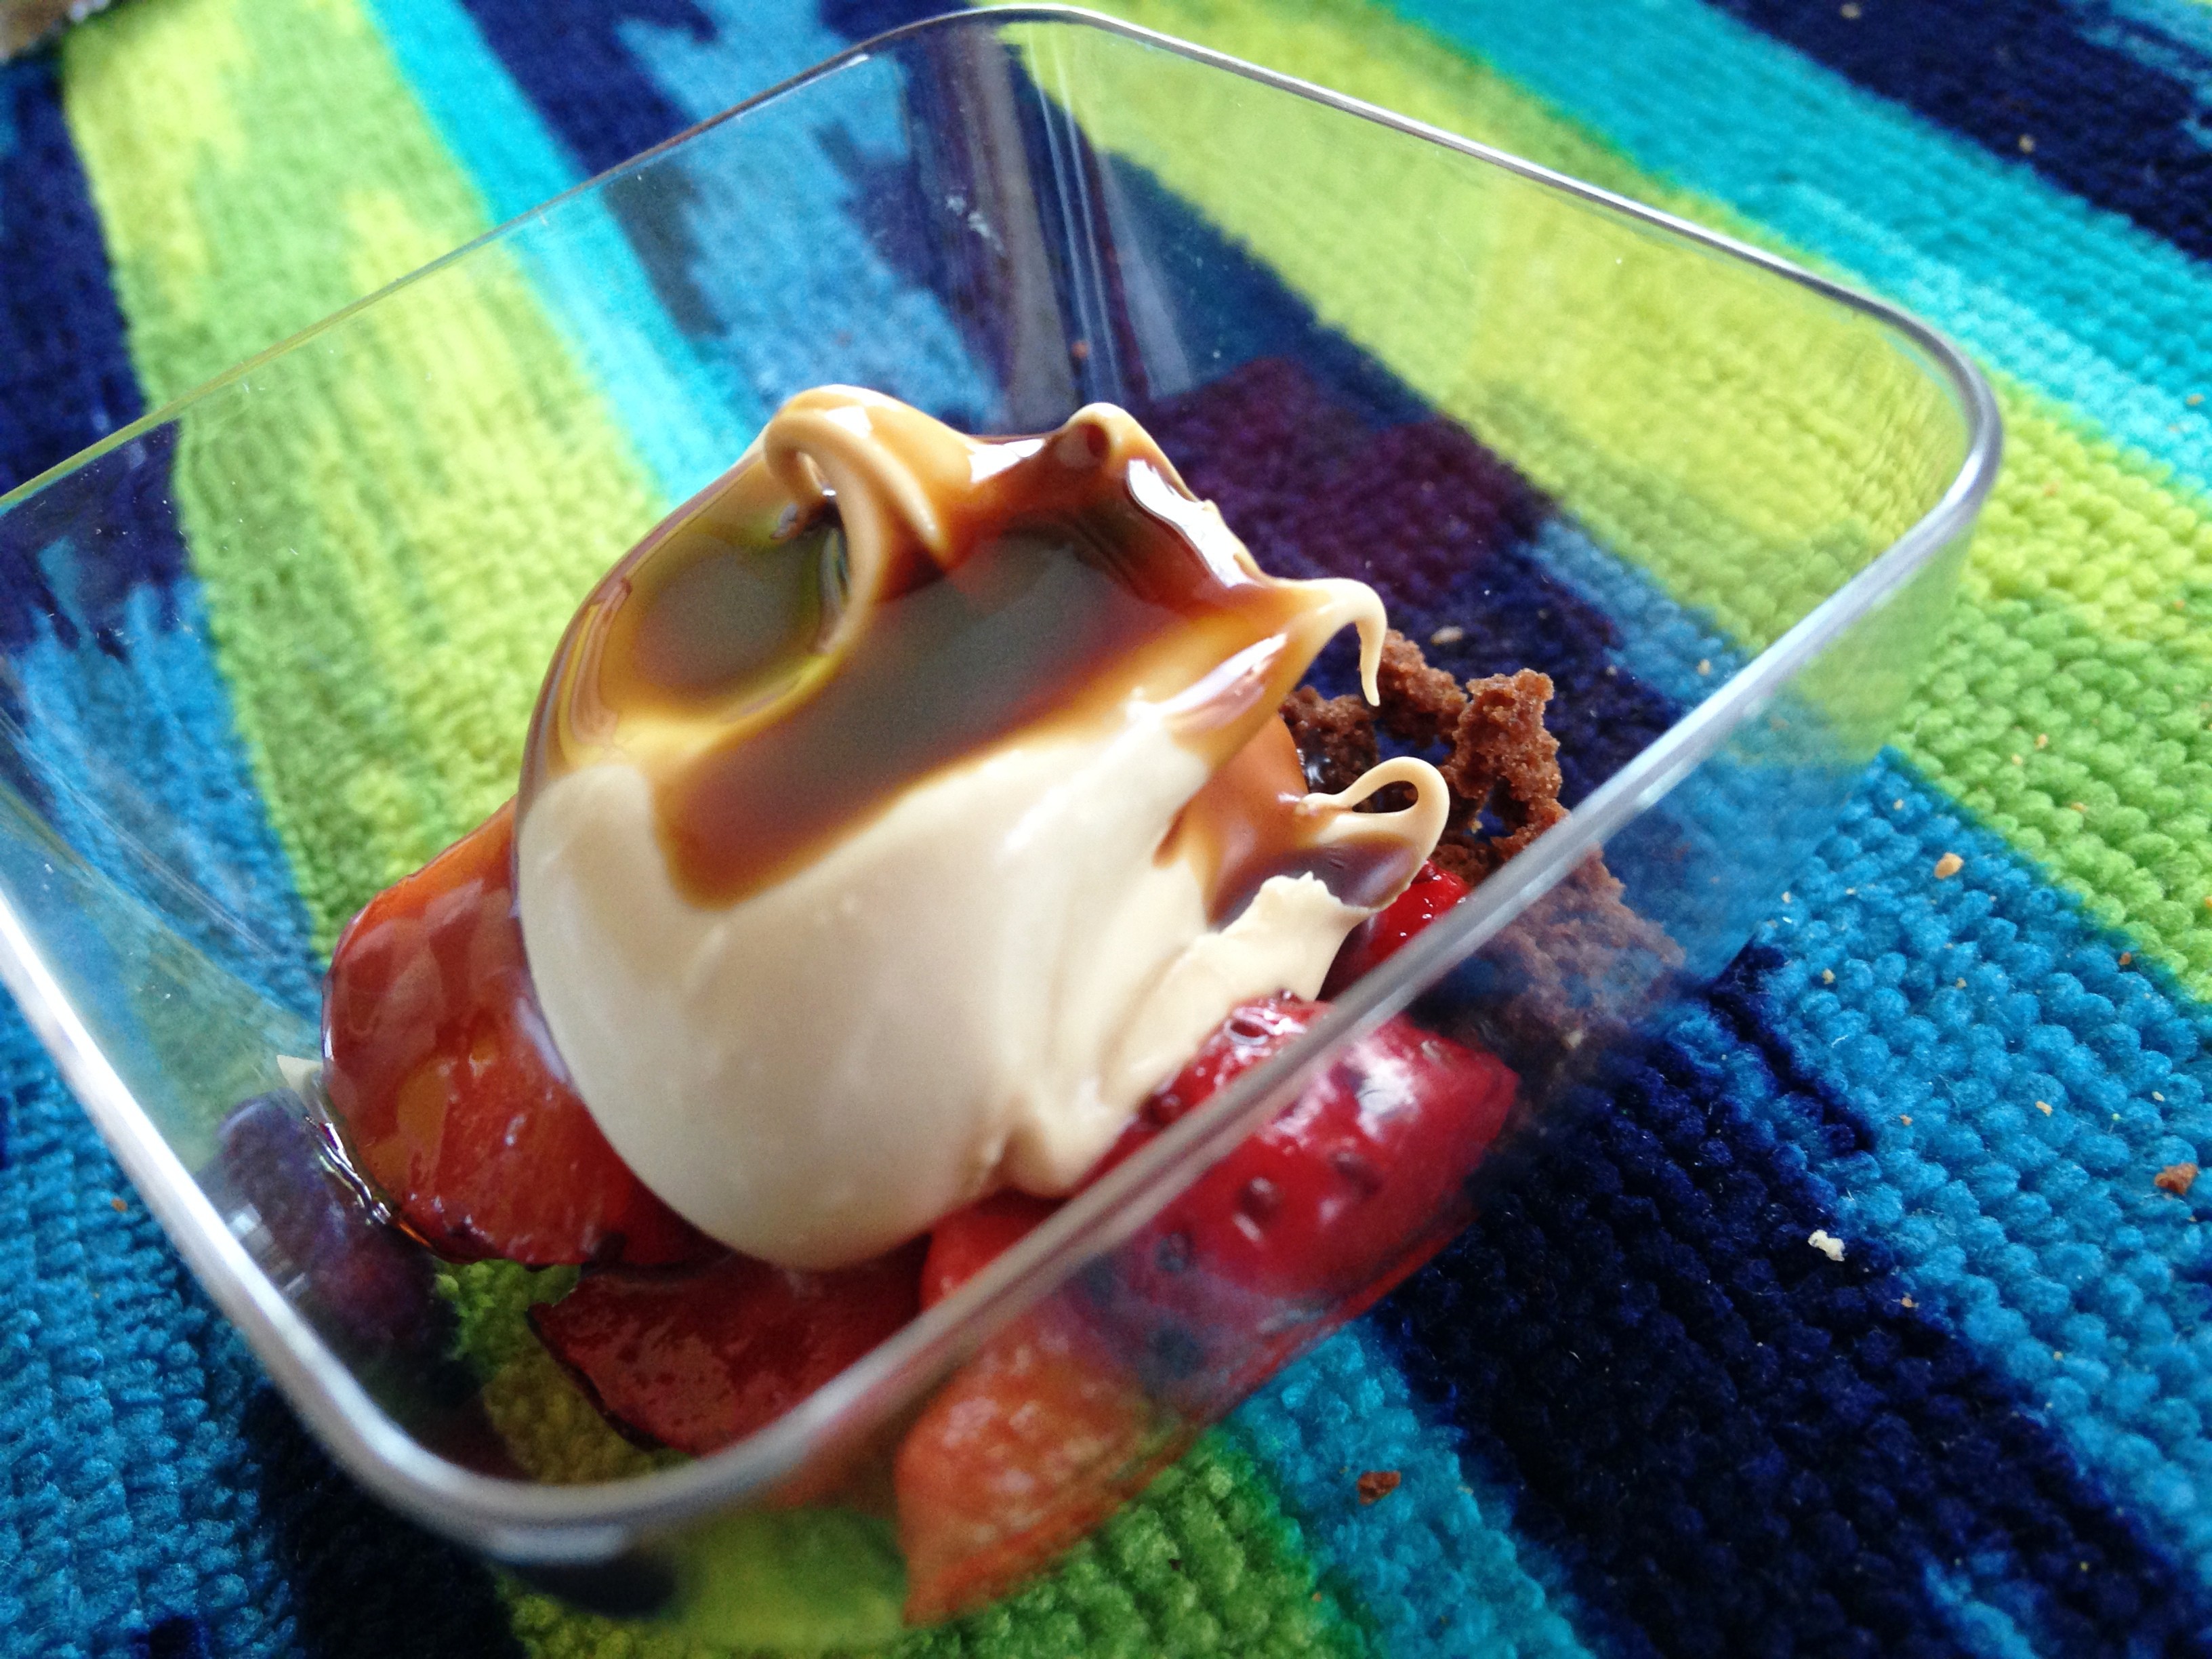
So I had some strawberries at home so I knew I was going to use those some how and I was thinking of using mascarpone cheese. After getting home and checking out what I had already in my pantry, I thought this would be a perfect mini dessert. A couple of years ago for Christmas my friend Danny gave me a few sets of mini plates, bowls, spoons and forks, he know how I like to entertain 🙂 so this is my is my mini dessert.

Ingredients (ended up not using the half n half)
If you wanted mascarpone to be more creamy
then I would add a little half n half.
Added the vinegar to my strawberries
Added the vinegar to the Mascarpone cheese

Mixed up

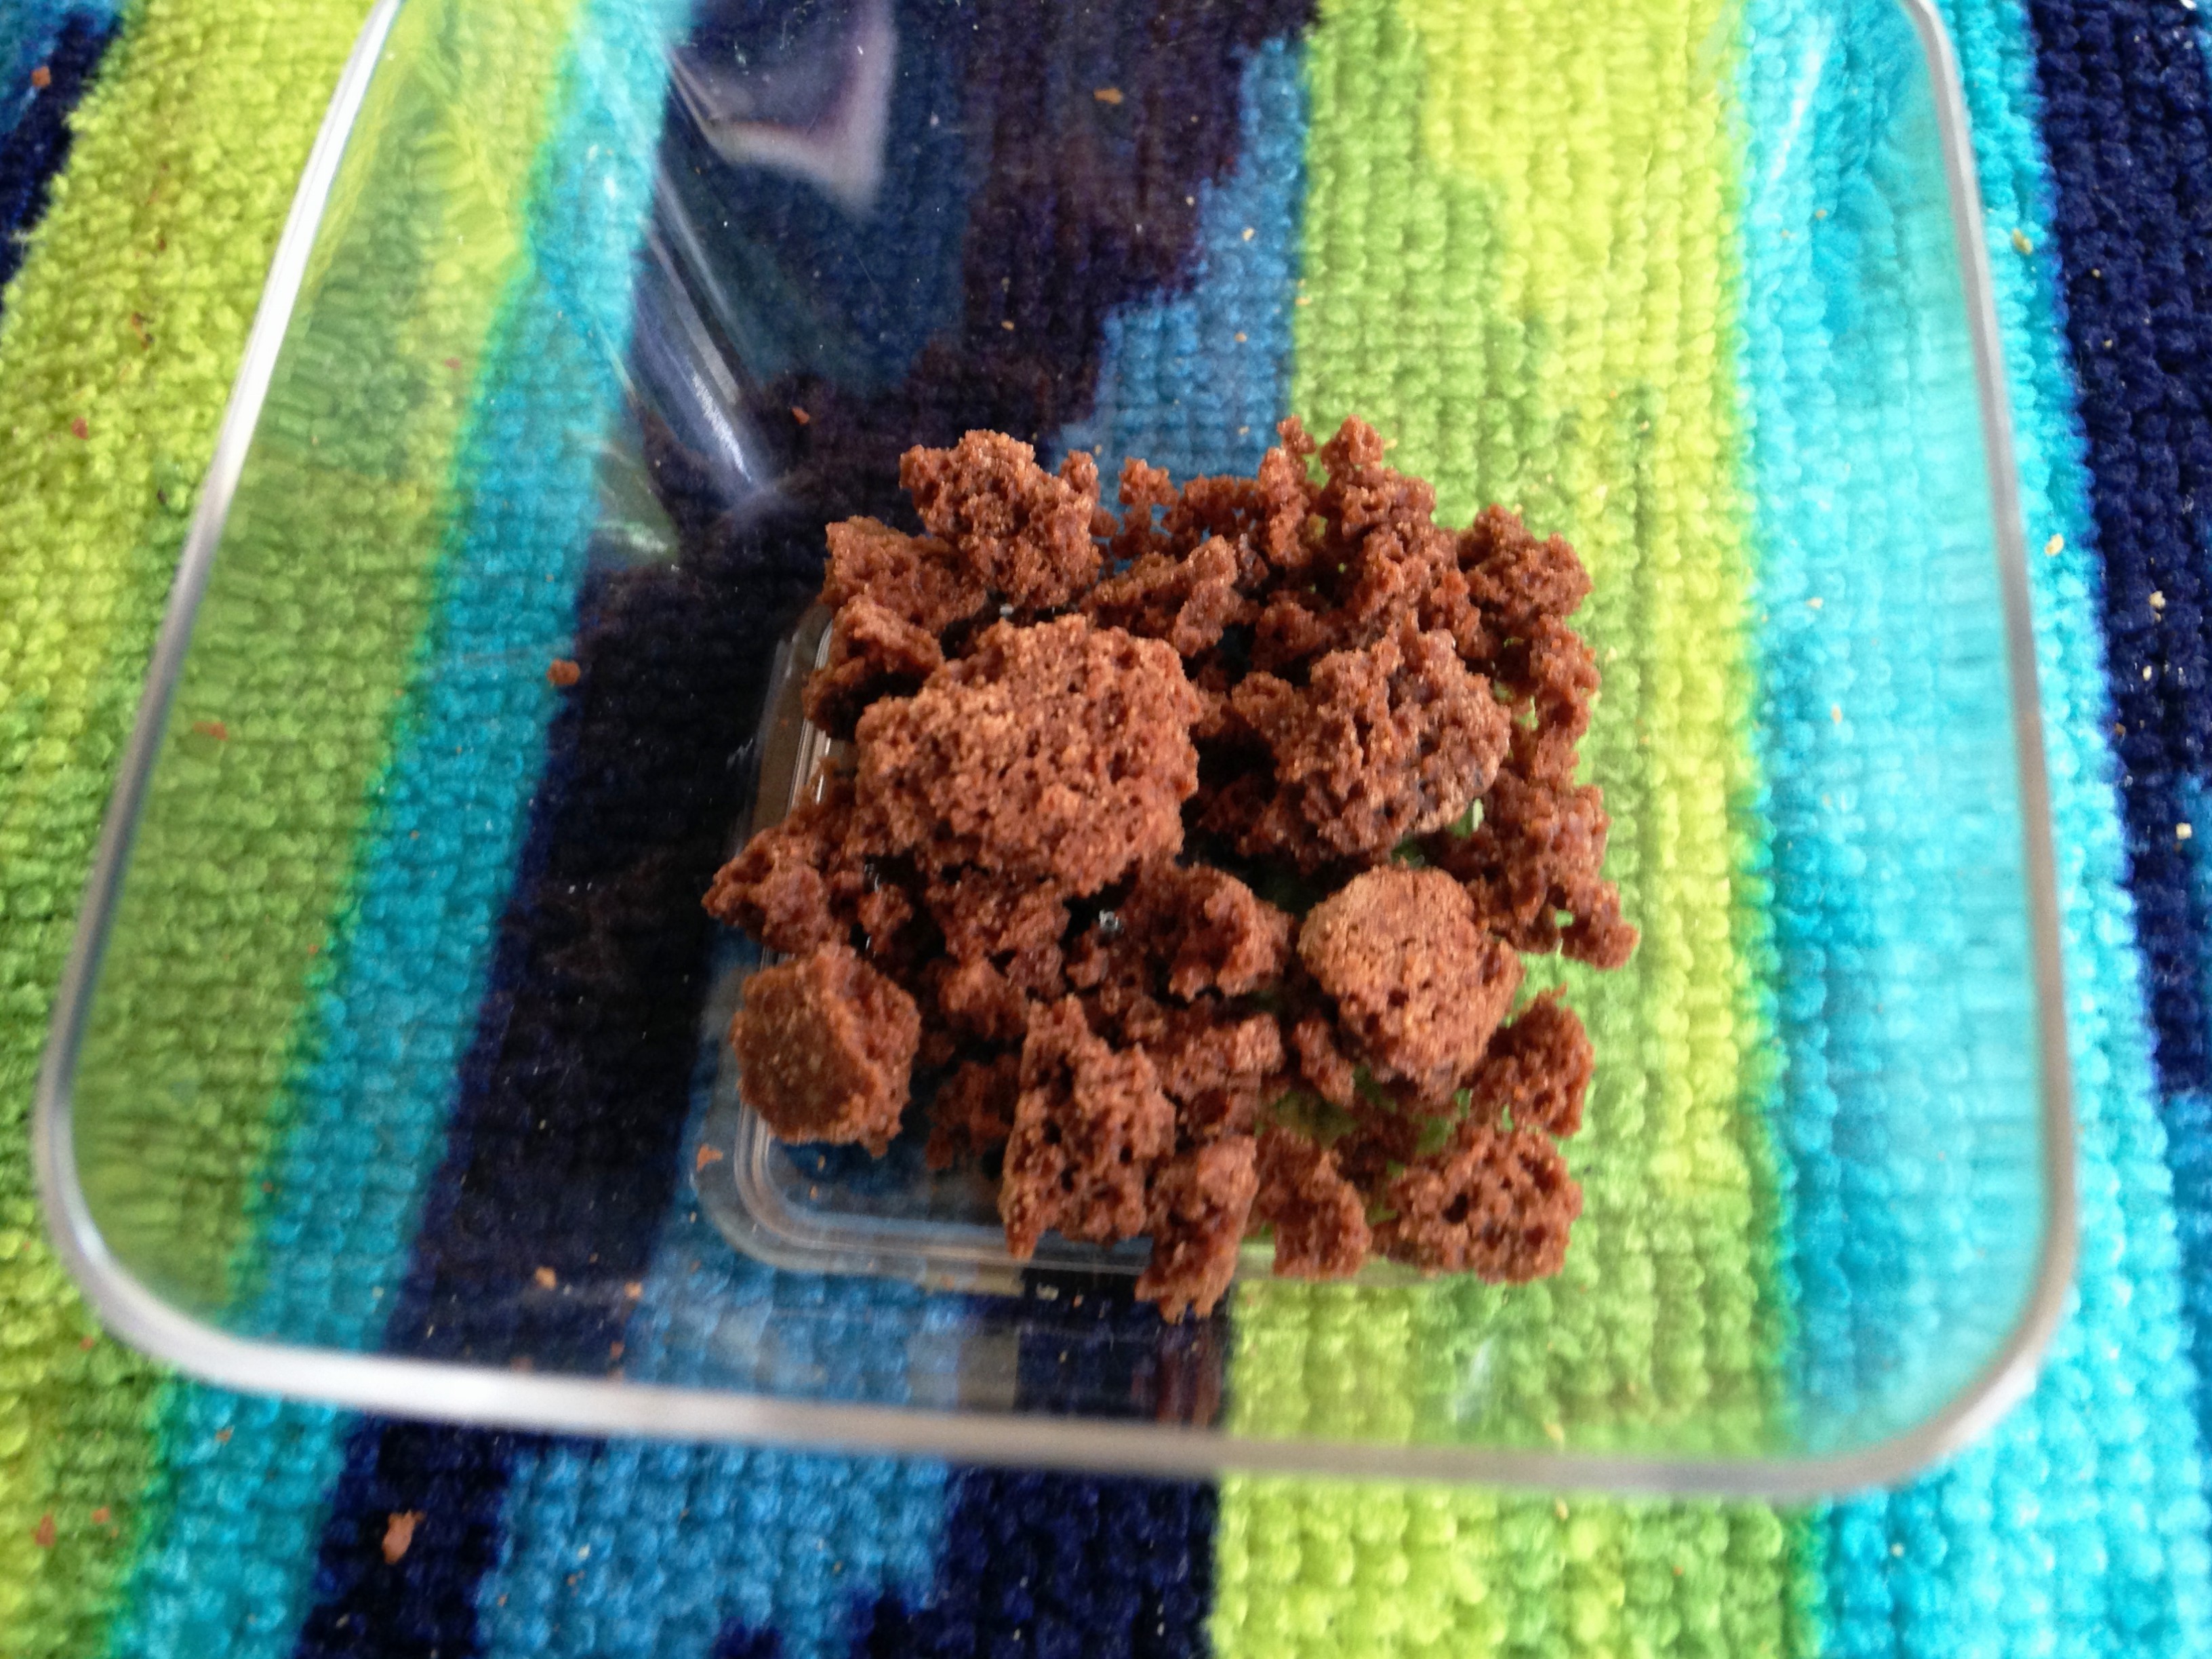
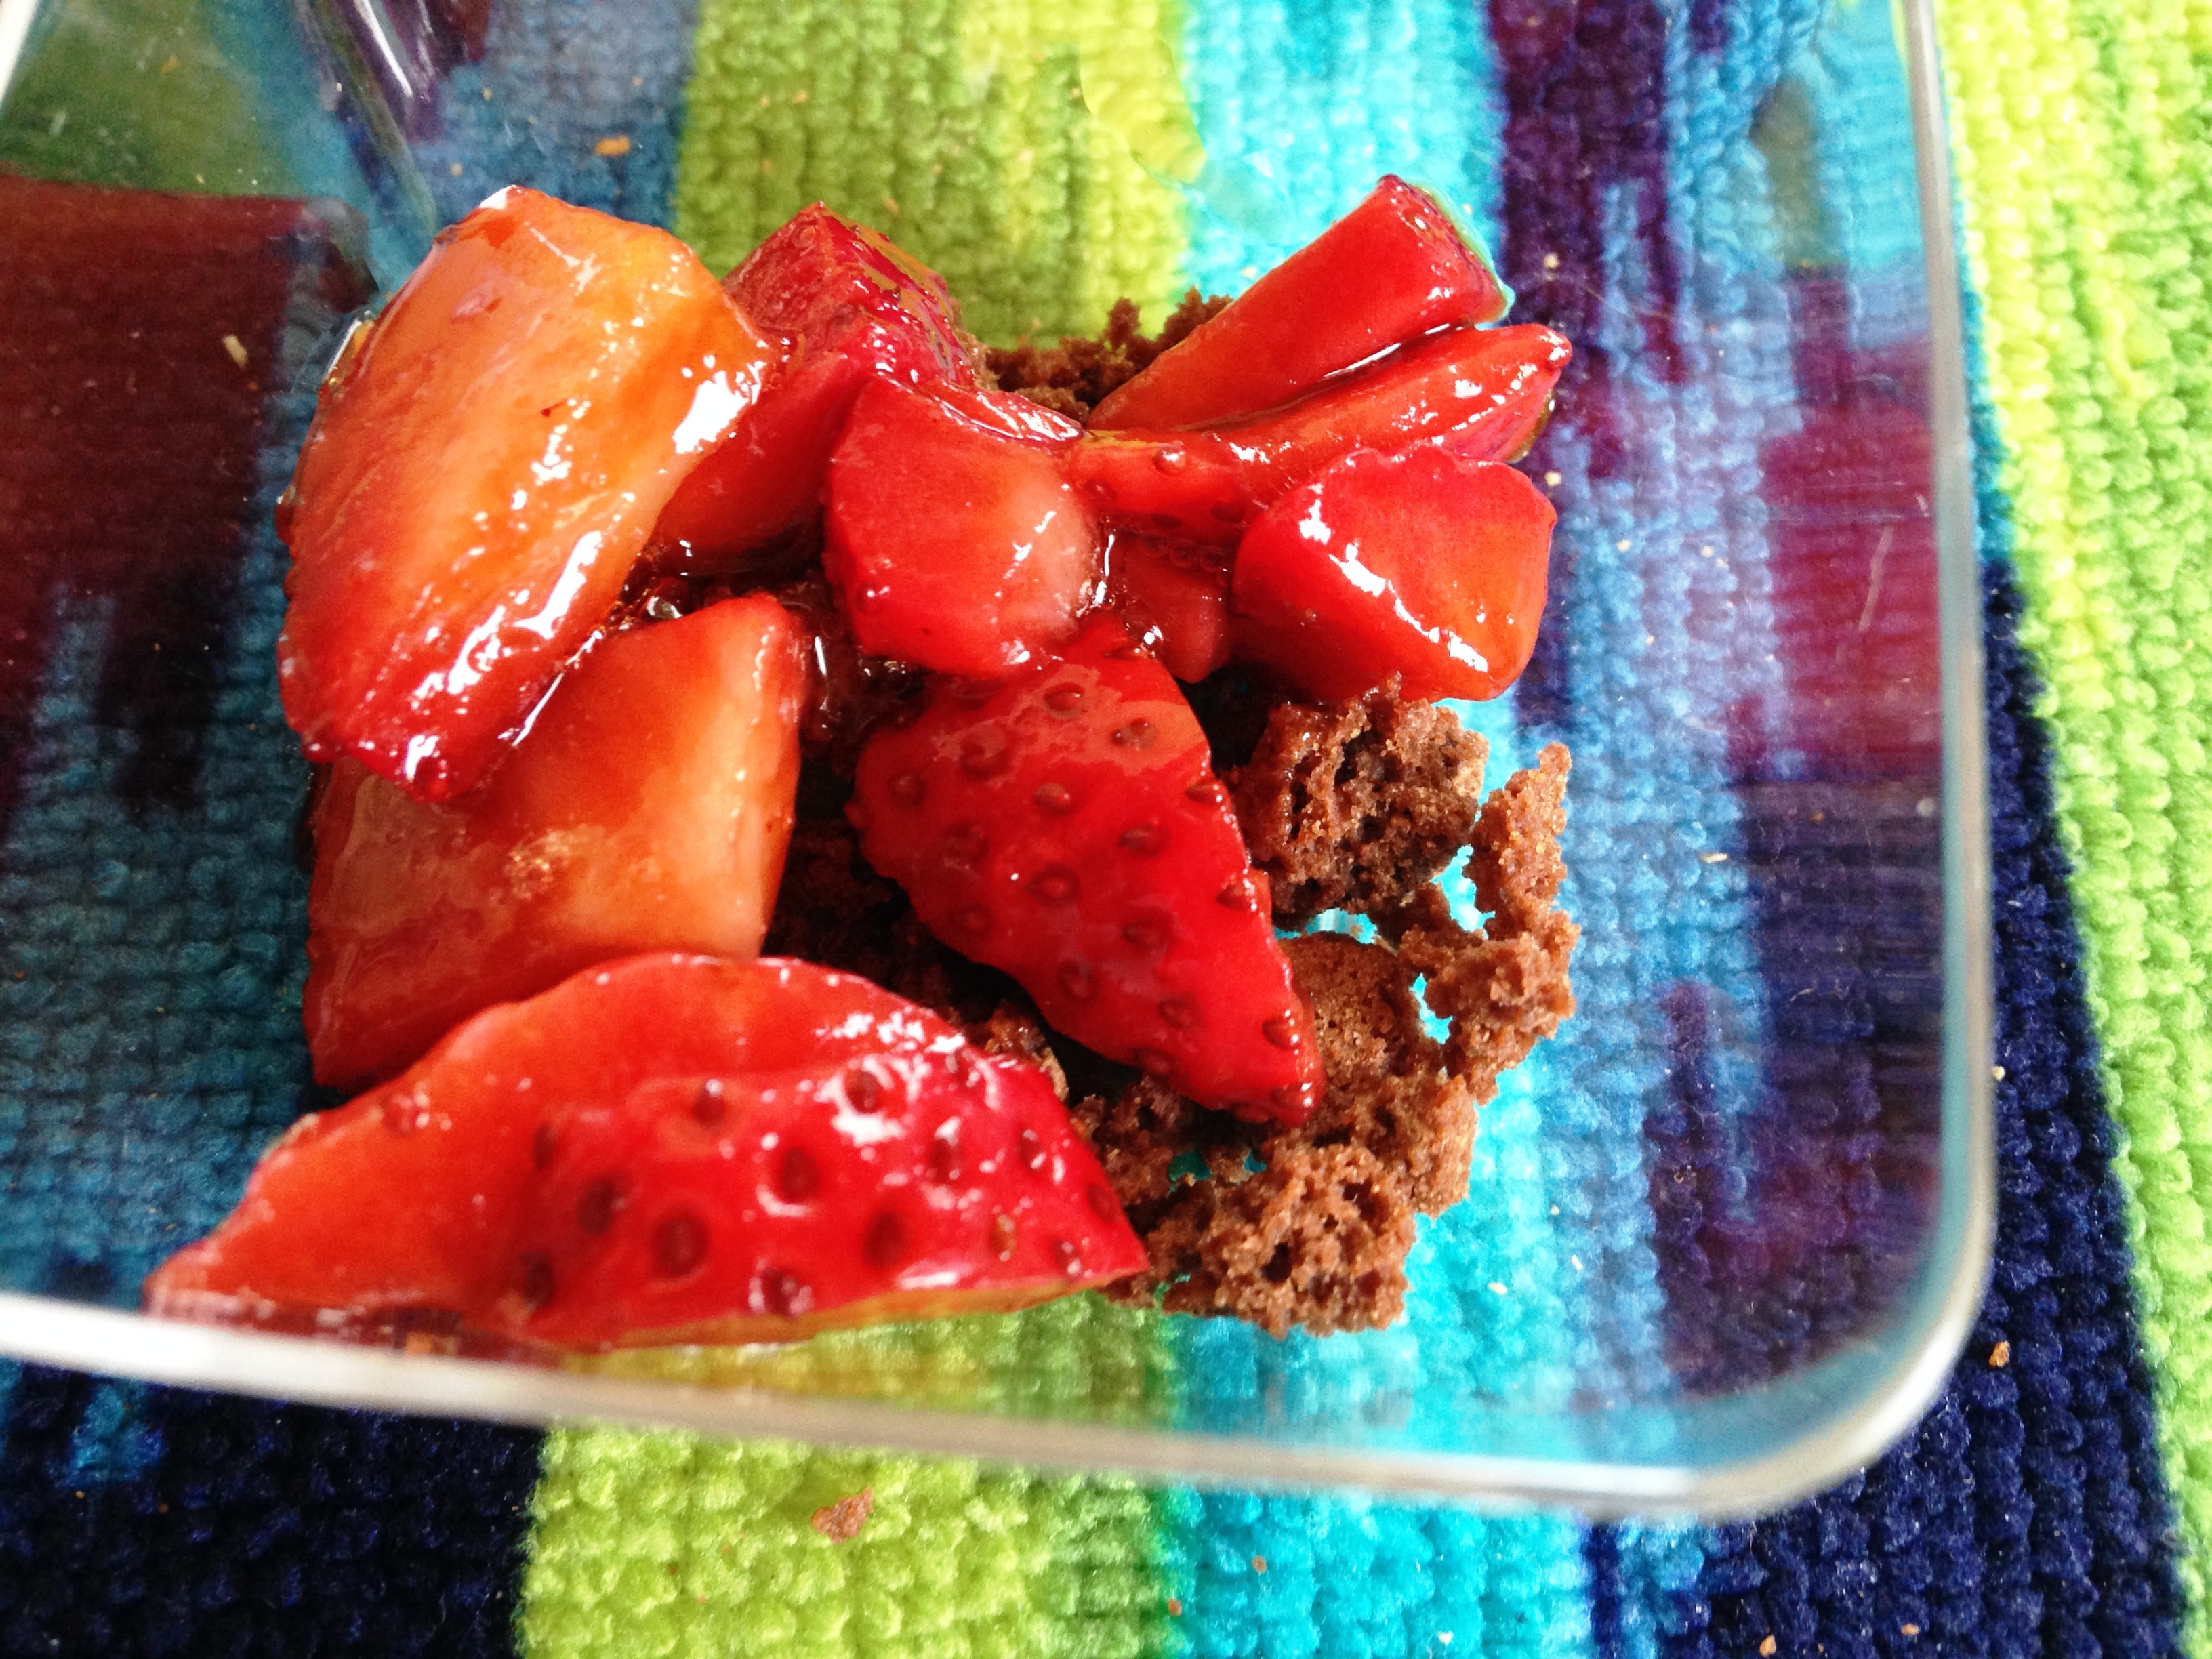
I crushed the Biscotti and added a little to bottom on the dishes

Topped the biscotti with the strawberries that were soak in the Vinegar
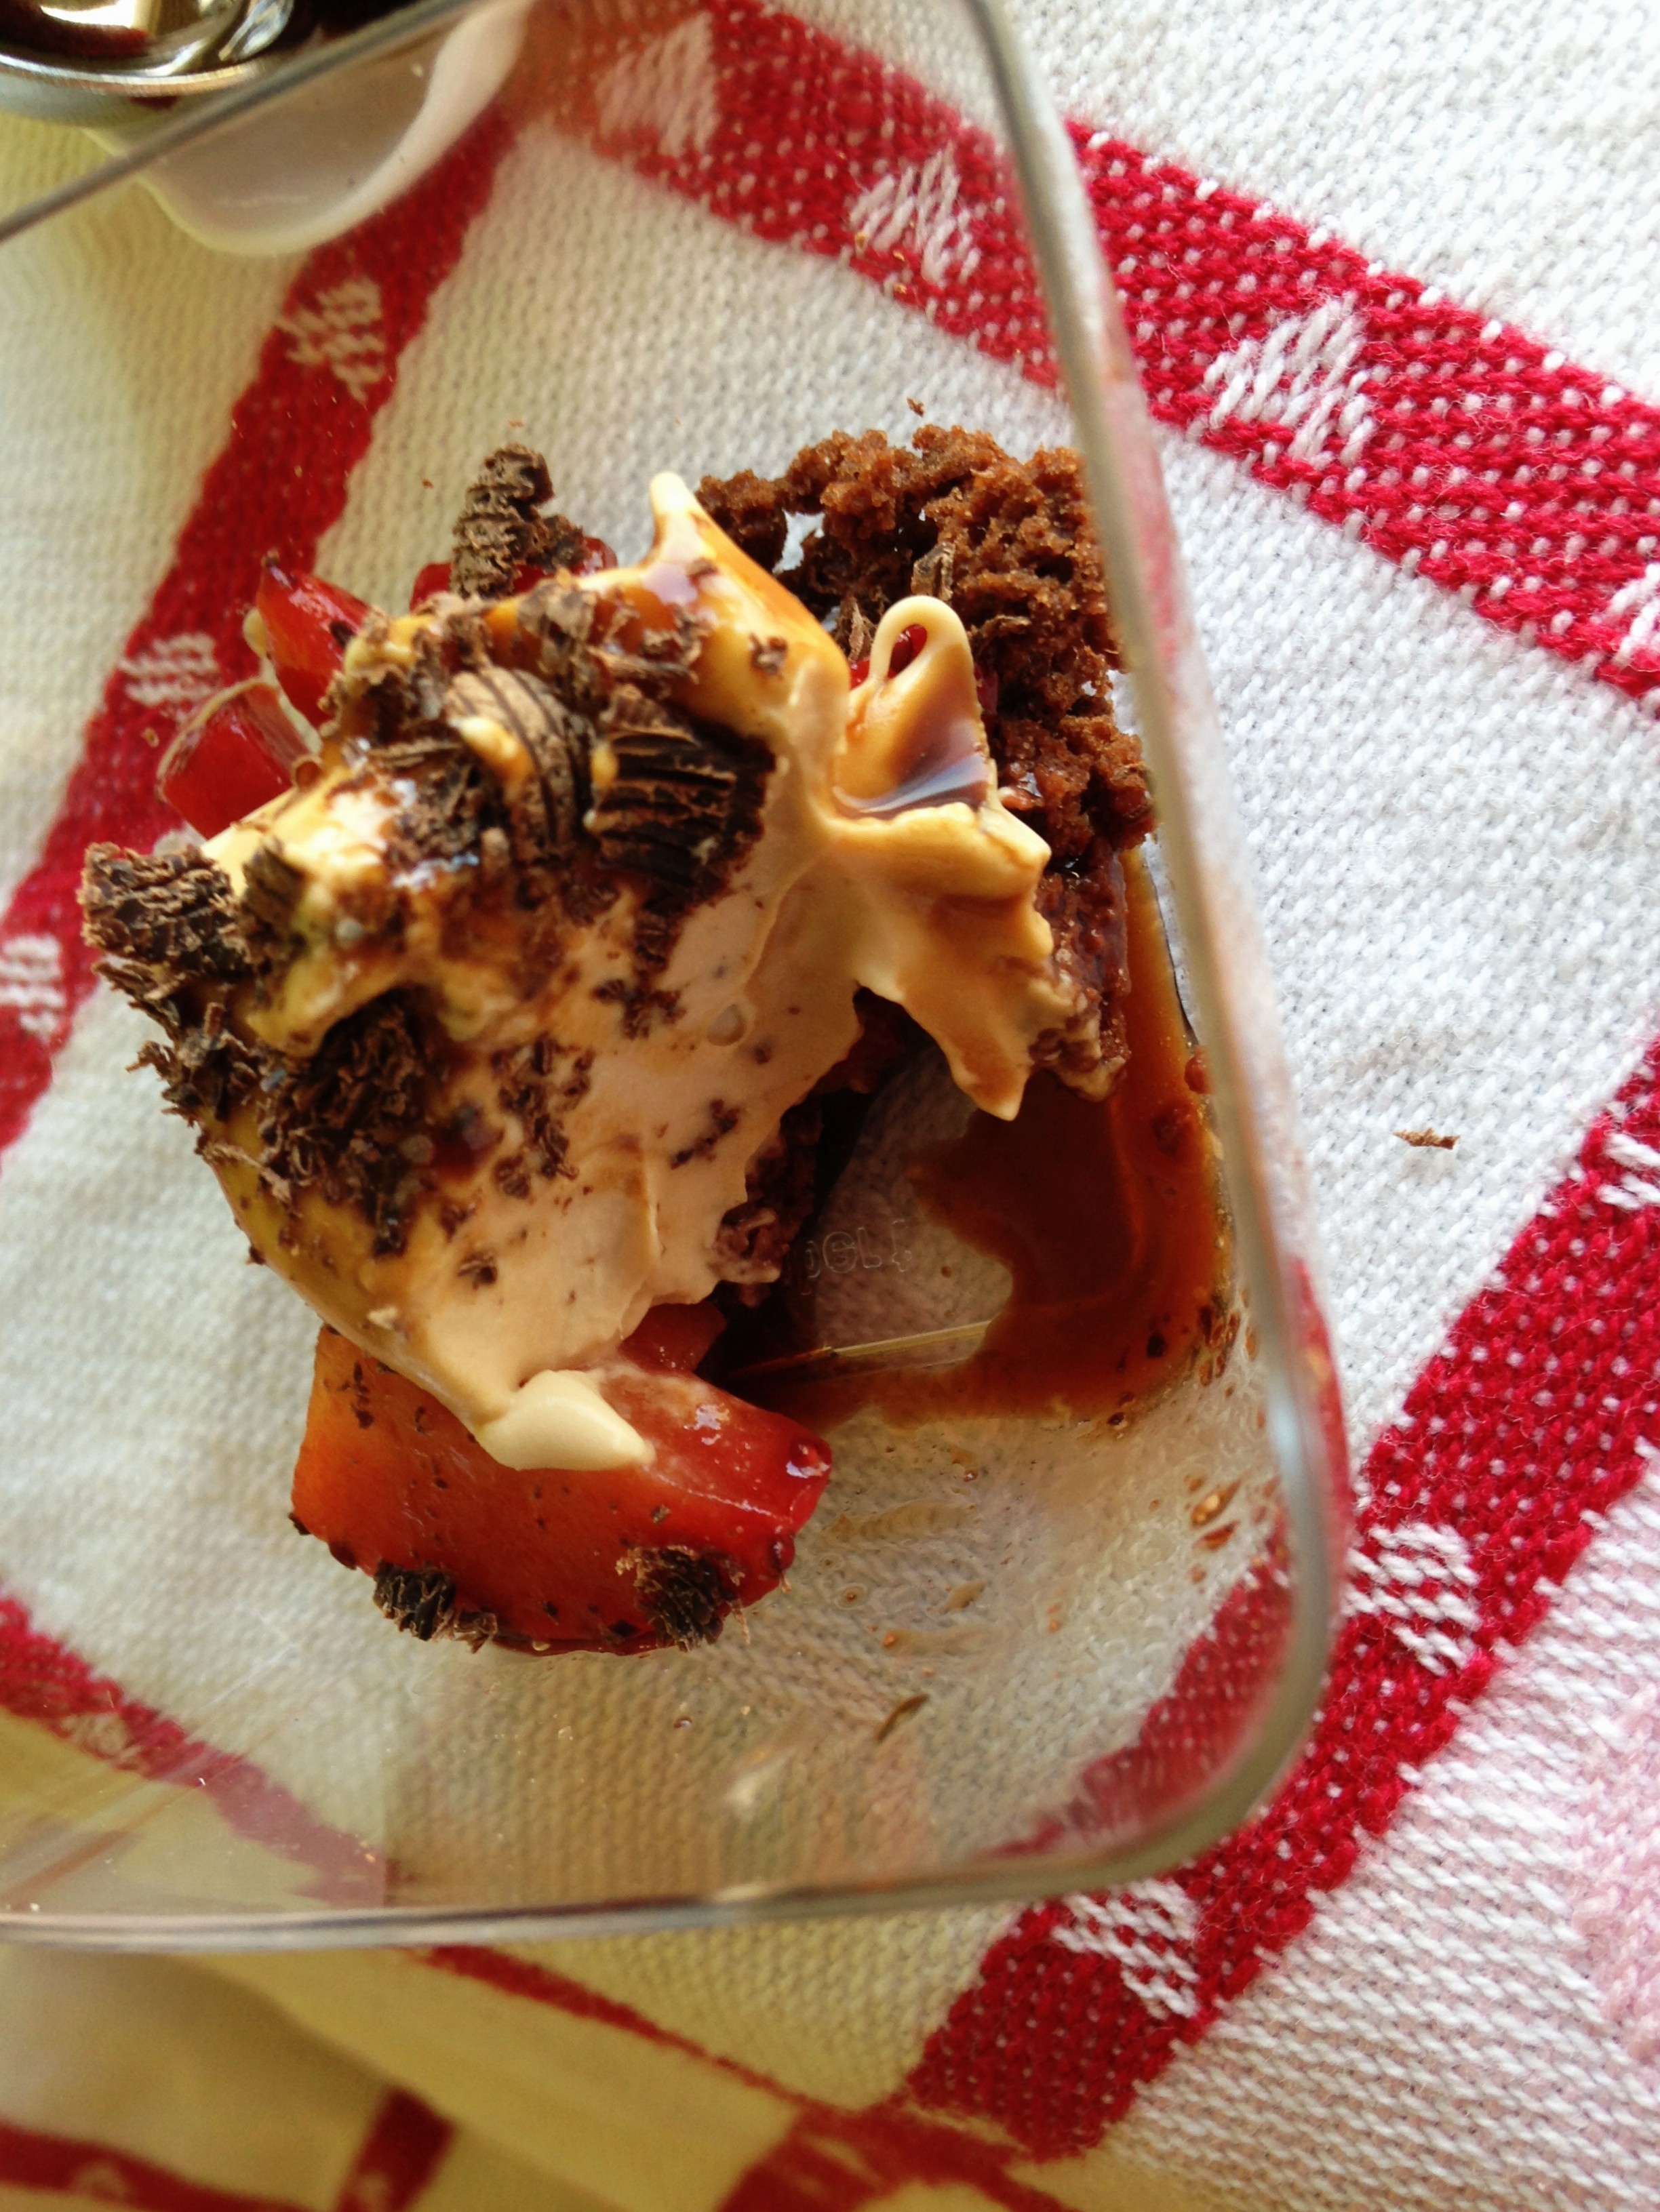
Then a dollop of the mascarpone mixture
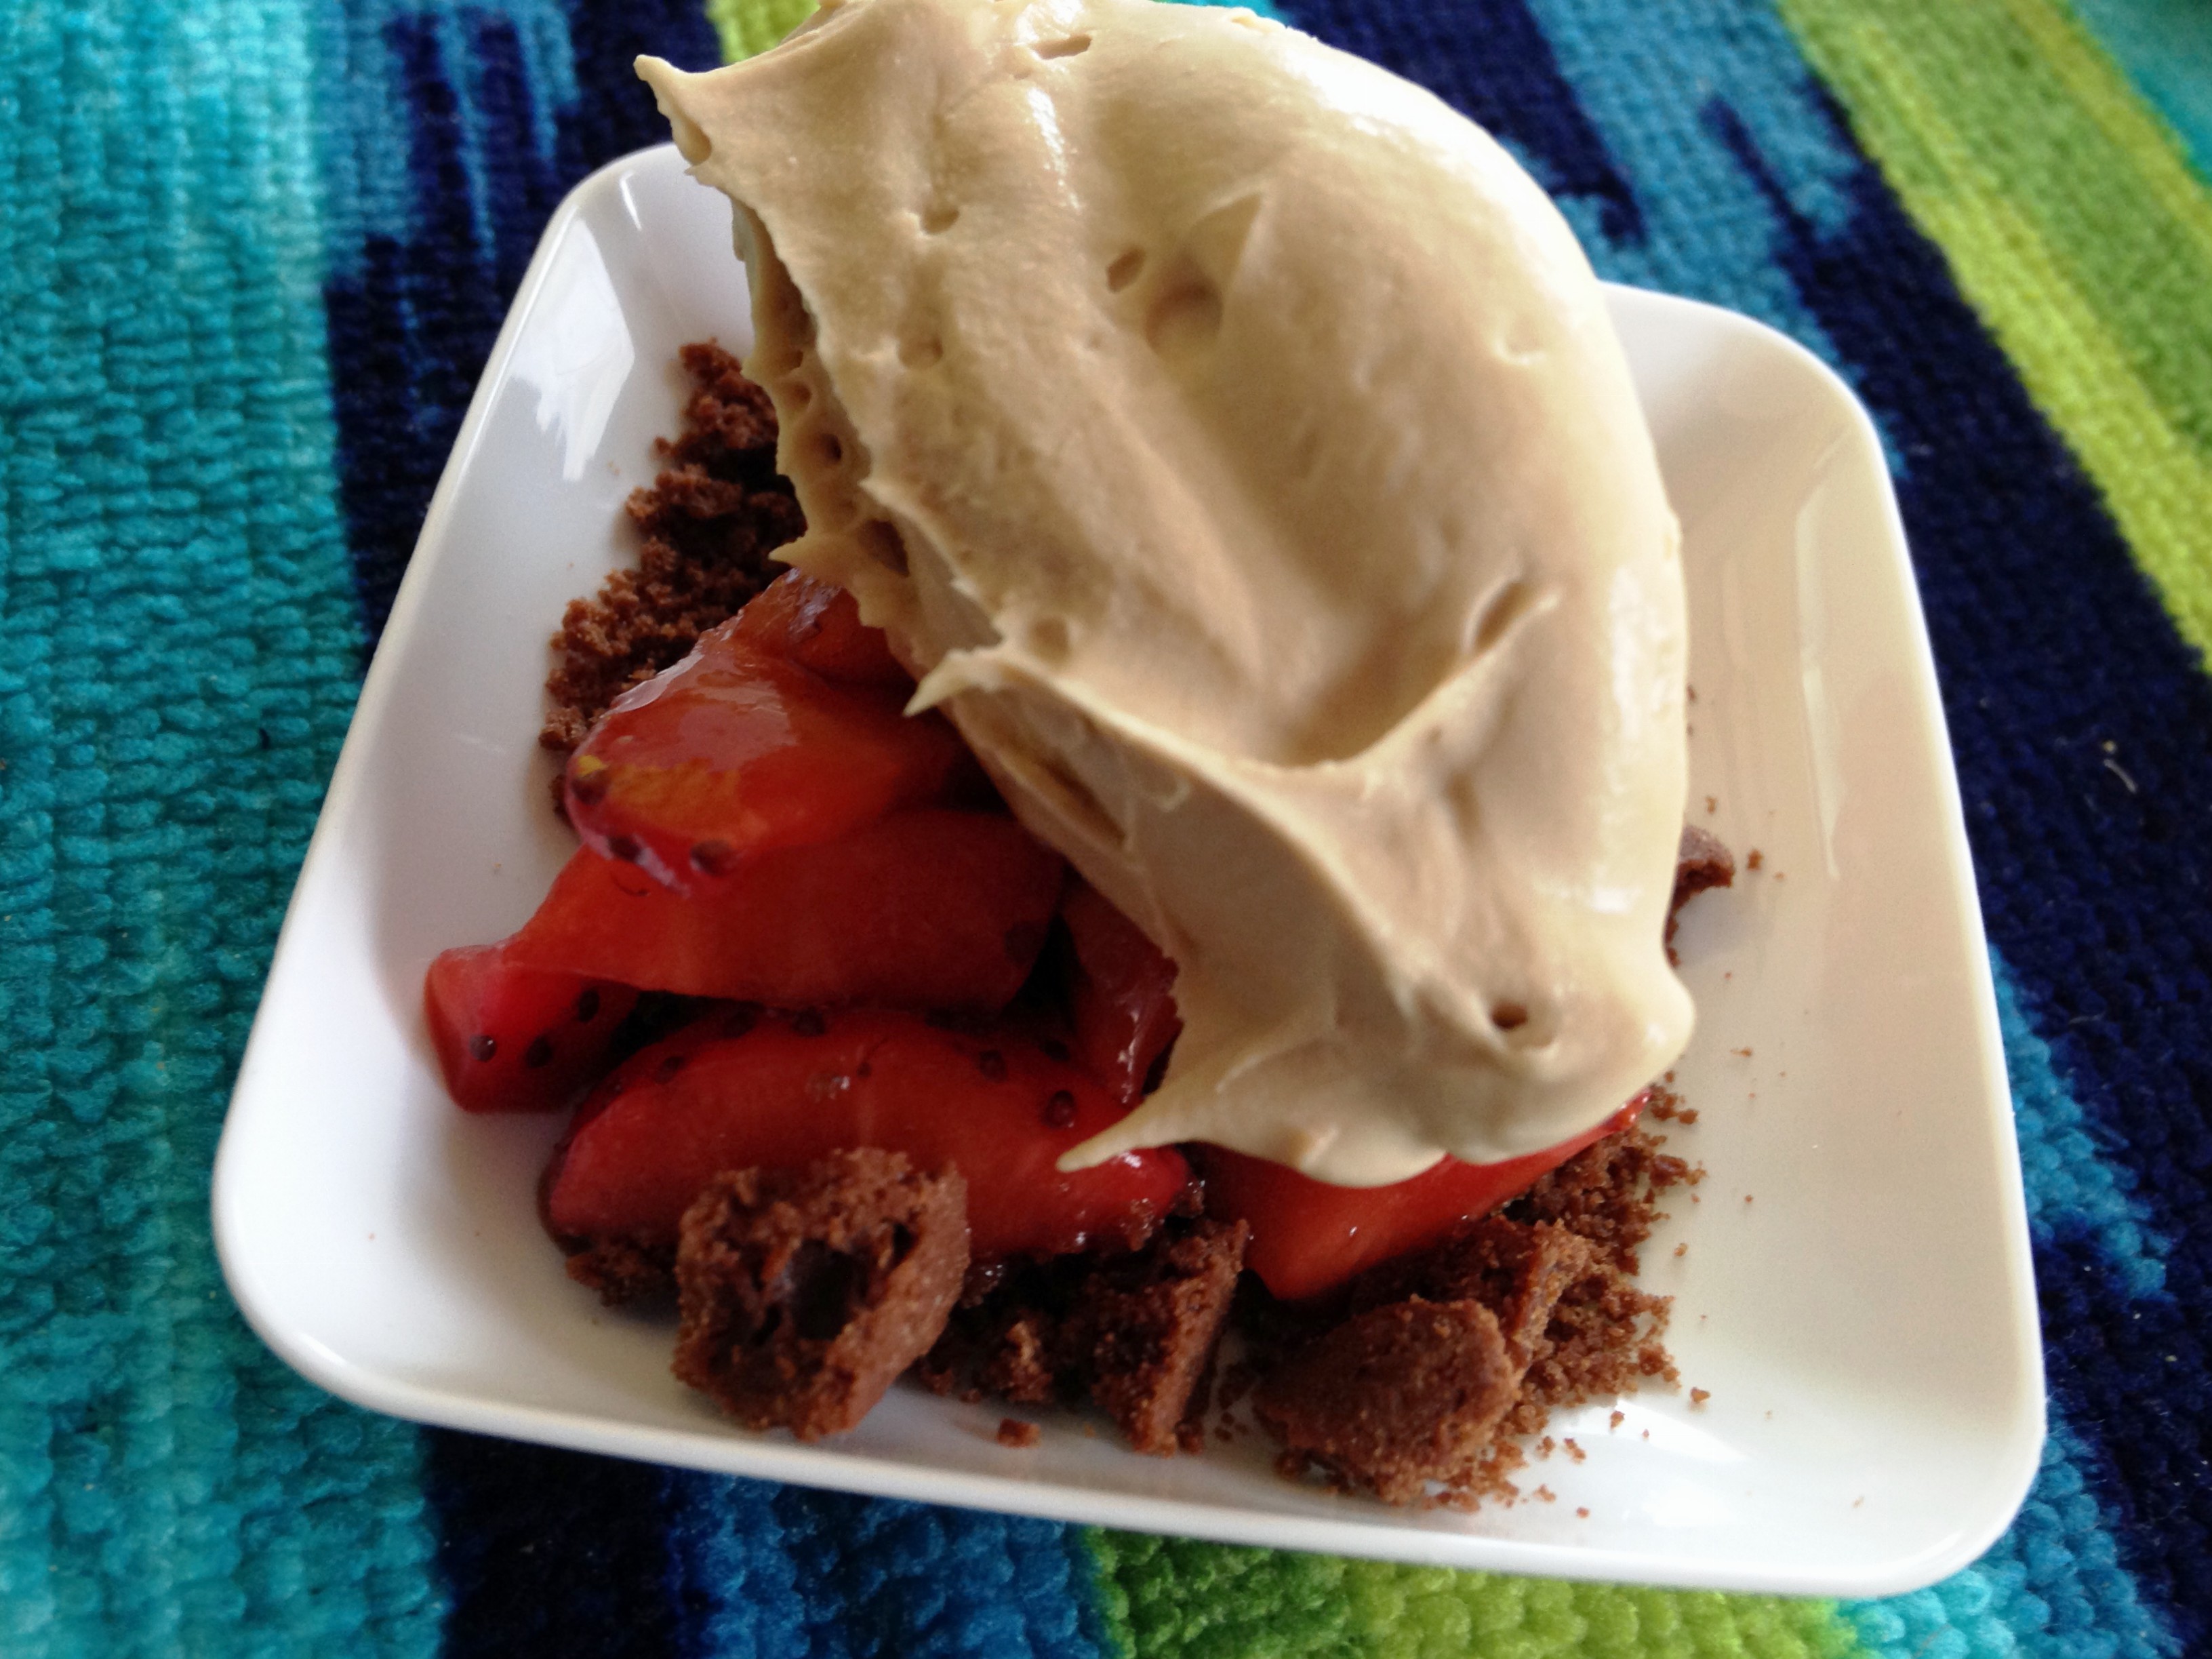
drizzle of more vinegar

shave some chocolate, I thought this chocolate would go perfect


Done…serve or chill until your party begins 🙂

3/4 cup Flying Olive Dark Espresso Balsamic Vinegar, divided
2 containers tiramisu flavored mascarpone cheese
1 1/2 cup fresh strawberries, chopped
3 chocolate biscotti’s, crushed
1 piece dark chocolate
In a bowl add the chopped strawberries and 1/4 cup vinegar, stir and set aside.
In another bowl add mascarpone and 3 Tbsp. of vinegar and whisk together, set aside.
Set out your mini dishes that you are going to use, add about a teaspoon or a little more of the crushed biscotti to each dish, then add strawberries on top of biscotti, start with a teaspoon on each then add more to each to finish up the strawberries. Dollop mascarpone cream on each dish, then with a teaspoon drizzle a little of the vinegar over top the mascarpone and finish with some of the shaved chocolate. I like this recipe as a mini since it has a great richness to it 🙂
Serve or chill until needed.
This was so good, it was not overly sweet, and that tartness at the end from the balsamic vinegar was just perfect!!! Enjoy the rest of your Fiesta Friday!!!


![]()

So here it is Fiesta Friday again and I am joining in again, I want to thank Angie@The Novice Gardener for hosting the Party and her two co-hosts Selma@Selma’s Table and Nancy@Feasting with Friends.
So about a month ago a co-worker (Heather) was telling us that her son is a picky eater, what child is not a picky eater right 🙂
Any way she said that he did not like red chili and thought that he may eat white chili, so a few weeks went by and I saw a slow cooker recipe for the white chili and printed it out for her to try, as far as I know think she said she was going to try it this weekend. 🙂
I hope her son Blake will like it 🙂
I decided to make my own version 😛 hence the word veggie in title.
Now I am not a chili person at all…at ALL!! So when I thought about this I did want to make it more of a soup instead of a then a chili.
First I after I got a few things from the store, I really just went looking in my pantry and refrigerator for what I could through in it 🙂 and I wanted to use my electric pressure cooker.
Let me just take a minute to talk about the “electric pressure cooker” I LOVE IT!!!!!!!!!!!!!!!!!
I really really do!! I love making soup in it because it’s like its been cooking all day, and Nancy@Feasting with Friends gave me a recipe for hard cooked eggs that the shells peel off perfectly and I love that!! I also have a macaroni and cheese recipe here you can check out too. But if you have a chance to buy one I so recommend it for sure 🙂
Okay so here’s my dish

This is what I used – except the spinach in the bag, when I started pulling everything out the fridge, I thought yes I will add spinach but then I didn’t 🙂

Pinto beans, chick peas and leftover white beans
in the Vita-mix

Add water and pulse

to get this

carrots, zucchini and onion in Vita mix
add water

and this

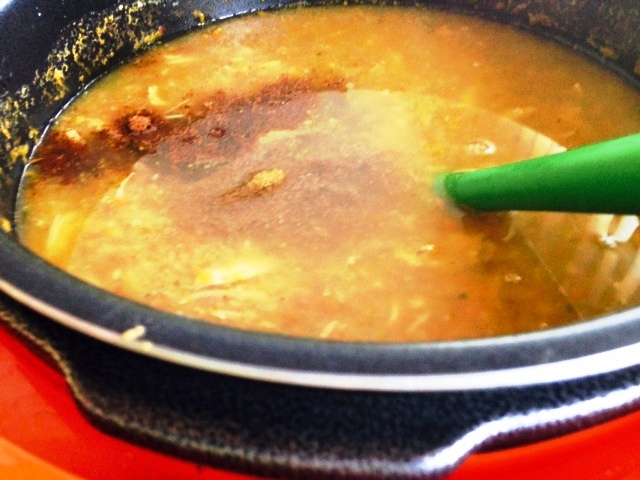
Add that to my pot and this is my Chicken Base
I use Better than bouillon you can use just broth

added my seasonings, Cumin and Fajita Seasonings

Mix it up

added two chicken breasts

Time to cook

I put it on the “Stew” setting and increased the time
to 30 minutes then start

DONE!!!

Oh yeah!!!

Pulled out the chicken breast to shred

shred your chicken

add back to the pot

taste for seasonings, I added salt

and more of my seasonings
Done!!! Add a little diced jalapeno and enjoy!!


1 bottle of Taco Bell salsa verde
1 can diced green chiles
1 can pinto beans, drained and rinsed*
1 can chick peas, drained and rinsed*
1/2 cup white beans, drained and rinsed*
2 zucchini*
3 carrots*
1 onion*
2 large boneless chicken breast
3-4 tsp. cumin
3-4 tsp. Penzeys Fajita seasonings*
6-8 cups chicken broth*
salt and pepper to taste
To the electric pressure cooker or large stock pot or slow cooker, your choice.
Add salsa and chiles, if you want whole beans then add then whole, if you want it like I did, then blend up with broth or water, the same with the veggies, either diced or blended.
Pour all into your pot, add the seasonings and stir, if using chicken base add this now, if you are using broth add the rest. I say 6-8 cups because it depends on the size of your cooking choice, the less that is used makes it thicker.
Cook in pressure cooker on “stew” setting for 30 minutes, slow cooker for 4-6 hours on high, and stock pot on stove, bring to almost a boil, the reduce to low for 2 hours or until all is cooked through.
Remove Chicken and shred, return shredded chicken back to pot, taste for seasonings, add salt or pepper, or more seasonings it is up to your tastes.
Serve up with diced jalapeno, tortillas chips or some cheese, its up to you!! Just grab a mug or bowl full and sit back and enjoy the game this weekend 🙂
*use what ever beans you want, this is just what I had, same with the veggies its just what I had.
I like using chicken base you can use broth instead. Seasonings from Penzeys the Fajita seasonings that I used had the following in it: salt, black pepper, Turkish oregano, cayenne, garlic, celery seed, basil, nutmeg, marjoram, thyme, Mexican oregano, cumin and rosemary.
You can certainly use any of these seasoning or something close, just check your local store.


Oh its just SOOOO GOOD!!!!

Yes is really is 🙂 Back in December when I needed to come up with a “Theme” or “product” for my cooking class, one thing came to mind…Quinoa!!
Quinoa I feel is something that people heard of??? But not sure what it is, or what to do with it let alone know how to pronounce it 🙂
Most the time you see a recipe for Quinoa it is in some sort of salad and I just wanted to do more with it.
I’ll say its funny because just a few days before my class and her now a week after I have seen more recipes with Qunioa in it I just had to laugh.
Any way for my class yes I made a burger, I also put it in Minestrone Soup, as a breakfast dish like oatmeal, of course a salad 🙂 and cookies, yes cookies 🙂 with only 4 ingredients 😉
When I make my quinoa, I do 3 to 1, 3 parts water (liquid) to 1 part dry quinoa. I rinse it really well till the water runs clear, oh and make sure you have fine mesh strainer, you don’t want that tiny seed going down your drain 🙂
I then add it to my pan with the water, I turn it on med-high, uncovered and bring it to a boil. Once it starts to boil, depending on what I am doing with it, I will then add some flavoring, broth base or seasonings. I then stir that in reduce the heat to low, cover it and let it go for at least 20 – 30 minutes, again depends on the quantity of quinoa that I use. The more I have the more time I let it cook, I like mind to kind of get sticky, a little like sticky rice, for my burger I may let it go for a little longer.
Then you just go from there with whatever you are making 🙂
So of course I did not get to take any pictures of my food at my class, I got some picture of the people that came but once I starting cooking it was a little hard 😛 LOL
About my burger, you can make this any flavor you want, once you have the mix add what ever seasonings you want, so the last night when I got home from work I made them 🙂
Of course at the same time I was trying to cook up some things for the week, I made Lentil Soup and a pork tenderloin. Of course my mind was everywhere and I forgot the beans…yes beans 🙂
So here we go…
Ingredients – Ouinoa, onion, seasonings,
beef base (optional) and cannellini beans(not pictured)

I rinsed my quinoa

Make sure it drained

I add it to the pan with my water

Once it boils

I then add some beef base and cover

This is almost done

As you can see the quinoa expand’s and get’s thicker

At this point I put it on a plate to cool
(if its cool, it’s easier to handle)

Now the onion in a skillet with a little oil

Saute up

add the quinoa, onions, seasonings and beans

mix together

then add the cheese

now make your burgers
Put them in the fridge for a least 2 hours to
help firm up.

Then cook for about 5 minutes on Medium to Med. High

Flip it

add cheese and let melt

Get you bun ready, of course I toasted my
whole wheat bun added some fresh spinach
and horseradish

Done and Delicious!!!

1 cup quinoa (red or white)
3 cups water
1 tsp. Better than bullion beef base (optional)
4 tsp. seasoning (I used Grillmates Worcestershire Pub Burger)
1 large onion, chopped and sauteed
1 cup Cannellini beans, drained, rinsed and blended in food processor (you could use the whole can)
1 cup cheese, fancy shredded (any flavor)
Rinse quinoa in fine mesh strainer until water runs clear, drain, add to med sauce pan with 3 cups water, cook on med-high uncovered. Once it comes to a boil add beef base, stir and cover, reduce heat to low, cook for 30 minutes or until water is almost gone and quinoa has expanded and is thick, give a few stirs to make sure all water is gone.
Pour out on to a plate and let cool, once cooled, add sauteed onions, blended beans and seasonings, mix very well to blend. Taste, add more seasonings if needed, then fold in cheese. Form your burgers and place them on baking sheet lined with parchment paper, put in the fridge for at least 2 hours or longer.
Add oil to skillet add your burgers, cook over med to med-high for about 5 minutes, burger should have a nice brown color like a burger would have 🙂
Flip and then add some cheese on top if you want, cook another 5 minutes or so, add to your bun and dressing with your favorite toppings. Enjoy!!
At my class I did a BBQ Bacon Cheddar with crispy onion straws 🙂
They all enjoyed it for sure 🙂
Here they are at the class and the crowd that came 🙂
I had to make the burgers in batches, so many came 🙂


It is that time again, football tailgating season and the die-hard fans are out there supporting their teams 🙂

This recipe is something that very easy to make, you prep almost all of it the night before and the day of you can just grill it up, slice and serve 🙂
I love cilantro so this has a lot of cilantro in it, but I use angel hair cabbage and made a slaw, then use creamy goat cheese which just made this taco delicious!!
You can some “Roasted Hatch Chilies” I got some sent to me from my cousin’s living in Colorado, they add a wonderful smokey spicy richness to the taco 🙂

Ingredients for streak marinade

blend it all in the food processor


pour all over steak, over night in fridge

grill it up


slice

Slaw ingredients

cabbage, jalapenos, scallions and cilantro and mixed together

whisk together, cumin, lime juice, lime zest, mayo, milk, agave & sour cream


pour over cabbage and mix, this can be made the night before

serve with floured tortilla and top with goat cheese crumbles


Marinade
1/4 cup lime juice
1 bunch cilantro
1/4 cup oil
1 tsp. ground cumin
1 jalapeno, seeded if you don’t want it spicy
Place all in food processor and blend, pour all over steak and let marinate in fridge 6 hour to over night.
1 Flat Iron Steak
Grilled to medium rare. that is about 6-7 minutes each side over medium high heat. Let rest for 10 minutes before slicing, slice against the grain.
Slaw
1/4 cup mayonnaise
1/4 cup sour cream
juice and zest of 2 limes
2 tbsp. milk
1 tsp. agave or honey
1-2 tsp. ground cumin (to your taste)
1/2 cup fresh cilantro, chopped
1 bunch scallions, tops with a little white only
1 jalapeno, minced (keep seeds if you like it spicy)
1 10-16 oz. package angel hair cabbage
salt and pepper to taste
In a large bowl toss cabbage, cilantro, scallions and jalapeno, set aside.
In a small bowl whisk together, mayo, sour cream, cumin, lime juice & zest, milk and agave, pour over cabbage and toss to mix, taste and add salt and pepper to taste. Refrigerate up to overnight.
Small Flour tortillas
1 container crumbled goat cheese
Serve slaw on tortilla, top with streak slices and goat cheese. You can have extra cilantro, sliced jalapeno or chiles for people to add. Enjoy!!

with the Roasted Hatch Chilies


Test Kitchen was back open last week and I had some Blueberries so I thought why not a Blueberry Upside-Down Cake 🙂
Great for breakfast with your coffee or tea, maybe as an afternoon snack or after dinner, I hope you make it for your next baking adventure 🙂
As I thought about the topping I thought I would cut the brown sugar with some honey, hence the name 🙂 so this is my recipe 🙂

Ingredients

Spray your pan, draw out the bottom of the pan on parchment and cut it out

Place parchment in pan and spray paper

I fail to take a picture of the topping melting, but just melt butter, brown sugar and honey together
and pour in pan

sprinkle blueberries over the topping in the pan

Cream together the butter & sugar until fuffy
then add eggs, one at a time

then add lemon juice and vanilla, then add flour and milk (read below)

Fold in lemon zest

pour on top of blueberries and bake
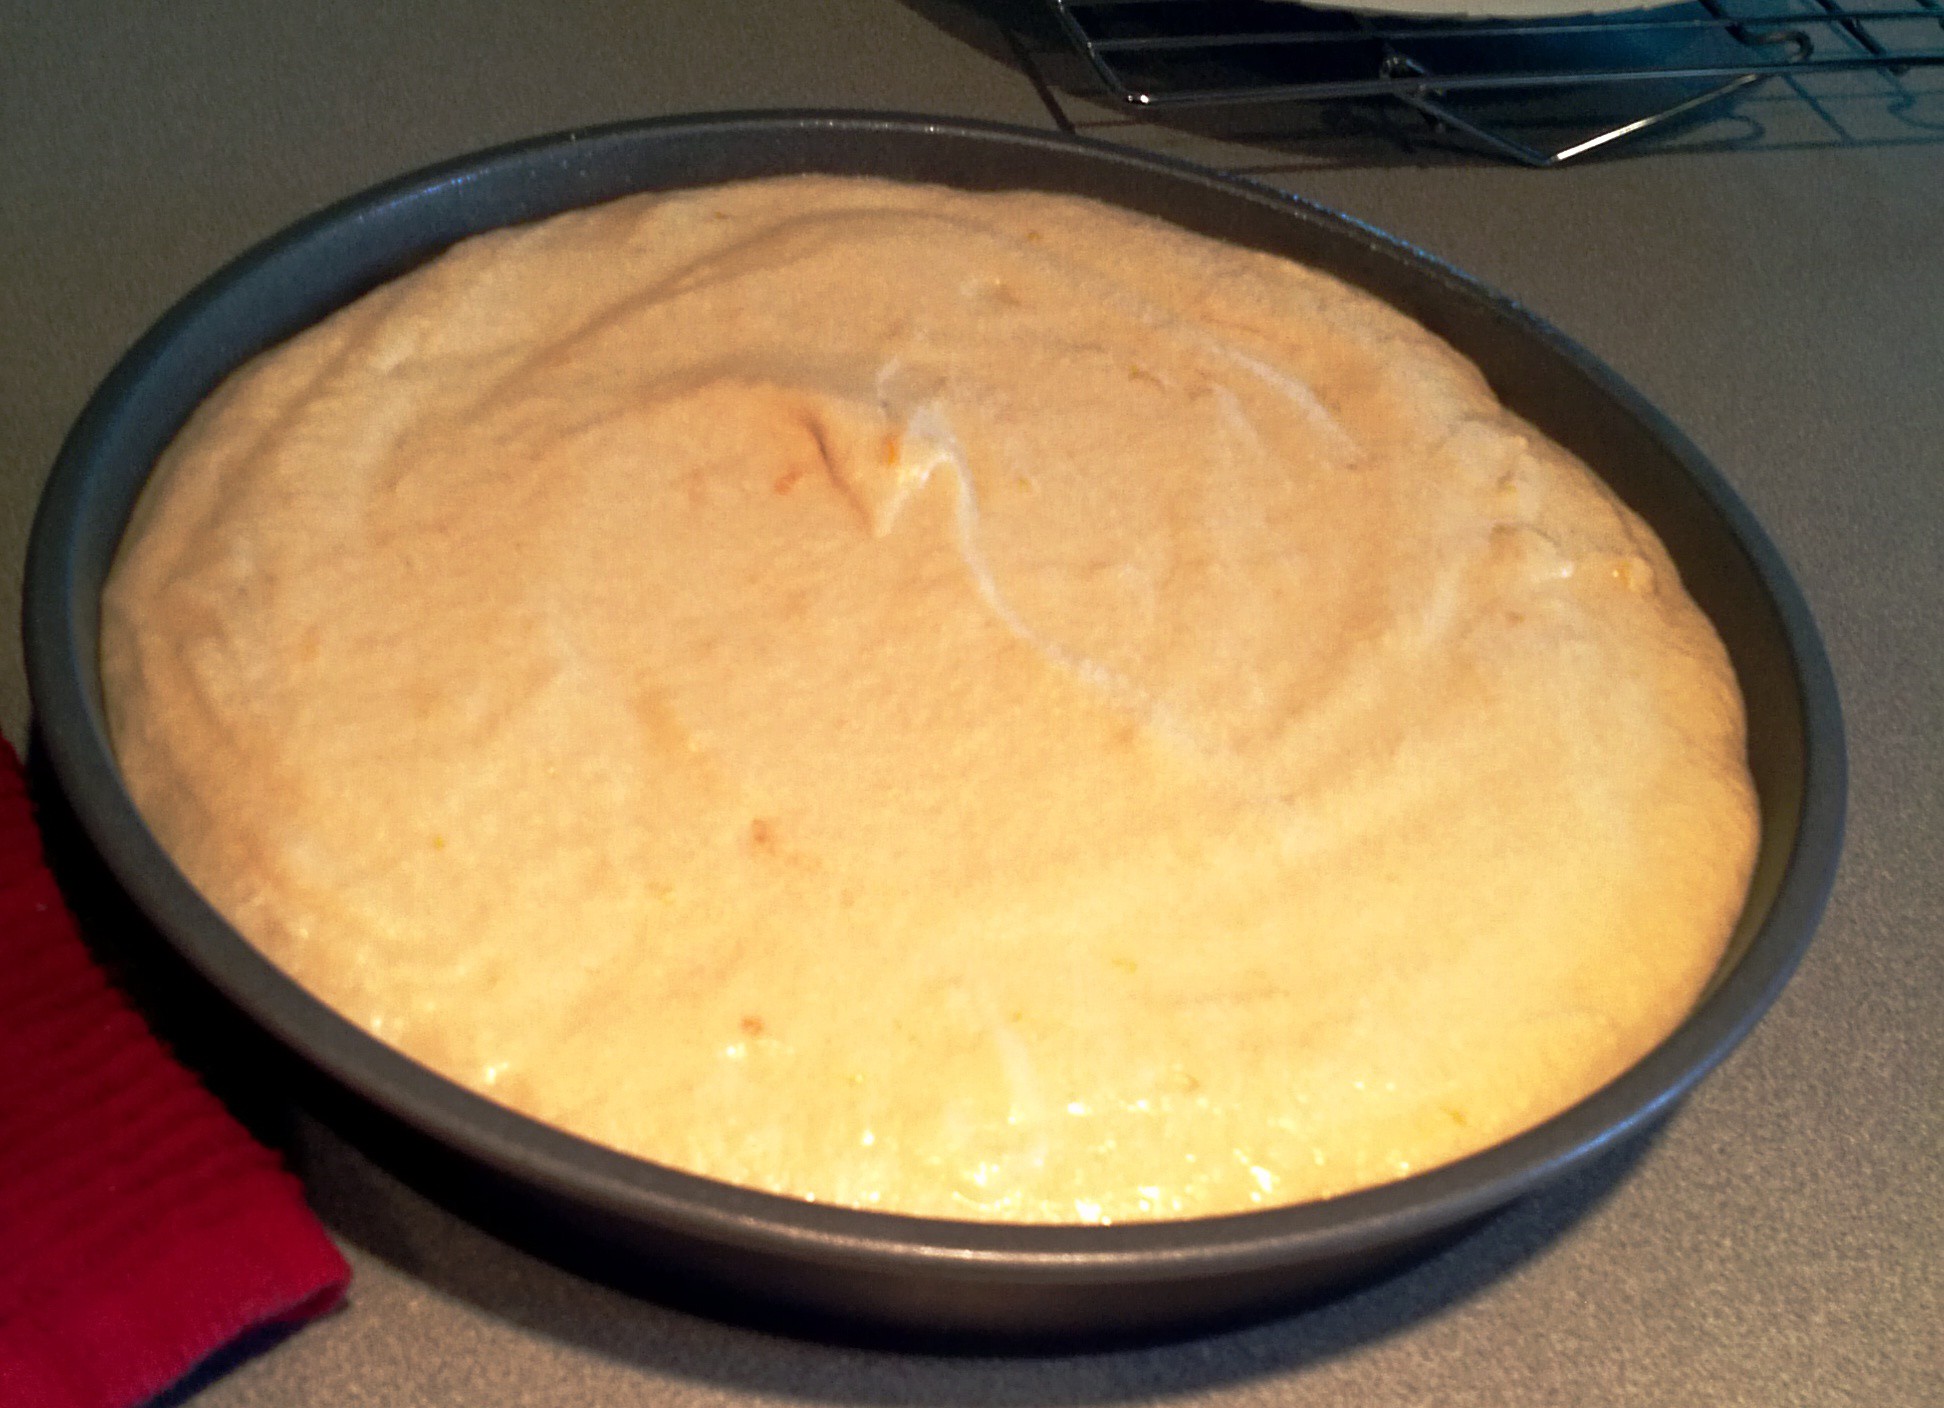
let cool for about 10 minutes

place platter on top of cake and flip upside down

and there you have your Honey Blueberry Upside-down Cake
let cool completely


slice and serve

Topping
1 pint fresh blueberries (if using frozen use 2 1/4 cups)
1/4 cup honey
1/4 cup light brown sugar, packed
1/2 stick unsalted butter (1/4 cup)
Cake
1 1/4 cups cake flour
1 tsp. baking powder
1/4 tsp. salt
1 cup sugar
1 stick unsalted butter (1/2 cup), softened
2 eggs
1 tsp. vanilla
1/2 cup whole milk
2 tbsp. lemon juice
zest of 2 lemons
Heat oven to 350 degrees, spray a 9×2 round baking pan with baking spray and line the bottom with parchment paper.
Add 1/2 stick butter (1/4 cup), honey and brown sugar to a small sauce pan and heat over medium heat until mixture is melted and smooth, stirring frequently. Pour into baking pan; top with blueberries, set aside.
Whisk cake flour, salt and baking powder in a small bowl, set aside.
Beat sugar and stick (1/2 cup) butter in a large bowl at medium speed for 2 minutes or until smooth and fluffy. Add eggs one at a time, beating well after each addition. Beat in lemon juice and vanilla, at low speed beat in flour mixture in 3 parts alternately with the milk, beginning and ending with the flour mixture. Fold in lemon zest then pour over top of the blueberries; smooth out evenly.
Bake for 30 – 40 minutes or until toothpick inserted in center comes out clean, cool in pan on wire rack for 10 minutes. Using a small knife, loosen cake from the side of pan, invert onto platter; remove parchment paper, cool completely.
This was super moist and honey delicious 🙂 Enjoy!!!


