Yes I know I have not blogged in FOREVER!! But this girl has been busy, but today I have a quick easy recipe for Halloween or really anytime. 🙂
I do like a Butterfinger Candy Bar every once in awhile, so when I saw this online, I thought really does it taste like a Butterfinger????
This was one of those million some videos you see of recipes, and I was like 3 ingredients and you have a Butterfinger…well lets give this a try 😛 LOL!!
Now I made a big batch, I wanted to bring them to the office today for everyone for Halloween.
So I will give you the original recipe and then tell you what I did for large batch.
So you need – Chocolate discs for melting, Creamy Peanut Butter and a bag of Candy Corn…
Now you know tomorrow you will find a ton of bags of Candy Corn marked down to like 25 cents…LOL So stock up and you can make this anytime 🙂
Melt Chocolate, spread on to a silpat or parchment paper
In a microwave safe bowl add peanut butter and candy corn
Heat in microwave until softened, then mix until smooth and candy corn has been melted and mixed in
Once Chocolate layer is firm, layer candy corn mixture over top
Spread mixture over chocolate to the edge
Melt more chocolate
Spread it over top all the way over the edge
Like this, now let it set up, I let mine set on the counter
Now Cut and there you have your bars, you also can free form bar shapes and then dip the whole bar into chocolate
The original recipe is not mine, just google it and you will find a lot of them.
1 cup candy corn 1/2 cup creamy peanut butter 2 cups chocolate discs
Melt half the chocolate and spread out onto a silpat or parchment paper, set aside to cool
In a microwave safe bowl add candy corn, heat for 30 seconds and keep repeating until smooth, then add peanut butter, mixture will become stiff. Let cool a little, then spread over top of chocolate, then melt remaining chocolate and spread over top of candy corn mixture, let set then cut into bars.
What I did was a little different, and this is that recipe, this was a large batch
I used a silpat for this and made it over the entire thing
To a microwave safe bowl add half the milk chocolate and half the semi-sweet, I also like to add a tablespoon of Crisco shortening to my chocolate to make smoother. Heat for 1 minute, stir, then heat again in 20 seconds intervals, stirring each time until smooth.
Pour out all over the silpat, let set to cool, once cool, then in a large microwave safe bowl add candy and peanut butter. I added some peanut butter first then some candy, then peanut butter again then candy then peanut butter again.
Heat for 1 minute, stir, then heat for 1 minute and 30 seconds, stir again, then heat in 20-30 second intervals until candy corn is completely combined into the mixture.
TIP – take the candy corn and add it to your food processor to chop up, I think doing this will help in melting easier and then it will not take that long in the microwave.
Let candy corn mixture cool just a bit, then spread it over the cooled chocolate, spreading it to the chocolates edge.
Now melt the same way as the first, the remaining chocolate and pour over top the candy mixture.
Let set up at room temp for at least 6 hours, if you can’t wait you can put it in the fridge to firm, but let it get to room temp before cutting or chocolate could crack.
So are you one of those people that CANNOT wait till fall hits so you can get your Pumpkin Spice Latte on!! 😛
As you know most of the coffee shops only have this Pumpkin Spice Syrup during the fall and maybe into the winter???
I don’t know because I am not one of those people 😛
But it doesn’t mean I don’t want to get on the “Band Wagon” and make my own…LOL!!
So many recipes have been flying around the internet, so I decided I would give it a try…
And let me tell you it turned out DELICIOUS!!!!!!!
I kind of shock myself…LOL 😛
So of course I dug into my spices to find the hidden Pumpkin Pie Spice in the back from the fall before LOL and finally can open one of the two large can of pumpkin pure, again from the fall before 😦
Okay so what else…I found some sweetened condensed milk and now I just needed cream, but I didn’t want to use cream, so I settled for half n half.
Okay I think I am ready to go and this is how it all went.
Ingredients
in a saucepan, pumpkin, milk and spice
stir that up, then stir in the half n half
cook on med-high okay I will confess, I had in on med-high, but I was trying to do other things as well, and I may not have been stirring it the whole time…hence it started to burn on the bottom, when I went back to it, and started whisking like a mad women, black bits started to surface. I may have cursed that this time, but I turned it down to low and kept on whisking until it thickened a little, then I let it cool for 5 minutes
Once I tried it was AWESOME!! It tasted like Toasted Pumpkin Marshmallow 🙂 I thought Holy Crap I just added another flavor dimension…WOOO HOOOO!!!!! LOL 🙂
It does get a little darker as it thickens
now you have strain this through a fine mesh strainer, and take the back of a spatula and force the mixture through the strainer by moving the spatula back and forth
this is what you will have left in the strainer
after I let the mixture cool in the fridge, I poured it into 2 little mason jars
This will keep in your fridge up to 2 weeks if it last that long 🙂 LOL
My Pumpkin Spice Cappuccino
I added to my mug, about 2 Tbsp. pumpkin mixture 2 Tbsp. creamer and stir it up
Then I frothed that
Then I add my espresso
and to finish it off I sprinkle a little Pumpkin Pie Spice on top…it was just Yumm!!!
Now you can just mix it into your regular coffee, as I did at the office this morning 🙂
As I talk to some of the ladies this morning, I started coming up all kinds ideas to do with this mixture besides to put in your coffee…oh a can wait to get back in the kitchen…stay tune!!!
1 cup pure pumpkin puree 1 can sweetened condensed milk 1 1/2 tsp. pumpkin pie spice 1/2 cup half n’ half, or cream or whole milk
Whisk everything together in a saucepan, cook over med-high, whisk until mixture thickens and darkens a little. Like I said above, let it burn a little and it will give it a toasted flavored, I felt like that added such good flavor.
Pour mixture through a fine mesh strainer, take a spatula and force mixture through the strainer by going back and forth. Pour mixture into a jar or container and keep refrigerated for up to two weeks if it last that long…LOL Mind didn’t 😛
Add as much or as little to your coffee or tea and sit back and enjoy!!
Recently I was nominated for the “One Lovely Blog Award” by Ka@My Uni Kitchen
Ka has a terffic blog, he has amazing Recipes, How to Guides and Cooking Tips, so please go over to his blog and check out all those good things he has to offer 🙂
There are few rules to accepting the award you must tell everyone 7 things about yourself and nominate 15 blogs for the award.
So here we go 🙂
1. I worked on a cruise ship for 6 1/2 years
2. My first career was in Theater Costuming before going into Culinary
4. I love Hockey
5. I worked for our home town Hockey Team by sewing names and numbers on their jerseys
6. During the baseball season, I am on call for the Cincinnati Reds and the away teams that come into town and play the Reds, to sew their uniforms (sewing names & numbers), for any last minute call ups.
7. The most I was ever paid for sewing 1 single uniform for an away team was $100.00
and that was for 1 hour of work, that included the call, me driving to the ball park
(i live very close) getting in there sewing the name and number and then back in my car. 🙂
Bonus – here’s the picture 🙂
I hope you enjoyed the few things that most of you did not know about me 🙂
Here are the blogs that I think are fantastic and I give the “One Lovely Blog Award” too
Vidya and Chitra I added you as well
I know Ka added you to his blog
but I wanted to let you know I love
your blogs too, so you can consider mine
with his 🙂
Crust: 2 1/2 cups cookie crumbs (graham or flavored) (I used 1 1/2 cups Cappuccino tea biscuits and 1 cup graham cracker crumbs) 6 Tbsp. butter, melted 1/4 cup sugar
Mix all together in a bowl, in a 9 inch spring-form pan press mixture down on the bottom and up the sides about 1 inch, set aside.
Filling:
2 8oz. bricks cream cheese, softened 1/2 cup sour cream, room temp 3 eggs, room temp 3/4 cup sugar 1/4 tsp. salt 1 Tbsp. corn starch 1 tsp. vanilla 1 tsp. red food coloring 1/4 cup cocoa powder
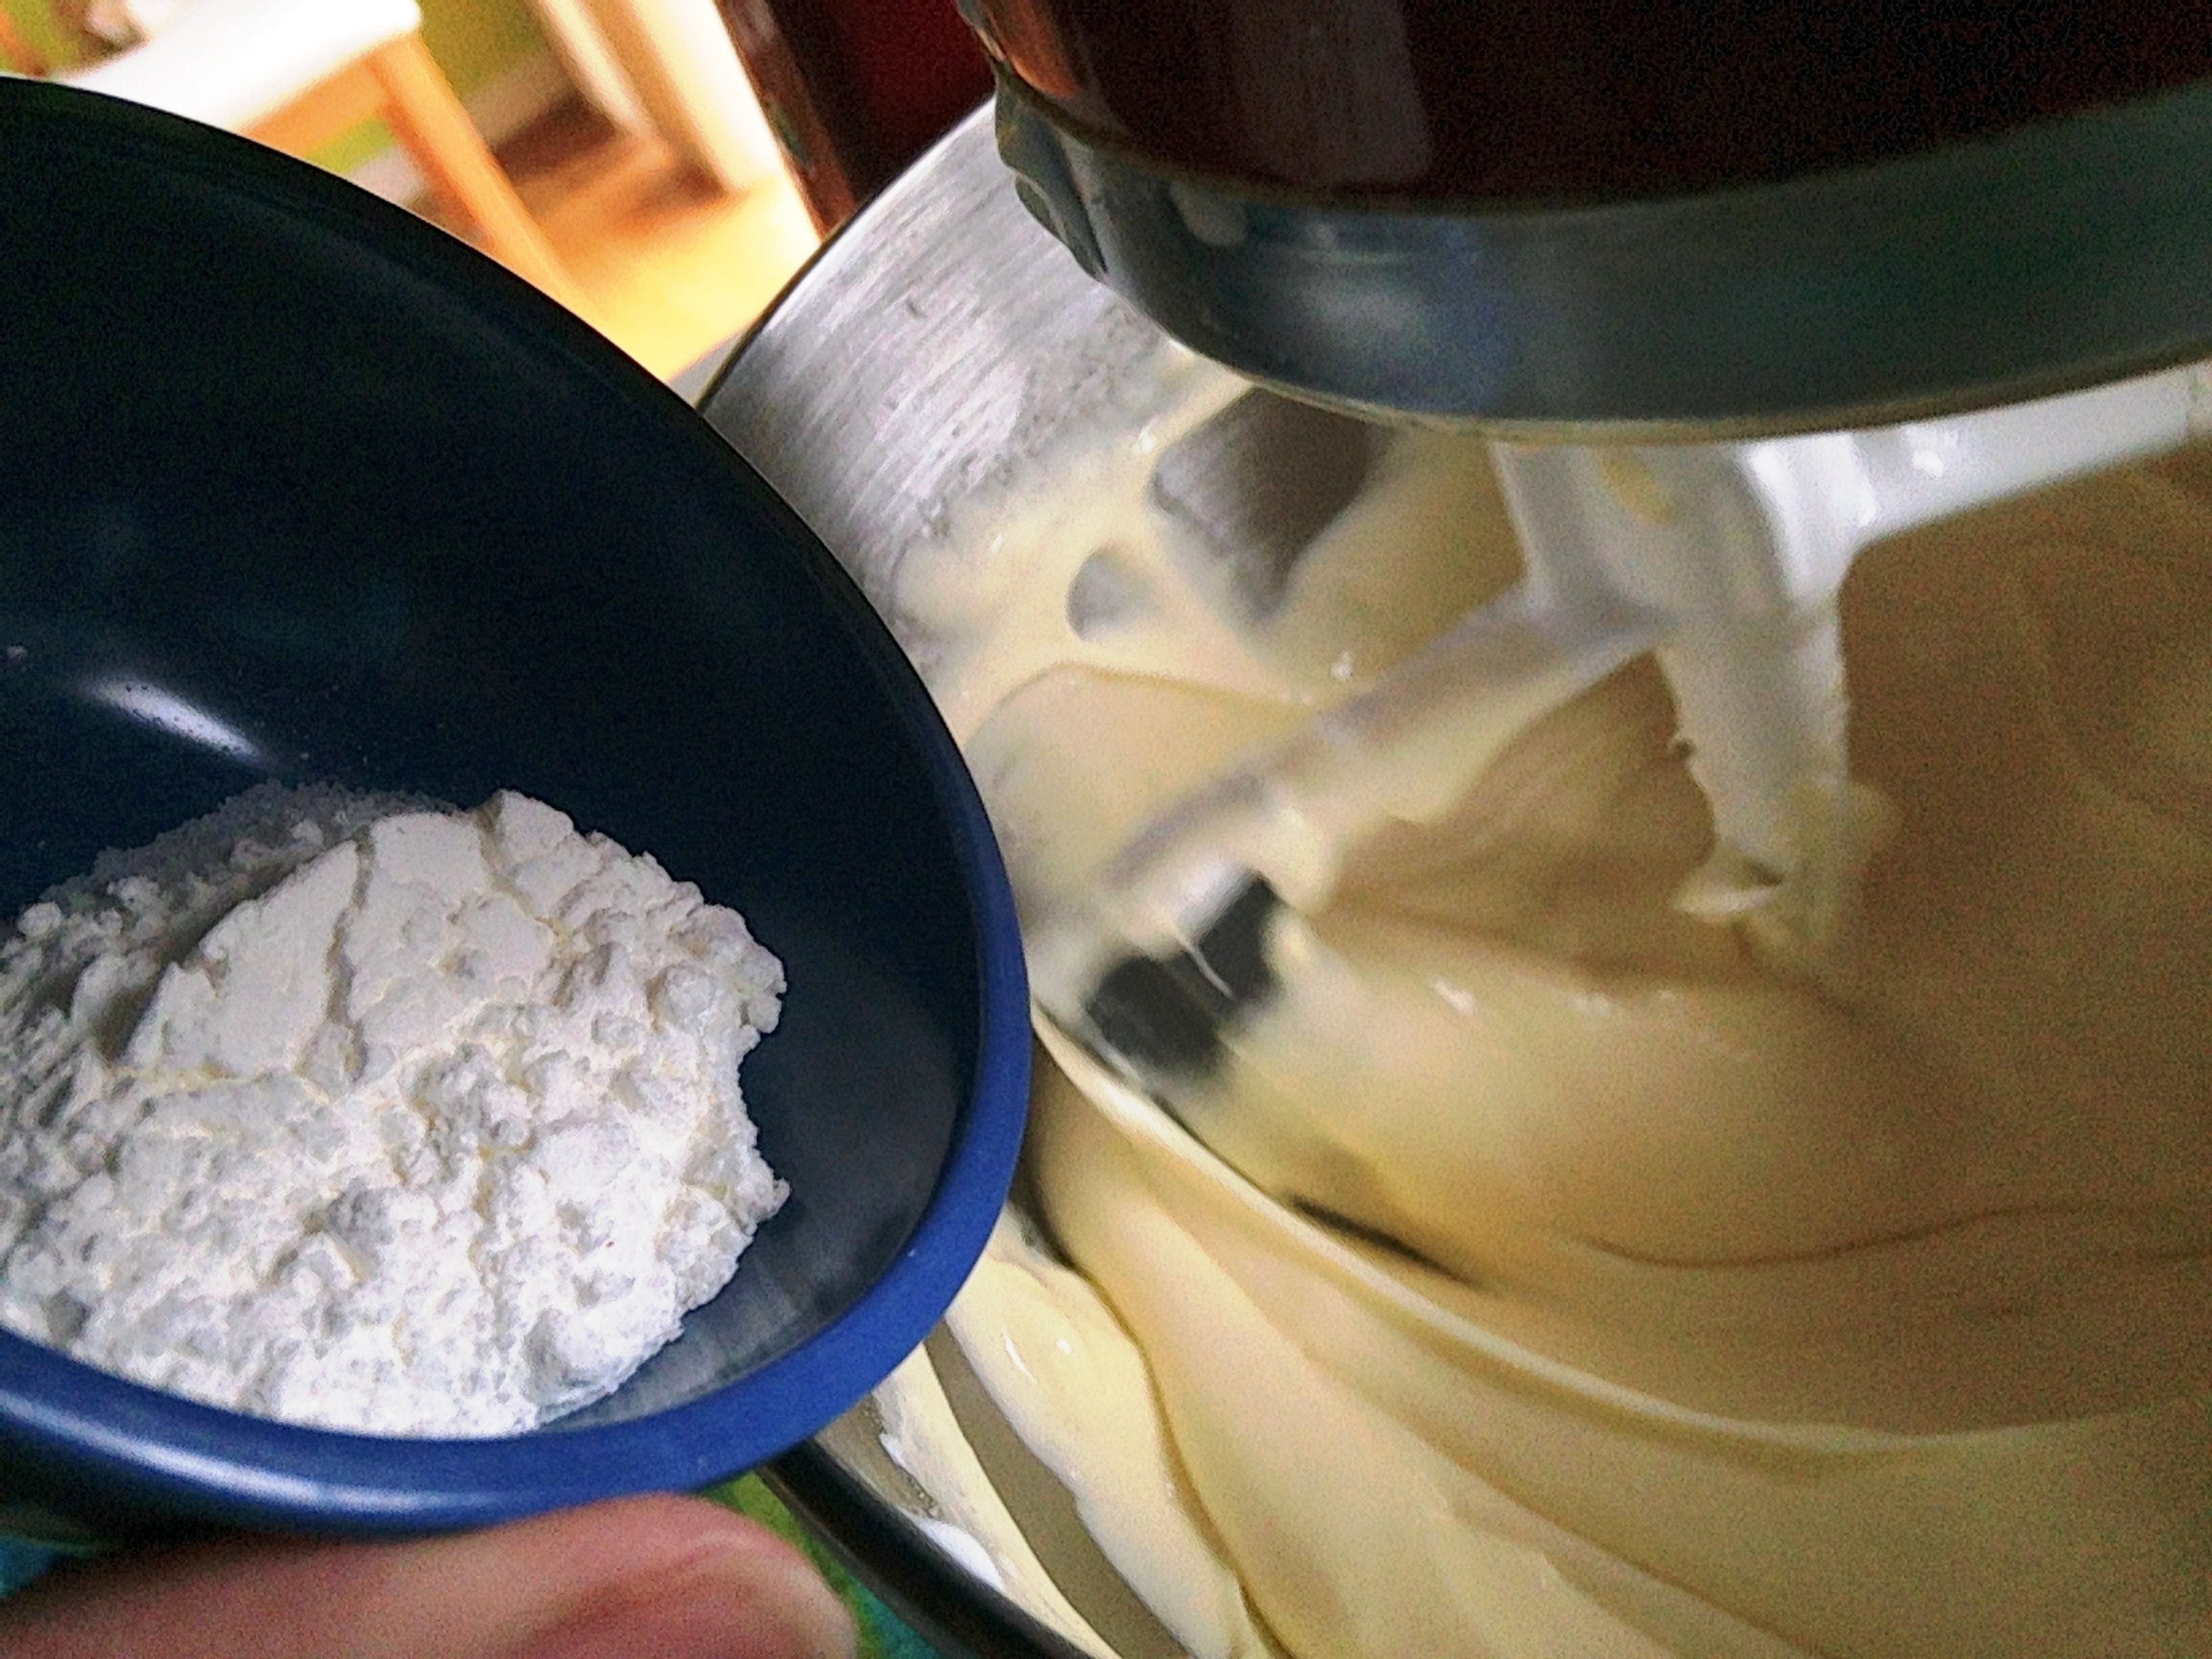
In a large bowl with a stand mixer or hand mixer, mix the cream cheese until smooth and creamy, add one egg at a time, making sure each is mixed in before adding the next. Then add the sugar, sour cream, vanilla, salt and then cornstarch, scraping the bowl as needed.
Take 2 1/2 cups of the mixture and add it to a small bowl then mix in food coloring and cocoa until fully combined.
Pour white mixture into the pan and spread around, then add red mixture and just swirl the 2 mixtures together.
Bake at 350 degrees for 45-60 minutes, edges will be puffed up and slightly brown, turn off oven, leave the door cracked with cheesecake inside for 1 hour. Then cool at room temp. for about 3 hours, place in refrigerator to chill for at least 2-3 before serving.
We all had a great time and everyone loved the food and of course the beer 😉
So before we get to the recipe for the soup, here is what a few of the people over here at the office look like today dressed in their St. Patty’s Day garb 🙂
First let’s start with the man that was named
after this day… Sir Patrick!!
Here is Connie with her Irish scarf
Janet and Jennifer have their green on 🙂
And Kathie and Heather have their head bobs on 🙂
Kathy in her green
There are the “Meat” guys in green too 🙂
Ann has a head bob too
Margie being silly 🙂
Here is the advertising girls pretty as ever
And I think Tina wins the prize
as she is all decked out!!!
Her tie lights up too and her head
bob thing does too just can’t tell
And this is one of ladies that Demo’s
for us in one of our stores, she Dressed
up for the day too 🙂
So what ever you do today enjoy it and have fun and make some soup!! 🙂
1 cup onions, grated or finely minced
½ cup celery, grated or finely minced
½ cup flour
1 stick butter
1 bottle Harp Beer
3 cups chicken stock
1 tsp. dry mustard
1 tsp. Worcestershire sauce
16 oz. Sharp cheddar, shredded (Tillamook is what I used)
8 oz. extra sharp cheddar, shredded (Cabot Vintage Choice)
2 cups cream
Cooked bacon for garnish
Green onions (tops only), thinly sliced
In a stock pot over medium heat add butter, onions and celery sauté until softened. Add flour, whisk and cook for about 3 minutes, whisking often. Whisk in beer slowly and same with the chicken broth, bring to a boil then reduce heat to a simmer and cook for 15 – 20 minutes. Then add dry mustard and Worcestershire then add cream while whisking and then cheese a good handful at time until all added keep whisking until smooth and cheese has melted. Cook for about 10 minutes more. Taste, season with salt and pepper etc., if too thick add more broth, beer or cream, too thin add more cheese. But nothing extra was needed; garnish each bowl with bacon and green onions.
Let me say the bacon really put this soup over the top, serve with my Harp Beer Bread recipe and you are good to go…Enjoy!!! Cheers!!
I would like to share my “Royal Chocolate Biscuit Cake”
This past weekend in the states was the final episode of Downton Abbey Season 5!
My friend Paul and I decided to get together and watch it together and have a little Downton Abbey Dinner. He bought the Downton Abbey Cookbook so we picked out a couple of recipes to make.
We made Crawley Family Chicken Breasts with Caper Cream Sauce, Lord Grantham’s American Italian: Risotto alla Milanese and Roasted Asparagus with Parmesan.
Of course we had some cocktails too I made “Huckleberry Clover Club’s” a few pictures of the night 🙂
Oh and Downton Abbey did not disappoint it was just wonderful with happy endings, I cried of course 😛
Our table 🙂
Huckleberry Clover Club
Our dinner
I knew the dessert had to be special and for our love of Prince William, I decided to make Prince William’s Grooms Cake, this was his favorite cake growing up.
I saw Carolyn Robb the former chef for the British royal family make this on Good Morning America in December and I was like I have to make that sometime for some occasion.
This was the perfect occasion to make it, here is the original recipe, but this is what I did I changed it slightly.
3 sticks unsalted butter
3/4 cup golden syrup
2/3 cup unsweetened cocoa powder
2/3 cup cup semi-sweet chocolate
1 teaspoon pure vanilla extract
1/2 cup shelled pistachios
1/2 cup packed soft, plump dried figs, diced
1 pound digestive biscuits, each biscuit broken into 4 pieces
To Decorate:
1 1/2 cups semi-sweet chocolate
3 Tbsp. white chocolate
1 1/2 Tbsp. crisco & 1 tsp. crisco
small bag of ‘Maltesers’ or ‘Whoppers’
Melt the butter with the golden syrup in a small saucepan. Do not let it boil. Remove from the heat and add the cocoa powder, semi-sweet chocolate and vanilla. Stir until you have a very smooth, glossy mixture.
In a large bowl mix together the pistachios, figs and broken biscuits then pour the chocolate mixture over top and mix well.
Line a round 9 inch cake pan with plastic wrap. Pour the mixture into the tin and press it down well to fit, I did this lightly because I did not want to crush the biscuits. Leave to cool thoroughly at room temperature for 2 hours before covering and chilling in the fridge for about 3 hours.
When set, remove from the tin, peel off the plastic wrap and place it on a cooling rack lined with wax paper upside down. Melt the semi-sweet chocolate with 1 1/2 tbsp. Crisco and white chocolate and 1 tsp. Crisco separately. Spread the semi-sweet chocolate all over the cake. I used a Triangular Cake Decorating Comb over the top of the cake, then drizzled the white chocolate all over, place the Maltesers around the top of the cake before the chocolate sets.
Store in an airtight container in the fridge, let set at room temp for about 30 minutes before cutting and serving.
Everyone that got some LOVED IT!!! You must make this one 😉
Well Christmas is upon us once more a year is ending and a new one will begin!! The #1 thing that I am grateful for is my parents, I love them dearly and they always have been there for me through everything, I am truly blessed!!
An of course I am thankful that I have a job (s) 🙂 a house to live in a car to drive and I have many friends, friends that I have know forever it seems, co-worker friends and you, yes you blogger friends. Many of you I feel like we’ve known each other for years, I love reading your blogs about food, recipes, family, gatherings, trips, parties I love reading it all. And to ALL of you Merry Christmas and Happy New Year!!!
Okay so below are some recipes from my Holiday Open House, just a few, if there is something your looking for let me know I will get you the recipe. Of course while making some of the most recent treats, I have been rushing home from work and get started and then forget to take pictures so there are few 🙂
Oh and at the end there are couple a cute funny photos 🙂
Fudge, this recipe is so easy, its out there, and I use it for all of my flavors, just use 3 cups of chips, whatever combo or flavor, same with extract whatever flavor and you can fold in anything, I did the recipe below, also used white chips and peppermint with crushed candy canes, one I did dark chocolate and folded in chopped andes mints so you can be creative.
Rocky Road Christmas Fudge
1 pkg. semi-sweet chocolate chips
1 cup peanut butter chips**
1 tsp. vanilla extract
1 can sweetened condensed milk
2 cups mini marshmallows
1 cup walnuts (optional)
Christmas décor sprinkles
Line an 8×8 square pan with plastic wrap and lightly spray with cooking spray. Set aside.
In a non stick medium sauce pan add all chips, condensed milk, extract, cook over medium heat, stirring constantly, once chips are almost all melted remove from heat, continue to stir until all is melted. Stir in walnuts and marshmallows, then pour into spray pan, smooth out evenly. Sprinkle with Christmas candy décor sprinkles, press down lightly. Refrigerate for a minimum of 2 hours to set before cutting into squares. Store in an airtight container.
**Can’t have nuts, use Butterscotch chips instead of PB, and use not walnuts.
Chocolate with marshmallows, peanut butter with chocolate swirl and dark chocolate mint.
Bark is so easy, you put chocolate in a double boiler with crisco shortening, at least that is what I do, I also use the microwave too, you just have to watch it, and then once its melted and smooth pour on to parchment smooth out and top it with what ever you want 🙂
White Chocolate Cranberry Pistachio Bark
2 pkg. white chocolate chips
2 tsp. Crisco
1 cup each craisins and shelled pistachios
Add chips and Crisco to a double boiler, melt chocolate, pour onto a lined baking sheet and top with craisins and nuts. Let set then break into pieces. Store into an airtight container.
I have white chocolate with craisins and pistachio’s and did dark with mixed nuts and marshmallows and milk with the same.
Easy Holiday Muddy Buddy Mix, this way is too easy
Quick & Easy Muddy Buddy Mix
2 bags Chex Muddy Buddy Mix
4 cups Chocolate Chex Cereal
4 cups mini pretzels
1 bag Christmas M&M’s
Mix all together, store in an airtight container.
With out the M&M’s, when I put it into containers I pour some mix, then a few M&M’s then more mix, otherwise the M&M’s sink to the bottom.
The easiest bar treats, with coconut and nuts 🙂
Holiday Bars
1 ½ cup graham cracker crumbs
1 ½ cup sweetened coconut
1 stick butter, melted
1 can sweetened condensed milk
1 cup walnuts, chopped
1 pkg. holiday colored chocolate chips
Preheat oven to 350 degrees. Spray a 9×13 baking pan.
Add melted butter and graham cracker crumbs to a bowl and mix well, pour into baking pan and press mixture over the bottom of pan. Sprinkle coconut and nuts over top of crumbs evenly, then pour can of milk evenly over top of that, then sprinkle with holiday chips. Bake for 25-30 minutes for until light golden brown. Cool completely in pan before cutting.
Peppermint Chocolate Crunch Popcorn
1 large bag of pre-popped popcorn (I used Angie’s yellow bag)
2 cups white chocolate chips
½ tsp. peppermint extract
2 tsp. plus 1 tsp. Crisco
1 cup chocolate chips
In a double boiler melt white choc. Chips with 2 tsp. Crisco and extract, stirring until melted, pour chocolate over top popcorn and toss to coat. Pour out onto a lined baking sheet, then melt choc. Chips and 1 tsp. Crisco in double boiler, stirring until melted, once melted drizzle over top of coated popcorn. Let set until chocolate has hardened, then store in an airtight container.
On this batch in the pictures, I used the andes peppermint crunch chips with criso in the micowave, tossed with popcorn, then pour out to cool, then I meltes about 1/2 cup of the andes mints and drizzled that over top.
Last one Christmas Crack
The recipe is certainly out there, you use saltines in most recipes, I use those and I use graham crackers. I also this time use Special K cereal as the base…and people like it 🙂
Graham Cracker Christmas Crack
1 box cinnamon graham crackers
1 cup brown sugar
2 stick butter
2 cup semi-sweet chips
½ cup peanut butter
Christmas M&M’s or toffee bits
Preheat oven to 400 degrees, line a jelly roll pan with parchment paper or foil and spray with cooking spray. Place crackers to line the pan, cinnamon side up, there can be just a little space between crackers.
Bring sugar and butter to a boil in a saucepan over med-high heat, once it come to a full boil, boil for 3 minutes and do not stir during the 3 minutes. Pour mixture over crackers, place in oven for 5 minutes, put peanut butter in microwave for about 30 seconds to get soupy.
Remove pan from oven drizzle peanut butter over top and then sprinkle chocolate chips over top. Let set for 5 minutes to melt, spread melted chips and top with M&M’s or toffee bits, let cool over night. Once firm, break into pieces and store in an airtight container.
Chocolate Mint or Peppermint Christmas Crack
45 saltine crackers
2 sticks butter
1 cup brown sugar
1 pkg. Mint and Chocolate chips
Or
1 pkg. white chocolate chips
½ cup finely crush peppermints
Preheat oven to 400 degrees, line a jelly roll pan with parchment paper or foil and spray with cooking spray. Place crackers to line the pan, salt side up, there can be just a little space between crackers.
Bring sugar and butter to a boil in a saucepan, once it come to a full boil, boil for 3 minutes and do not stir during the 3 minutes. Pour mixture over crackers, place in oven for 5 minutes, remove from oven and sprinkle with either Mint/chocolate chips or white chips, . Let set for 5 minutes to melt, spread melted chips and then top with peppermints or nothing, let cool over night. Once firm, break into pieces and store in an airtight container.
Crackers and graham crackers
Special K Cereal
Butter and brown sugar in pan
bring to a boil
pour over top
bake for 5 minutes
I topped the Special K batch with a mix of Peanut butter, milk and dark chocolate chips
this batch with the crackers I used Dark Chocolate and Mint Chips
Oh here’s one once more
Holiday Nut Brittle
1 cup sugar
½ cup light corn syrup
¼ tsp. salt
2 cups nuts – peanuts, cashews or pecans
1 tbsp. butter
1 tsp. vanilla
½ tsp. cinnamon
1 tsp. baking soda
Line a baking sheet with parchment paper
use at wooden spoon for this
Spray with cooking spray a large glass mico safe bowl, add sugar, syrup and salt, stir to mix. Set microwave for 3 minutes, watch closely once the mixture starts to boil continue to cook for 4 more minutes (you will need to add more minutes)
Remove from microwave immediately add nuts, butter, vanilla and cinnamon, stir quickly to combine and cook for 2 more minutes. Immediately remove add baking soda and stir to combine, mixture will foam up, once mixed pour out onto lined baking sheet and spread out with spoon. Let cool at room temp, once cooled break into pieces and store in an airtight container.
I bought some pre cut cookies and they did not have crisp edges as it you would use cookie cutters, and I only had some bright colors so here are some of my fun Christmas cookies 🙂
Love my tie dye ginger 🙂
I also go the best gift ever, if you have not heard of this stuff, its funny and it works 🙂
Poo-pourri…yes it is what you think 😛
Check out the Holiday Commercial and please watch the whole thing…it will give you a chuckle!!
And lastly meet my new friend “Pixie Puddin'” my friends named her on facebook it was a fun time picking a name 🙂
So Merry Christmas and Happy New Year from Pixie and I 🙂
Well it is almost Christmas and for Holidays everyone loves homemade sweet treats!!
And for the last two weeks I had Holiday Open Houses in a few of our stores 🙂
I made tons of sweet treats, shared my recipes and displayed those goodies in different ways as gifts, to give customers ideas on for Holiday gift giving.
I made fudge, bark, Christmas crack, Holiday muddy buddy mix, snowman soup among other things, I had over 20 recipes to share. It was lots of fun, I had Christmas music playing (under my table), I gave everyone lots of ideas for their Christmas gifts.
Check out some of the pictures
Getting started 🙂
Some baking dishes
i have lots of things to fill 🙂
Recipes
Recipes
Recipes
Tips on packaging 🙂
things are getting filled
Chocolate covered popcorn
christmas bark
white chocolate bark
Christmas fudge
A hot cocoa kit, cocoa, marshmallows and peppermint stir sticks
fun
gathering it all together 🙂
some cute mason jar ideas
Setting up at one of the stores
its coming together
display
more of the display
here is a close up
Lot of stuff was found at the Dollar store and I made it look cute 🙂
This was it set up another store, I added the Candy Canes
and did the green fabric a little different 🙂
I love that I had the baking supply display behind me, people
were just asking what to get, I was filling up their carts 🙂
Here is me in scary make-up and yes I did this myself 🙂
Not sure where everyone lives, but here in Northern Ky/Greater Cincinnati area is was 41 degrees, and I was sitting outside all bundled up passing out candy!! 😛
Here is my candy
my pumpkin on my table
some kiddies running for candy
some coming and going
But at least it stopped raining, where ever you are I hope you have a Happy and Safe Halloween!!!!