This is my friend Parry Adams and she is Fabulous Singer!!! And I requested for her to sing Moon River and I wanted to share it with you all!! Enjoy!!!

Trapanese Pesto!!
5 Comments

Hello Everyone!!!
Well since I last posted, I have been still very busy.
But I just finished a 3 part cooking series Vine to Table, and as I get a little time
here I will post some of my recipes.
This first one is one of my most favorite pesto’s, it is so refreshing and if you
have never had it then this is one to make today.
It is so simple, my recipe makes about 3 1/2 cup, I used 2 cups on a 16 oz. package of
Rigatoni Pasta and it was perfect.
Put the rest in the fridge or freeze it and enjoy it in the winter months.
This would be great on chicken or pork, use as a sauce for Chicken Parmesan,
or Eggplant Parmesan.
Which ever way you use it enjoy!!!!
Ingredients

What it looks like finished

4 cups grape/cherry tomatoes In food processor add almonds and pulse about 6 times, then add Use as desired, keep in the fridge up to one week or in the freezer up to 6 months.Trapanese Pesto
1 cup whole almonds, toasted
1 clove garlic or 1/2 tsp. minced garlic
1 cup fresh basil leaves
1/4 cup olive oil
1/2 cup grated Parmesan cheese
1 tsp. kosher salt
tomatoes, basil, cheese, salt and garlic.
With food processor on slowly add oil to emulsify. Scrape down the sides
of the bowl, process 10 more seconds.
I served me up some with Chicken Parmesan 🙂

Share this:

Soups Around the World!
6 CommentsLast week I had a cooking Event at one of our stores, my sponsor was College Inn Broth.
Plus I wanted to add some seasoning from a local company that is exclusive in our stores, Colonel De’s Seasonings.
So here are the soups that I did and the recipes, I hope you will enjoy and make them 🙂
Irish Garlic Potato Soup

2.25 lb. Klondike Goldust Potatoes, sliced In stockpot add butter and onions, cook over med-high heat for about 5 minutes. Paired with Guiness Draught BeerIrish Garlic Potato Soup
.75 lb. sweet onion, sliced
3 – 14.5 oz. cans College Inn Chicken Broth
2 Tbsp. butter4 tsp. Colonel De’s Garlic Goodness
1 cup half and half
½ tsp. kosher salt or to taste
Add sliced potatoes, onions and chicken broth, cover and bring to a boil. Reduce heat to a simmer, add Garlic Goodness and cook until potatoes are tender.
Remove from heat, with an immersion blender blend until smooth or leave a little chunky. If using a blender, blend in batches, just make sure the center of the blend lid is removed, place a towel over top of the lid.
Once blended add back to pot, add salt and add half and half, warm on low and serve.
Optional – Add onions straws and chives for a garnish.
Mexican Pozole Soup
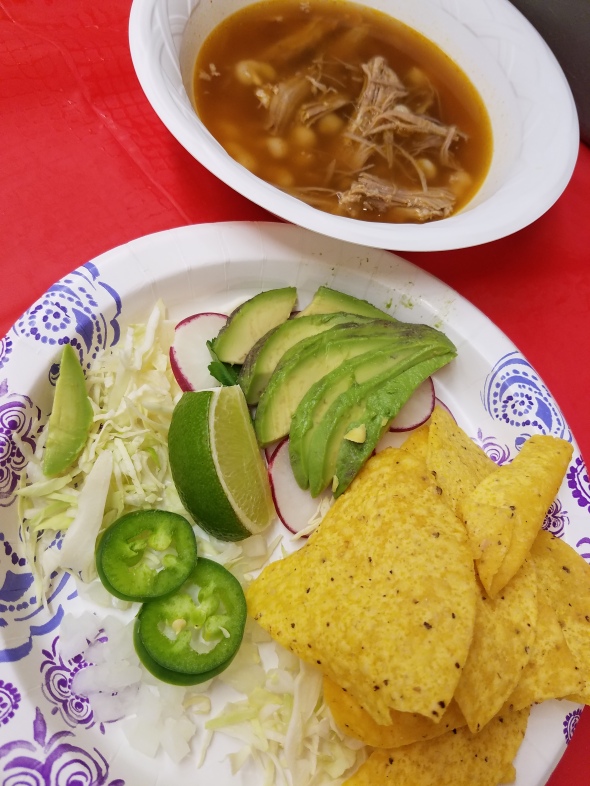
2 – 15.5 oz. cans hominy Add to a large stock pot broth, hominy, pork and seasonings, bring to a boil and serve with garnishes below: Shredded cabbage Paired with Negra Modelo BeerMexican Pozole
3-4 – 14.5 oz. cans College Inn Beef Broth
3-4 cups shredded pork
3 tsp. Colonel De’s Chipotle Seasoning
Radish slices
Chopped onion
Chopped hot peppers
Avocado slices
Lime wedges
Tortilla chips
Chopped Cilantro
Avgolemono (Greek Lemon & Chicken Soup)

64 oz. College Inn Chicken Broth In a large stock pot over med-high heat bring broth to a boil, covered, then add rice, chicken and seasonings, cover and reduce to low until rice is cooked. Paired with Leffe BeerAvgolemono
Shredded chicken breast from whole chicken
2 tsp. Colonel De’s Greek Seasonings
1 cup instant rice
4 eggs
2 tsp. cornstarch
2 Tbsp. water
¼ – ½ cup lemon juice, per your taste
salt to taste
In a medium bowl add water and cornstarch and whisk, then add eggs and beat until completely blended, whisk in lemon juice. Take 4 cups of the hot soup and slowly add to the egg mixture while whisking constantly so that the mixture will not break. Stir mixture into the rest of the soup. Season to taste and serve immediately, garnish each bowl with a lemon slice and a few baby spinach leaves.
Pho Bo (Vietnamese Soup, this picture was taken before broth was added)

8-10 cups College Inn Beef broth Green onions, tops thinly slice Add broth and pho pouch to a medium pot and bring to a boil, then let simmer for 3 hours. Cook rice noodles as directed and drain. Place portion of noodles in a large individual soup bowls, sprinkle of green onions and cilantro leaves. Top that with a few thin slices of raw sirloin, set bowls aside. Make each garnish plate with below Bean sprouts, Thai basil leaves, hot sliced peppers, some sriracha and hoisin sauce. Before serving bring broth up to almost a boil, ladle broth in to your bowls. And add garnishes to your bowl as you wish. Paired with Kirin Ichiban BeerPho Bo
1 Colonel De’s Pho soup pouch
1 pkg. rice noodles
sirloin steak, trimmed and thinly sliced, kept raw
fresh cilantro leaves
Hope you Enjoy!!! Cheers – Chef Amy!!
Share this:

Happy Halloween 2016!!
8 CommentsWell Happy Halloween everyone!!!
Yes I know I have not blogged in FOREVER!! But this girl has been busy, but today
I have a quick easy recipe for Halloween or really anytime. 🙂
I do like a Butterfinger Candy Bar every once in awhile, so when I saw this online, I thought really does it taste like a Butterfinger????
This was one of those million some videos you see of recipes, and I was like 3 ingredients and you have a Butterfinger…well lets give this a try 😛 LOL!!

Now I made a big batch, I wanted to bring them to the office today for everyone for Halloween.
So I will give you the original recipe and then tell you what I did for large batch.
So you need – Chocolate discs for melting, Creamy Peanut Butter and a bag of Candy Corn…
Now you know tomorrow you will find a ton of bags of Candy Corn marked down to like 25 cents…LOL
So stock up and you can make this anytime 🙂
Melt Chocolate, spread on to a silpat or parchment paper

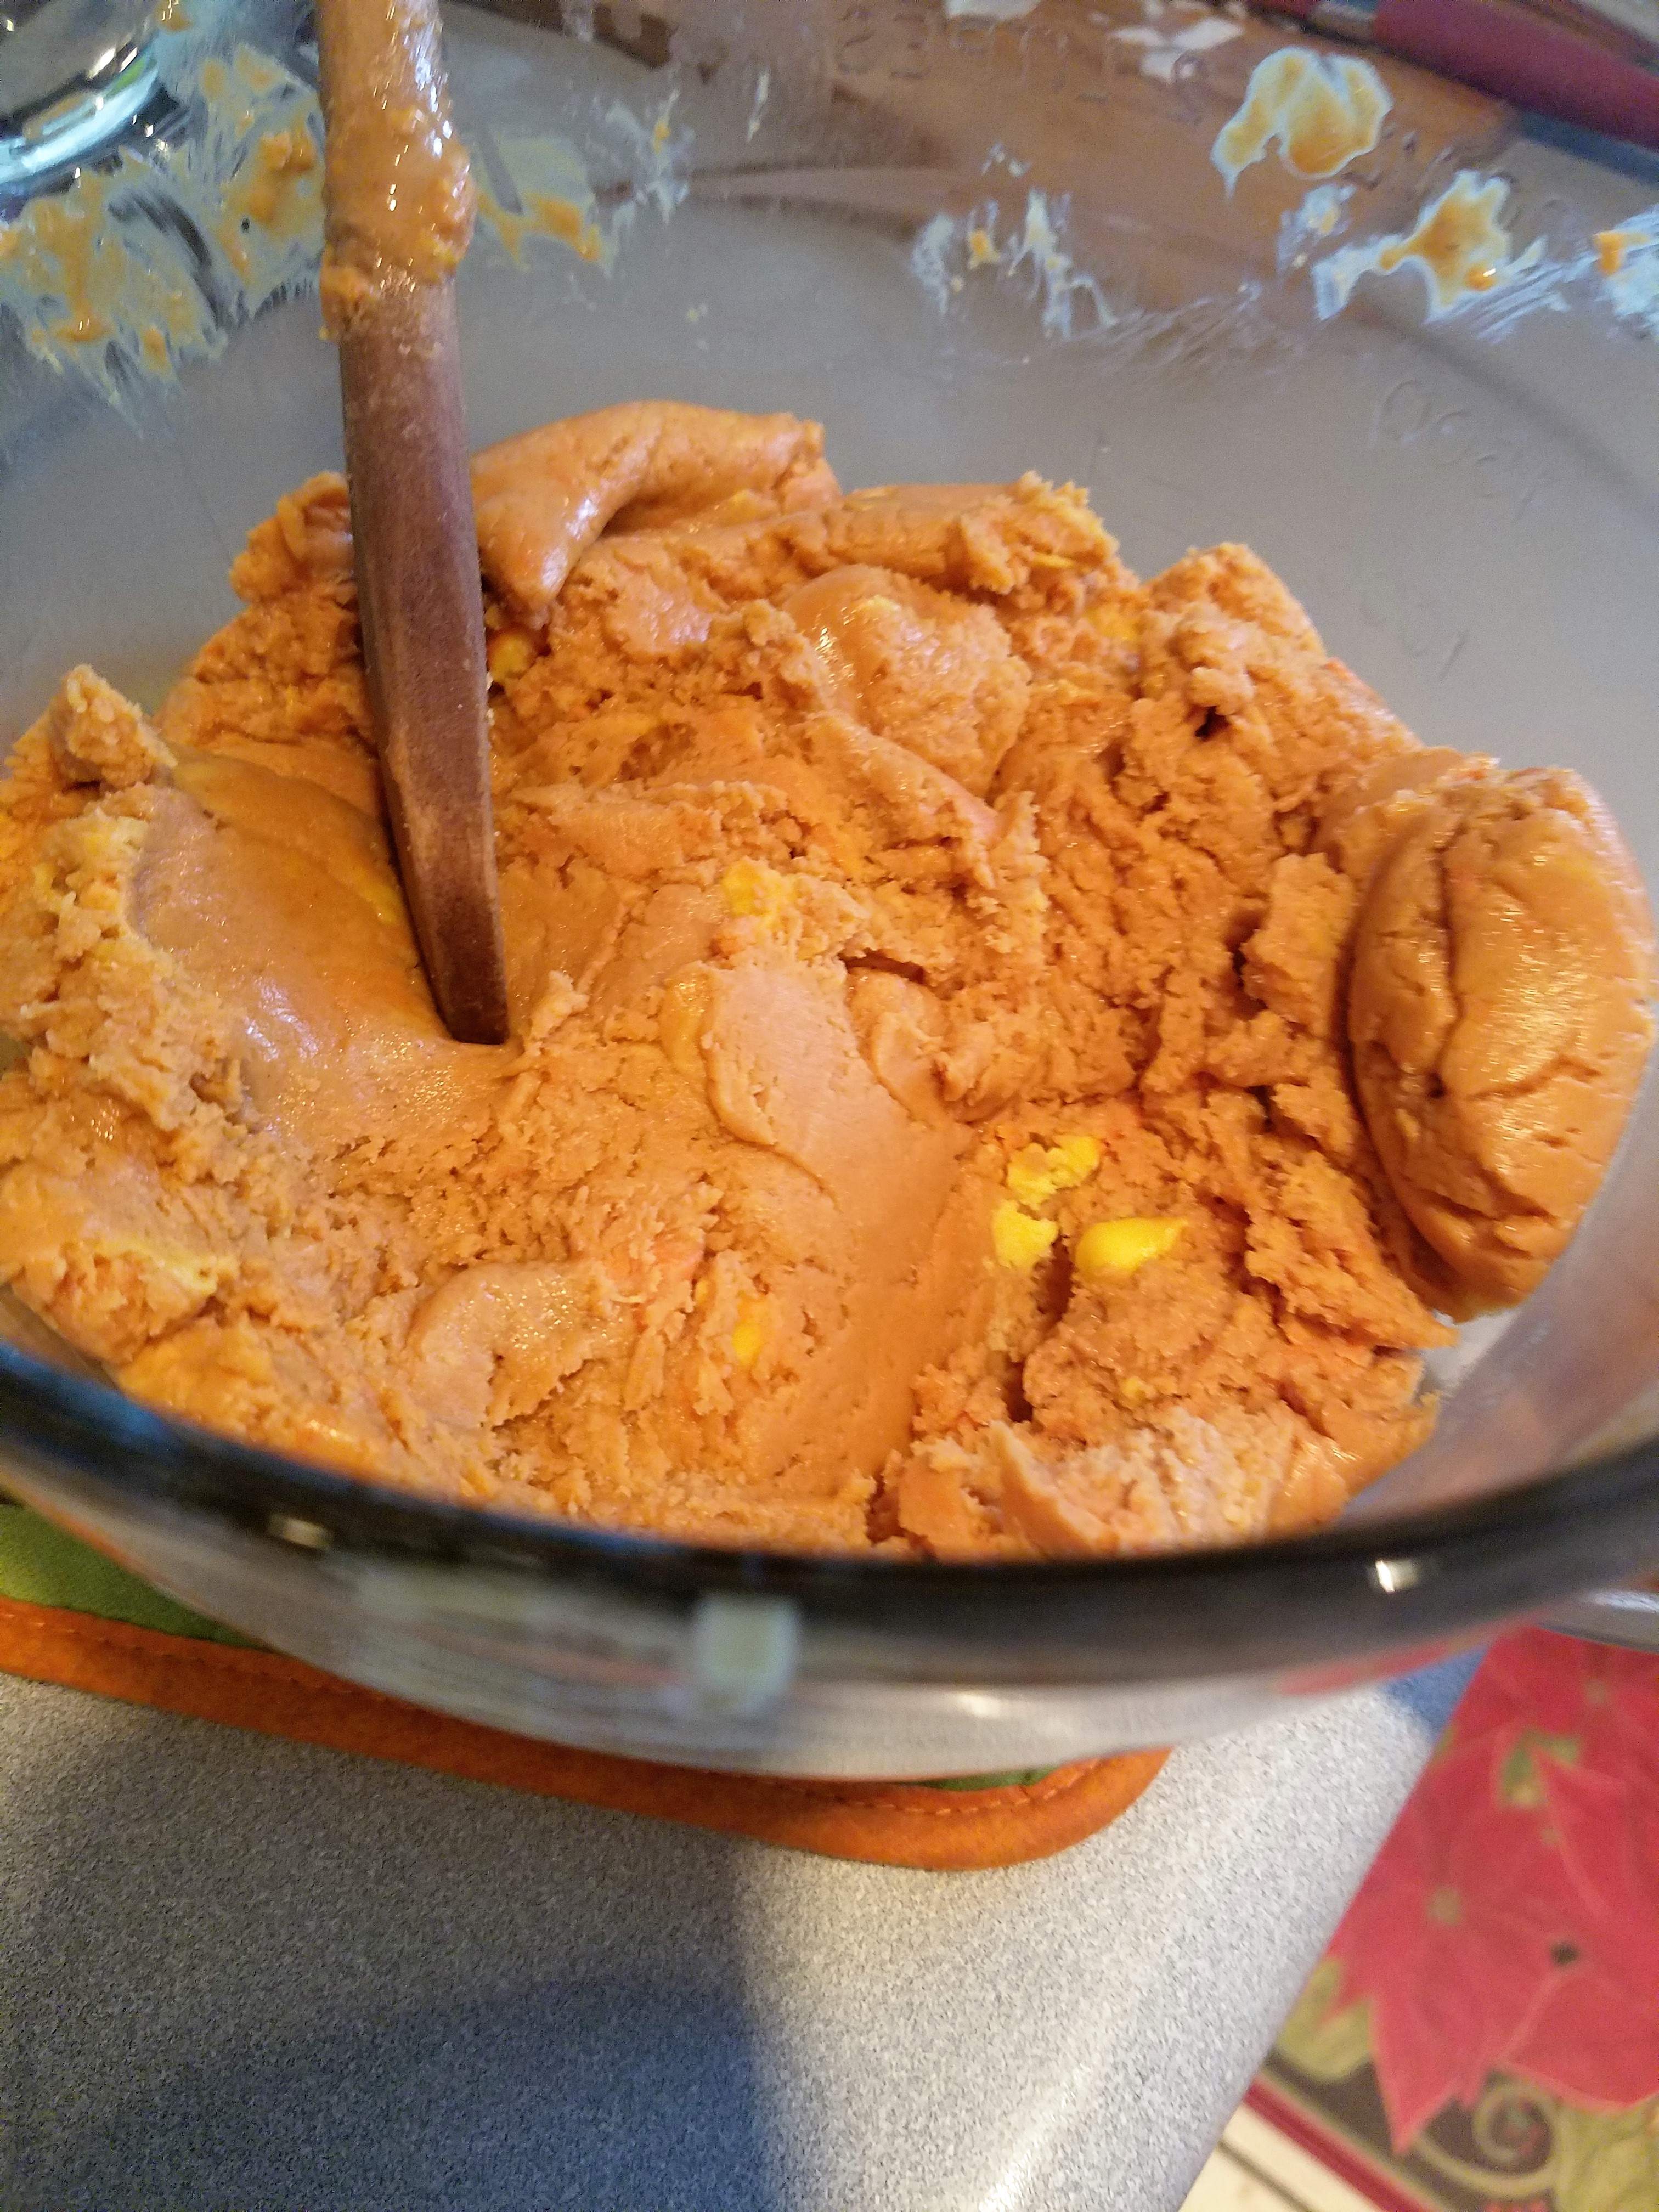
In a microwave safe bowl add peanut butter and candy corn

Heat in microwave until softened, then mix until smooth
and candy corn has been melted and mixed in
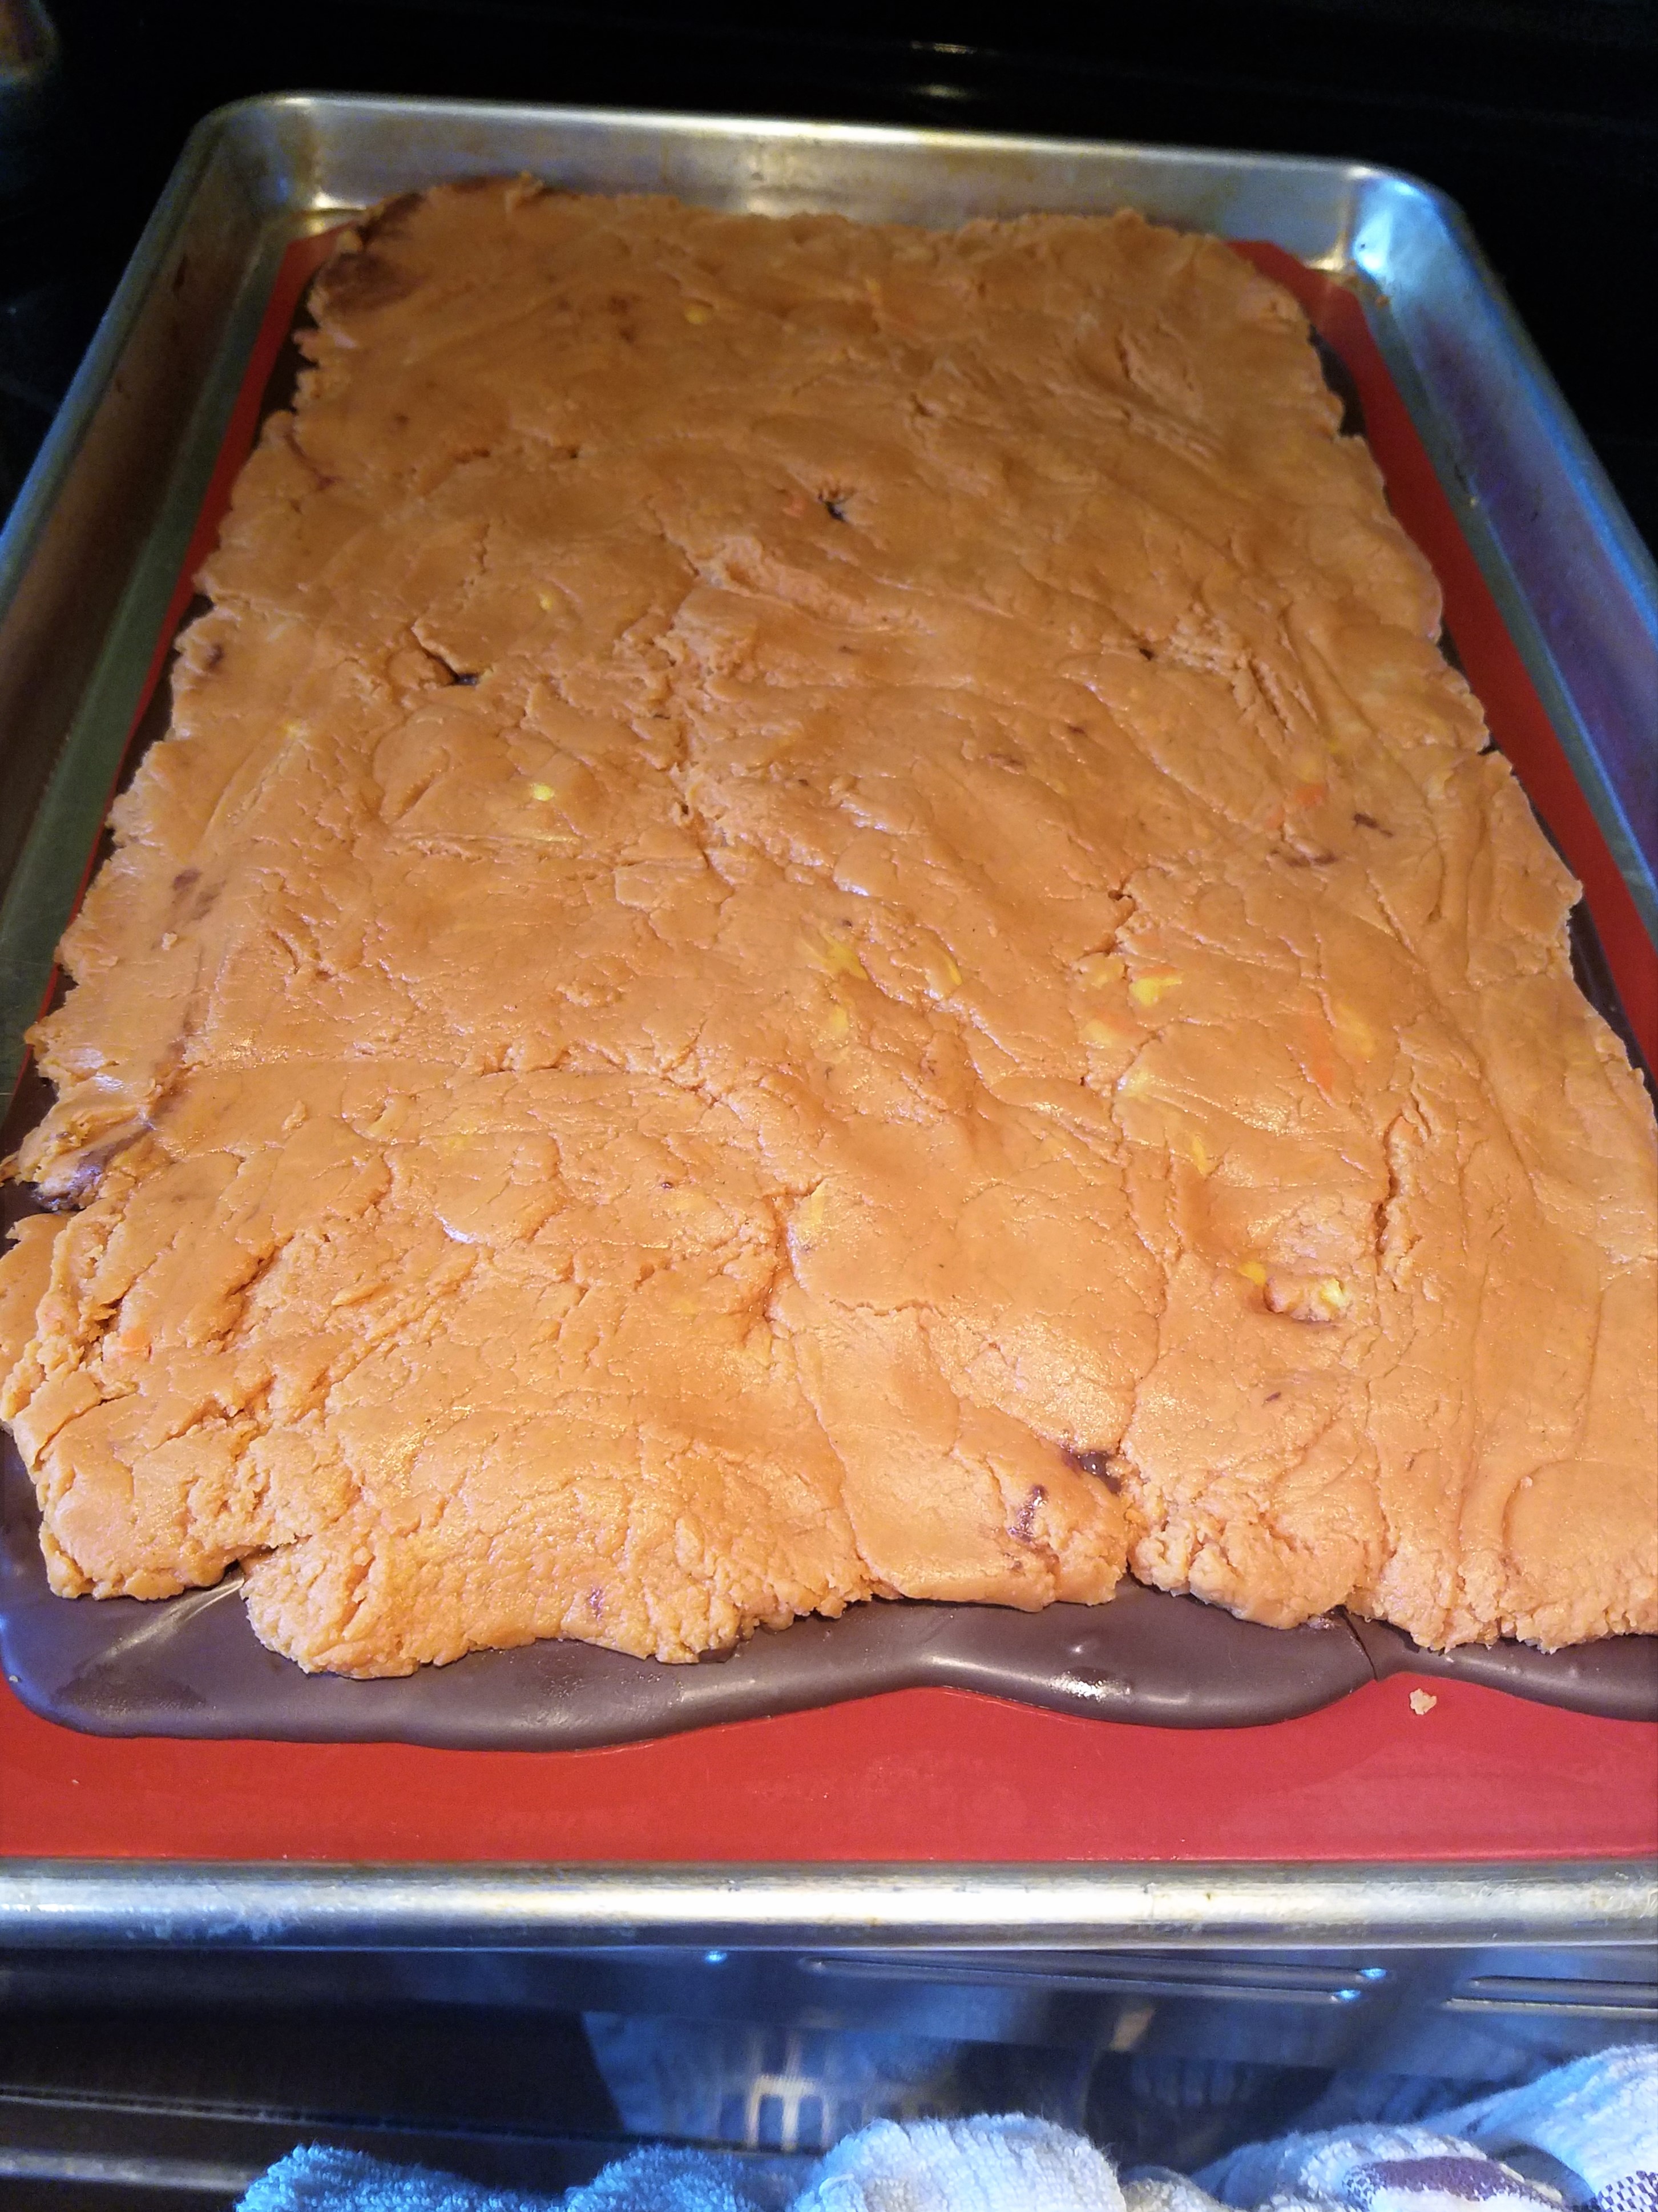
Once Chocolate layer is firm, layer candy corn mixture over top

Spread mixture over chocolate to the edge
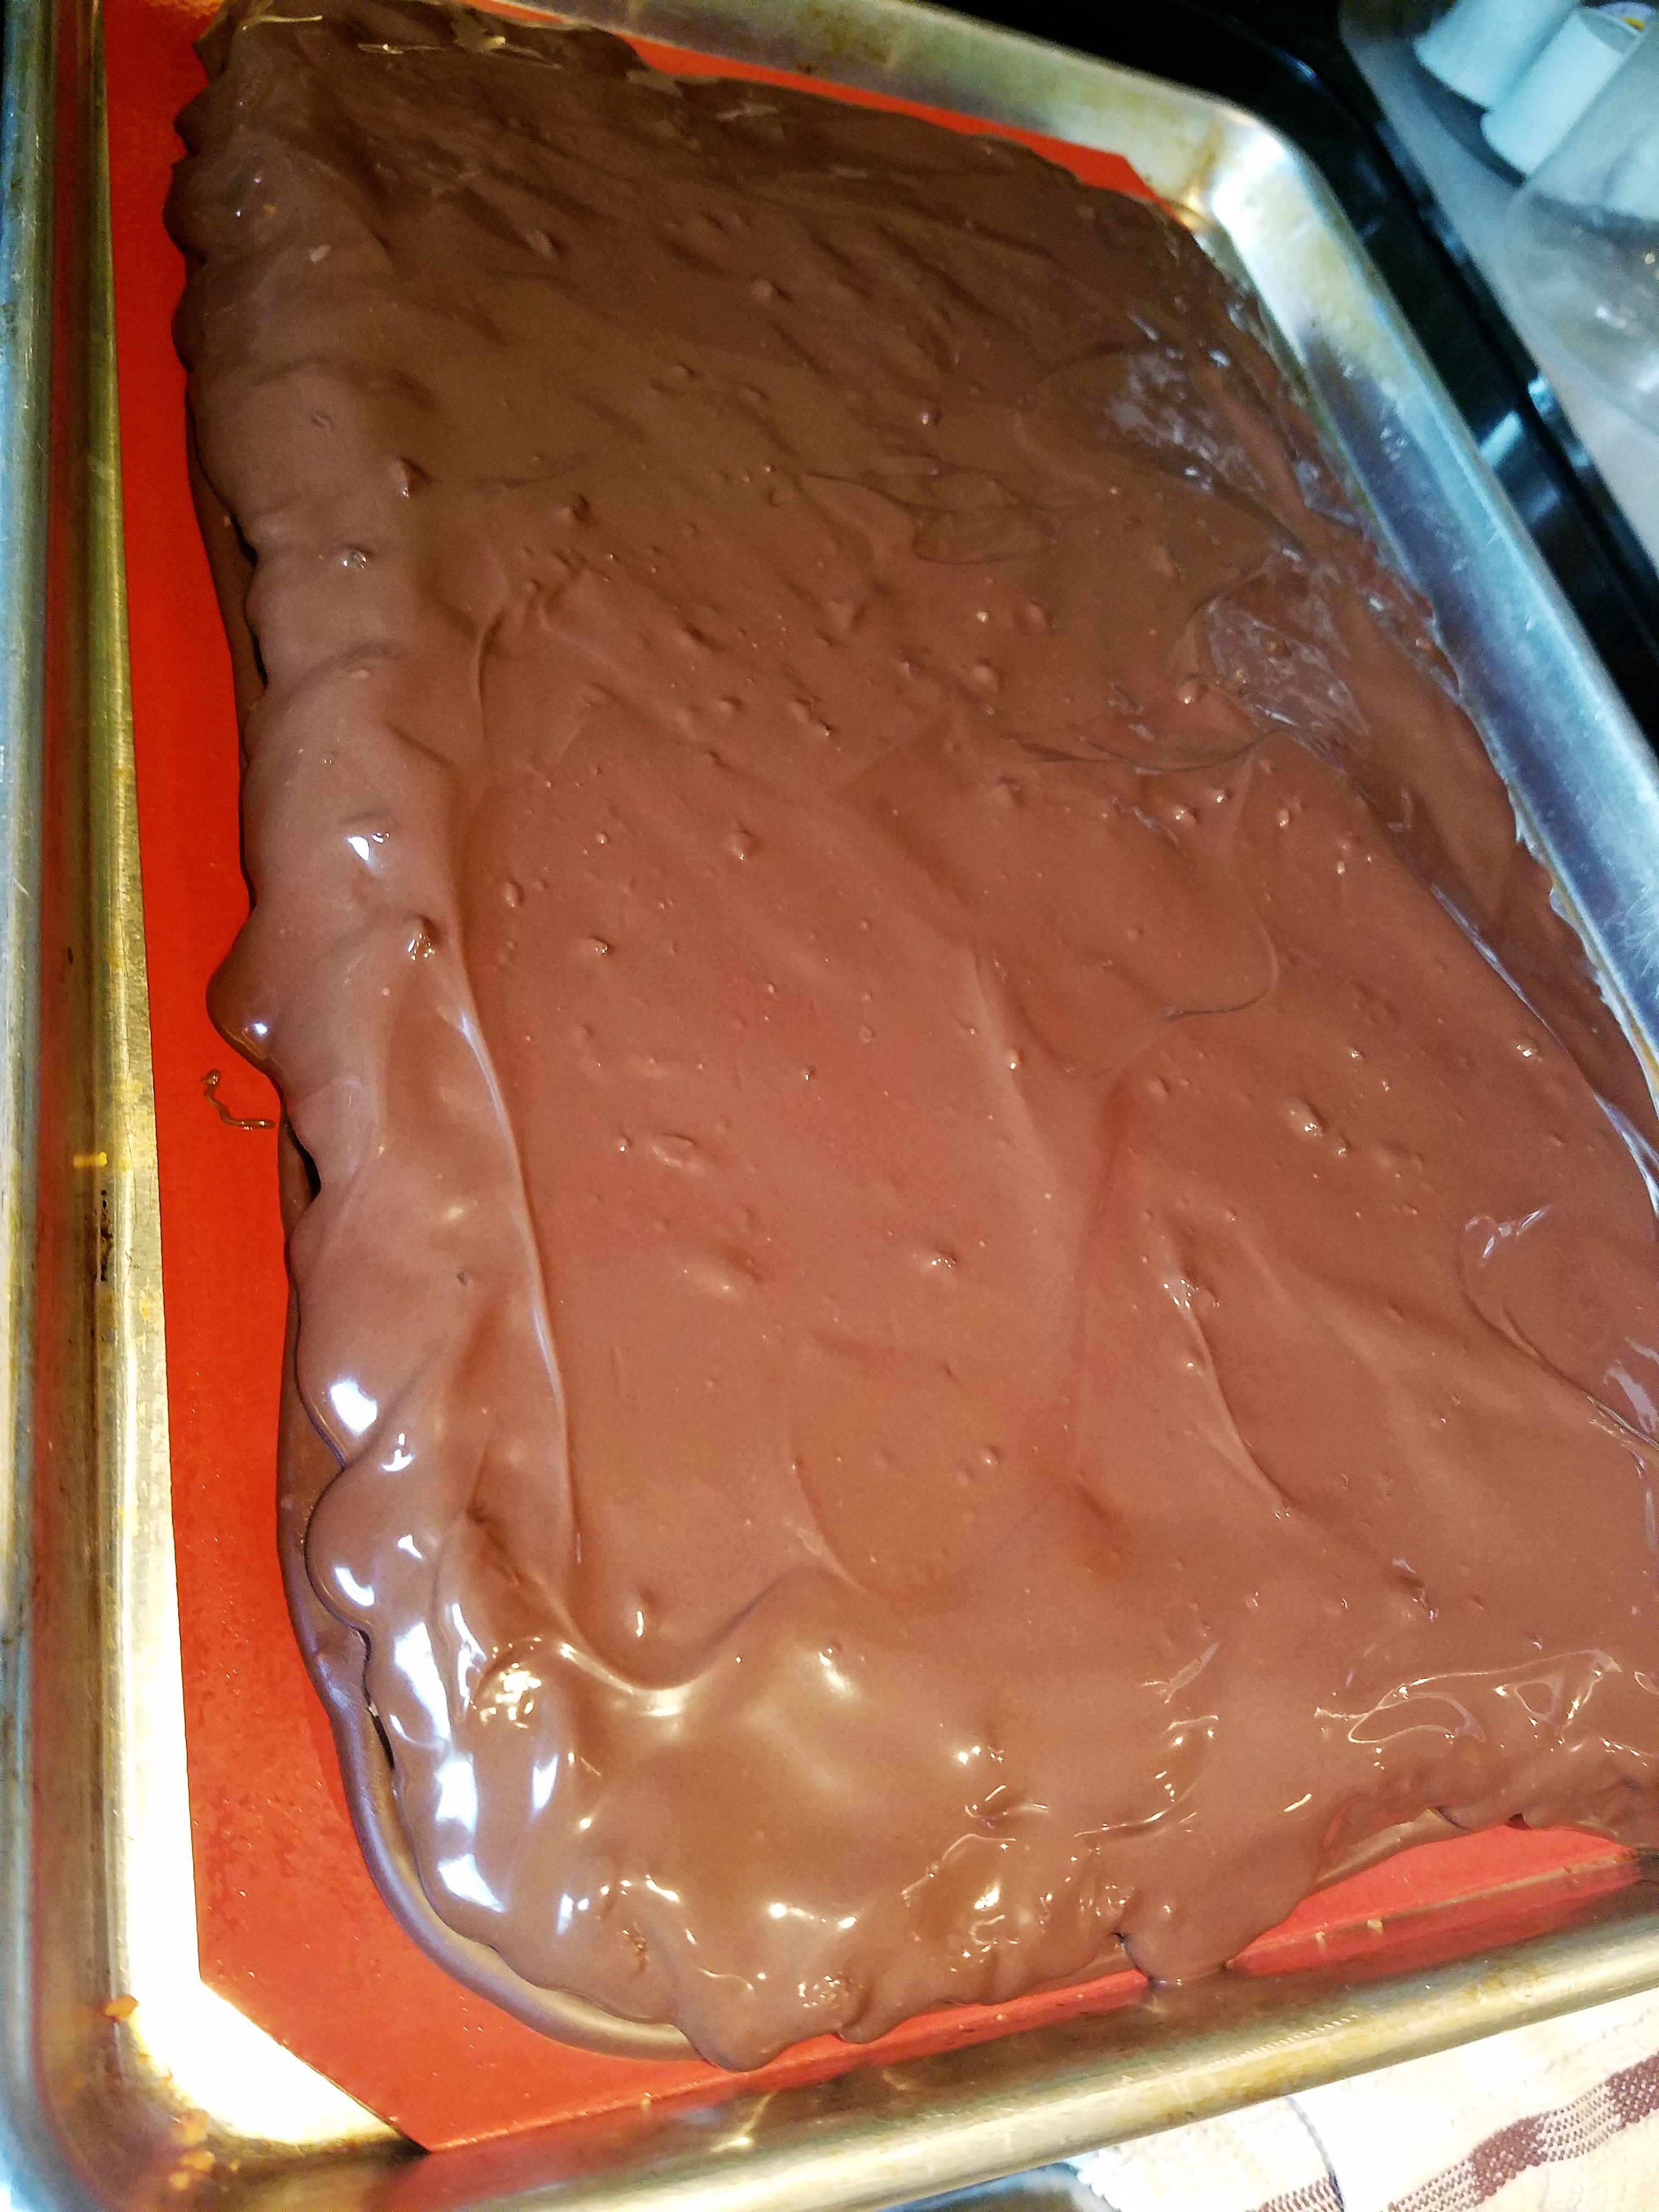
Melt more chocolate

Spread it over top all the way over the edge

Like this, now let it set up, I let mine set on the counter
Now Cut and there you have your bars,
you also can free form bar shapes and then dip
the whole bar into chocolate

The original recipe is not mine, just google it and you will find a lot of them. 1 cup candy corn Melt half the chocolate and spread out onto a silpat or parchment paper, set aside to cool In a microwave safe bowl add candy corn, heat for 30 seconds and keep repeating until smooth, then add peanut butter, mixture will become stiff. What I did was a little different, and this is that recipe, this was a large batch 4 cups candy corn I used a silpat for this and made it over the entire thing To a microwave safe bowl add half the milk chocolate and half the semi-sweet, I also like to add a tablespoon of Crisco shortening to my chocolate to make smoother. Heat for 1 minute, stir, then heat again in 20 seconds intervals, stirring each time until smooth. Pour out all over the silpat, let set to cool, once cool, then in a large microwave safe bowl add candy and peanut butter. I added some peanut butter first then some candy, then peanut butter again then candy then peanut butter again. Heat for 1 minute, stir, then heat for 1 minute and 30 seconds, stir again, then heat in 20-30 second intervals until candy corn is completely combined into the mixture. TIP – take the candy corn and add it to your food processor to chop up, I think doing this will help in melting easier and then it will not take that long in the microwave. Let candy corn mixture cool just a bit, then spread it over the cooled chocolate, spreading it to the chocolates edge. Now melt the same way as the first, the remaining chocolate and pour over top the candy mixture. Let set up at room temp for at least 6 hours, if you can’t wait you can put it in the fridge to firm, but let it get to room temp before cutting or chocolate could crack. Cut into any size bar you want…and Enjoy!!!Homemade Butterfinger Bars
1/2 cup creamy peanut butter
2 cups chocolate discs
Let cool a little, then spread over top of chocolate, then melt remaining chocolate and spread over top of candy corn mixture, let set then cut into bars.
1 jar 16.3 oz. peanut butter
1 lb. milk chocolate disc, divided
1 lb. semi-sweet chocolate disc, divided
Share this:

Happy Pi Day! 3-14
8 CommentsHappy Pi Day Everyone!!! 3-14-16

In honor of Pi Day here is a link to my Banana Cream Pie!!! I hope you check it out and what Pie will you be eating today!! LOL!! 🙂
https://whatscookingwithchefamy.com/2012/06/17/banana-cream-pie-for-fathers-day/

Share this:

National Chocolate Cake Day!!!
18 CommentsSo yesterday was National Chocolate Cake Day, and I got the itch to make a
Chocolate Cake and I brought it in for the office today!!!

I know they will happy, since this is the second thing I made this week, on Monday
I made a Cinnamon and Walnut Coffee Cake and they all loved that!! 🙂
So I didn’t have my usual ingredients at the house that I have used in my Chocolate cakes before, like
buttermilk or sour cream those things make my cakes moist and I like using them.
So I just followed the recipe on the back of the Hershey’s Cocoa Powder can.

The only thing I did differently was two things:
1. I used 1 cup of cocoa powder, instead of what it said, (I can’t remember LOL)
2. I used Hot Strong Coffee instead of Hot Water.
I also made it in a bundt pan 🙂 Bake for about 40-50 mins, just until a toothpick is inserted and comes out clean.
The I made Cream Cheese Frosting and that recipe is below 🙂
Adding the chocolate to the cream cheese, butter and sugar (sorry i didn’t take better pictures)

whipped up altogether 🙂

frosting!!

Done 🙂

now Enjoy!!!

2 – 8 oz. packages of cream cheese, softened In a double boiler add chocolate and half and half, stir until chocolate has melted and mixture has before like a thick paste. Remove from heat and set aside for 10 minutes. In a large bowl mix cream cheese until fluffy, then add butter and mix until combined and fluffy. The mix in chocolate and continue to mix until all in combined and fluffy. This recipe covered the bundt cake and I had about 2 cups left over. Store cake in the refrigerator, let set at room temperature for at least 1 hour before serving.Chocolate Cream Cheese Frosting
2 stick of butter, softened
1 3/4 – 2 cups powdered sugar
3 oz. unsweetened chocolate
3 oz. bittersweet chocolate
1/4 cup half and half
Then add powdered sugar, I only used 1 3/4 cup but if you like it sweeter add more, mix until combined.
YUMMY!!! Enjoy!!

Share this:

Happy 2016!! How about some Soup!!
19 CommentsYes I am still Alive!!! 😛
I know, I know I have not blogged in forever, but I have been very busy with work and other things.
Plus I don’t cook up a ton of things for me on a daily basis, and when I do cook for my family I am so busy doing multiple things that I forget to take pictures, and if I do I don’t often have a lot of time to blog it all out. So I am sorry for those who care, and I will try harder this upcoming year!!
So this would be something I would not blog about since its just something plan I would come up with, but I thought I just better share this to let everyone know I am still kickin 🙂 LOL
So yesterday on my day off I thought okay you have stuff in the fridge you need to use, so I made Soup.
I call it “Winter Soup” or “What else can I put in this” Soup 🙂 LOL

I also had gotten a four pack of bone-in chicken breast out of the freezer to make some room 😛
Okay so I don’t have a recipe here because really it was a what can I throw into this pot kind of soup.
And I think that is what we all need to think more of when we have things in our fridges that need to be used. Or your pantry, heck if you have can veggies do it, or cans of tomatoes or sauce, what about pasta or rice, your options are endless!!!
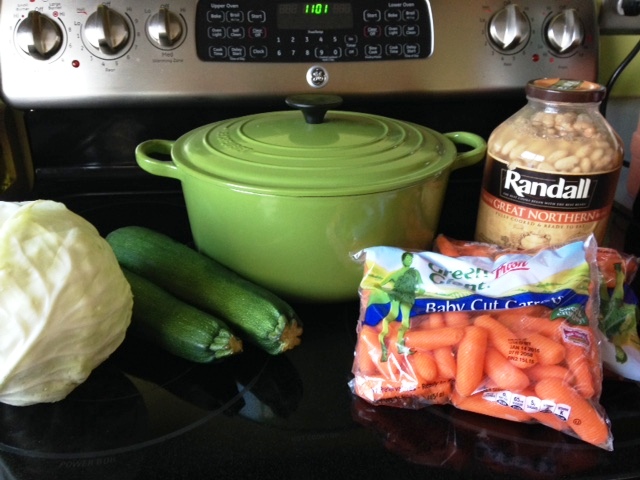
So this is what I started with, cabbage, zucchini, carrots and beans.
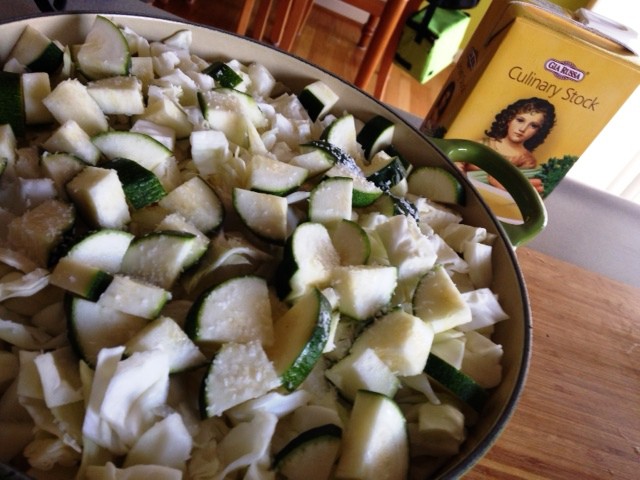
Chopped it all up and I added about 2 cups of chicken broth(had some left in the fridge), I cooked it in the oven on 325 degrees for 2 hours
then I added about 4 more cups of broth, I love using “better than bullion” soup base, so I had a little beef flavor left scraped that in there and then some Turkey. Just mix that up with 4 cups of hot water added a onion power and dill. I love dill in soup, and I love using the tube herbs, I just don’t use fresh herbs quick enough so I do buy some of those tube herbs you can find in your produce dept. So whisked all that up and poured it right on in.
Cooked at 350 degrees now for about 1 hour, then I added the beans about 4 cups, not that whole jar, mixed, then check for seasonings, I add some crushed celery seed, more tube dill, kosher salt and white pepper. Back in the oven for 30 minutes.


adding the celery seed and my tube dill 🙂

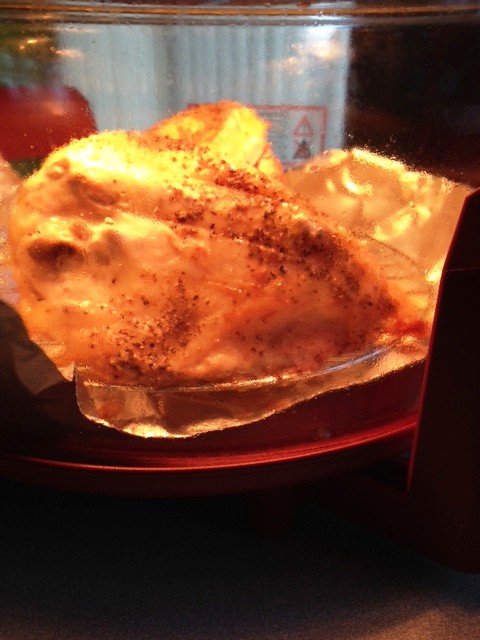
Like I said I had chicken breast, so I just bought a new kitchen gadget, it was my Christmas present to myself…
Table Top Halogen Oven

Now I love it, the first thing I cooked in it was a Steak, a Frozen Steak!!! Steak (bone-in rib eye) was about 1 inch thick, I took it out of the freezer, salted and peppered each side, and in 25 minutes I had the most perfect medium rare steak…It was delish!!!
Now I know the haters are going to hate, I NOT telling you buy it, this just works for me and I like it 🙂
So I put two of the chicken breast in it and let it go, yes can I use the oven, of course, but I like this and wanted to use it, I can see it cooking and like the easiness 🙂
So here’s my chicken cooking, of course once it was done again I forgot to take pictures…sorry, but it they looked great.
So I shredded some of the chicken

and added it to the soup, and it was done and ready to eat.

I have soup for the next week and I frozen half of it too, I like doing this so its easy to bring out and heat out when you need something quick.
So what do you have in your fridge right now that you can throw into a pot and make your own
“Winter Soup”
Enjoy everyone!!

Share this:

Homemade Pumpkin Spice Creamer!!
19 CommentsSo are you one of those people that CANNOT wait till fall hits so you can get your
Pumpkin Spice Latte on!! 😛

As you know most of the coffee shops only have this Pumpkin Spice Syrup during the fall and maybe into the winter???
I don’t know because I am not one of those people 😛
But it doesn’t mean I don’t want to get on the “Band Wagon” and make my own…LOL!!
So many recipes have been flying around the internet, so I decided I would give it a try…
And let me tell you it turned out DELICIOUS!!!!!!!
I kind of shock myself…LOL 😛
So of course I dug into my spices to find the hidden Pumpkin Pie Spice in the back from the fall before LOL and finally can open one of the two large can of pumpkin pure, again from the fall before 😦
Okay so what else…I found some sweetened condensed milk and now I just needed cream, but I didn’t want to use cream, so I settled for half n half.
Okay I think I am ready to go and this is how it all went.
Ingredients

in a saucepan, pumpkin, milk and spice

stir that up, then stir in the half n half

cook on med-high
okay I will confess, I had in on med-high, but I was trying to do other things as well, and I may not have been stirring it the whole time…hence it started to burn on the bottom, when I went back to it, and started whisking like a mad women, black bits started to surface. I may have cursed that this time, but I turned it down to low and kept on whisking until it thickened a little, then I let it cool for 5 minutes
Once I tried it was AWESOME!! It tasted like Toasted Pumpkin Marshmallow 🙂
I thought Holy Crap I just added another flavor dimension…WOOO HOOOO!!!!! LOL 🙂

It does get a little darker as it thickens
now you have strain this through a fine mesh strainer,
and take the back of a spatula and force the mixture through the
strainer by moving the spatula back and forth
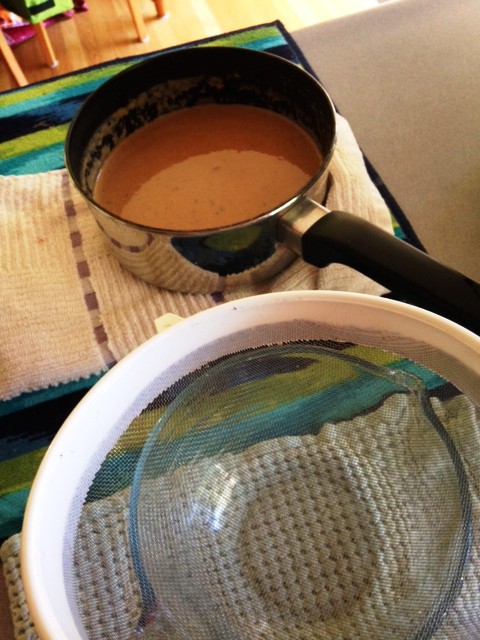


this is what you will have left in the strainer

after I let the mixture cool in the fridge,
I poured it into 2 little mason jars


This will keep in your fridge up to 2 weeks
if it last that long 🙂 LOL

My Pumpkin Spice Cappuccino
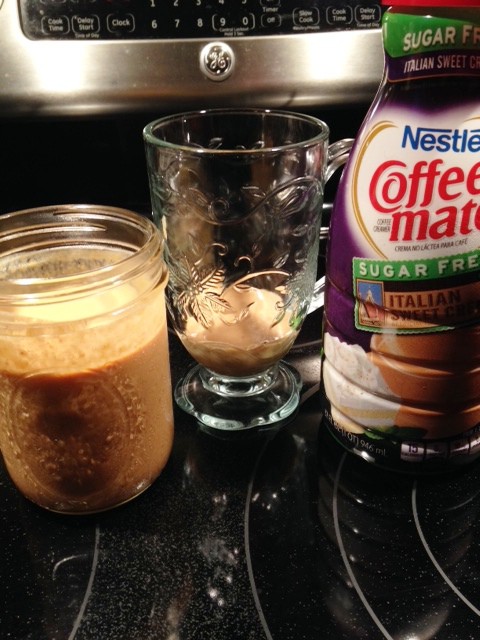
I added to my mug, about 2 Tbsp. pumpkin mixture
2 Tbsp. creamer and stir it up

Then I frothed that


Then I add my espresso


and to finish it off I sprinkle a little
Pumpkin Pie Spice on top…it was just Yumm!!!

Now you can just mix it into your regular coffee,
as I did at the office this morning 🙂


As I talk to some of the ladies this morning, I started coming up
all kinds ideas to do with this mixture besides to put in your
coffee…oh a can wait to get back in the kitchen…stay tune!!!
1 cup pure pumpkin puree Whisk everything together in a saucepan, cook over med-high, whisk until mixture thickens Pour mixture through a fine mesh strainer, take a spatula and force mixture through the strainer by going back and forth. Pour mixture into a jar or container and keep refrigerated for up to two weeks if it last that long…LOL Mind didn’t 😛 Add as much or as little to your coffee or tea and sit back and enjoy!!Homemade Pumpkin Spice Creamer
1 can sweetened condensed milk
1 1/2 tsp. pumpkin pie spice
1/2 cup half n’ half, or cream or whole milk
and darkens a little. Like I said above, let it burn a little and it will give it a toasted flavored, I felt
like that added such good flavor.
Share this:

Eggplant Parmesan…my way!!
20 Comments
As I have mentioned in a recent post my Dad has a garden and so another vegetable that has been a plenty is Eggplants.
Most of the summer, I would grill them or just roast them in the oven, and a couple of times I made Eggplant Parmesan. I would post my pictures on facebook and of course my friends say tell me the recipe.
So this last time I tried to remember as making it to take pictures of the process and what I do 🙂
First I used my homemade tomato sauce that I made out of the tomatoes from my Dad’s garden and I love using Fresh Mozzarella 🙂
So enjoy!!
First I peeled, sliced then sprinkled slices with salt in a colander
for 30-40 minutes, then pat each slice dry with paper towel.
(LOL of course the first picture of that I forgot to take)
Then place them on a baking sheet

I took panko bread crumbs and fresh grated Parmesan Cheese

Mixed in some Sandwich Sprinkle from Penzeys
(coarse salt, garlic, black pepper, basil, oregano, rosemary, thyme and marjoram)
you can add Italian seasonings as well

Put about 2 Tbsp. on mixture on top of each slice

with your hand press down crumb mixture

Then I sprayed each piece with PAM – Olive oil spray
of course you could drizzle with olive oil if you wish too.


Then bake in a 385 degree oven until tops are brown

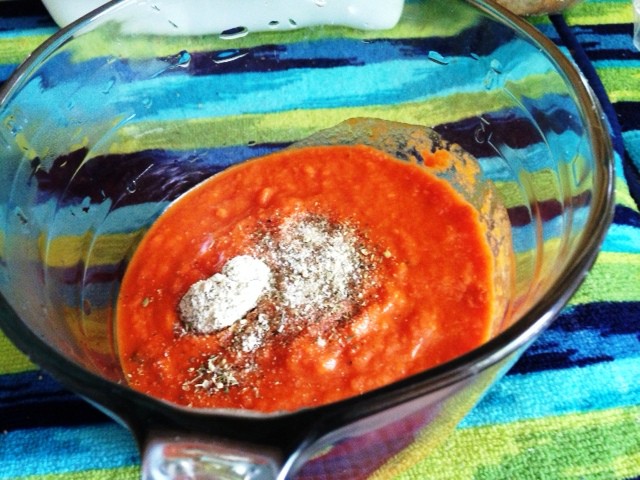
Sauce you can use any you like, so pick your favorite
I used my homemade sauce and I added
some of the Sandwich Sprinkle to the sauce
I have some Fresh Sliced Mozzarella

In a sprayed baking dish, place a eggplant down
and top with sauce

Then top with a slice of mozzarella

Place another piece of eggplant and repeat
with sauce and cheese

I topped the final piece of cheese with the rest of the sauce

I had crumb mixture leftover

and I sprinkled some over top the entire dish
And bake at 385 degrees until brown

and cheese is melted and brown


This was so good, most of the time I don’t measure anything so when
I cook unless I write it down it really just turns out to what I have
in my pantry and such. So when I am experimenting and it turns out good, I have to remember what I did so I can share in a blog, and then most the time I don’t take picture either 😛 LOL
The last time I made this (pictures below), I did the same except I didn’t have
any crumb mixture left, so I sprinkle the final layer with a little parmesan chesse
They both turned out delicious 😛 so as you make yours just make to what you like and
it will be just as Delicious!!


4 medium size eggplant, peeled, sliced a 1/2- 3/4 inch thick (6 slices from each) Sprinkle each slice of eggplant both sides lightly with salt, place slice in colander in the sink, In a bowl add panko, Parmesan and 2 Tbsp. seasonings; mix together. Place slices on a baking sheet and put about 1- 1 1/2 Tbsp. of mixture on top, press mixture down with hand then spray with olive oil spray. Meanwhile get your tomato sauce ready, mix in 1 Tbsp. seasoning, have mozzarella slices ready. Once eggplant tops have browned, place half the slice in the baking dish, top with 1 – 1 1/2 Tbsp. sauce, You can really make this your own, you like more sauce use more sauce, or cheese even, if you want to stack 3 high then stack 3 high. These a great meal served with a simple salad on the side. Enjoy!!!Eggplant Parmesan
3 cups of tomato sauce
3 Tbsp. Penzeys Sandwich Sprinkle or Italian seasonings, divided
2 cups panko bread crumbs
1 cup fresh Parmesan cheese, grated
Fresh Mozzarella sliced, 2 slices for each stack
(used 1 1/2 logs for 8 stacks, so 2 logs would work for 12 stacks)
PAM Olive Oil spray
let set for 30-40 mins. Then pat each piece with a paper towel, doing this helps draw out the bitterness that some eggplants tend to have.
Crumb mixture does fly around a little that is why I press down the mixture, you can drizzle tops with olive oil if you wish. Bake at 385 degrees until tops are brown about 25 minutes or so.
Spray a baking dish that will hold the amount you are making.
then a slice of cheese, repeat again, eggplant, sauce and cheese.
At this point you can top each stack with leftover sauce and sprinkle with any left over crumb mixture, or just sprinkle some a little Parmesan cheese over top. Bake at 385 degrees until light brown and cheese is bubbly.
Share this:

You Say Tomato I Say Tomahto!!
25 CommentsTomatoes, who has tomatoes…I DO!!!!!!!!

My Dad’s garden is producing a plenty, his plants are 8 feet tall and going wild!!!
I have a few pictures here from the beginning stages, they are about 5 to almost 6 foot at this point,
my Dad here is growing, leaf lettuce, kale, peppers, cucumbers, onions, green beans, eggplants and of course Tomatoes!!!
There maybe be more he grows but I can remember, I do know he has another patch that asparagus is in and the green house that things grow too…


but I just decided to write this blog about tomatoes last night, so I don’t have recent pictures of it 🙂 these picture were about the 2nd week of June
So I have been eating a lot of tomatoes lately, but they have really only been from my Dad’s, I don’t buy them usually, but I do love when I get them from him and his garden.
As anyone knows they just taste better than you can get in the store and it’s really the only eat time I do eat them.
My Mom and Dad will freeze them, stew them, roast them, sauce them, slice them for BLT (which I think they east daily during the summer) and chop them for salads. Plus whatever else they do with them 🙂
I on the other hand I tend to eat them a little differently 🙂
First I blanch them and remove the skins, I have issues with the skins, that’s all I will say 🙂
Here are a few pictures of ways that I have enjoyed using my Dad’s fresh tomatoes from his garden.
I hope you will enjoy too!!!
Making sauce, in my Vitamix are tomatoes, roasted garlic, some Italian herbs, red pepper flakes and salt.
The Vitamix will also cook it too you let it run about 5-7 minutes and you have hot soup or sauce 🙂

Mixing it all up

Freezing some for winter 🙂


Cooking some down too

This is the cherry tomatoes, sauteed with garlic, onions and spinach
tossed with the pasta, then fold in some fresh mozzarella pearls
then a drizzle of some balsamic glaze…Delish!!!!

My all time favorite thing in the world is
Polenta with fresh tomatoes and a poached egg!!!
This is heaven for me!!!

another day again…YUMMY!!!

This is my FBT…Fake bacon and tomato 😛

Ran out of the cornmeal to make polenta
So I made couscous instead…Delish too!!!

This was last night’s dinner
tomatoes, roasted garlic tossed with pasta and some fresh mozzarella cubes
I was talking about making this a work…so ladies this is what I made…simple and quick 🙂


Oh and here is the kale and I made some kale chips…very good with a
sprinkle of kosher salt and garlic powder 🙂


Here are couple of links of 2 more of my blogs that I used tomatoes in the past
First up is my Tomato Cobbler – this turned out really really good so if you
want something a little different try this recipe.
Second is Orzo Salad with Basil, Tomato & Feta – I made this at one
of my outdoor cooking classes last year.
Enjoy the rest of the summer everyone!!!
What’s next here hopefully sooner than later
my trip to Bourbon Country 🙂